The Italian Dolomites: Day Hikes, Lakes, via Ferrata, and Hut-to-Hut Guide
This post may contain affiliate links, meaning I get a small commission if you purchase items through my links at no extra cost to you. Thank you so much for supporting my blog!
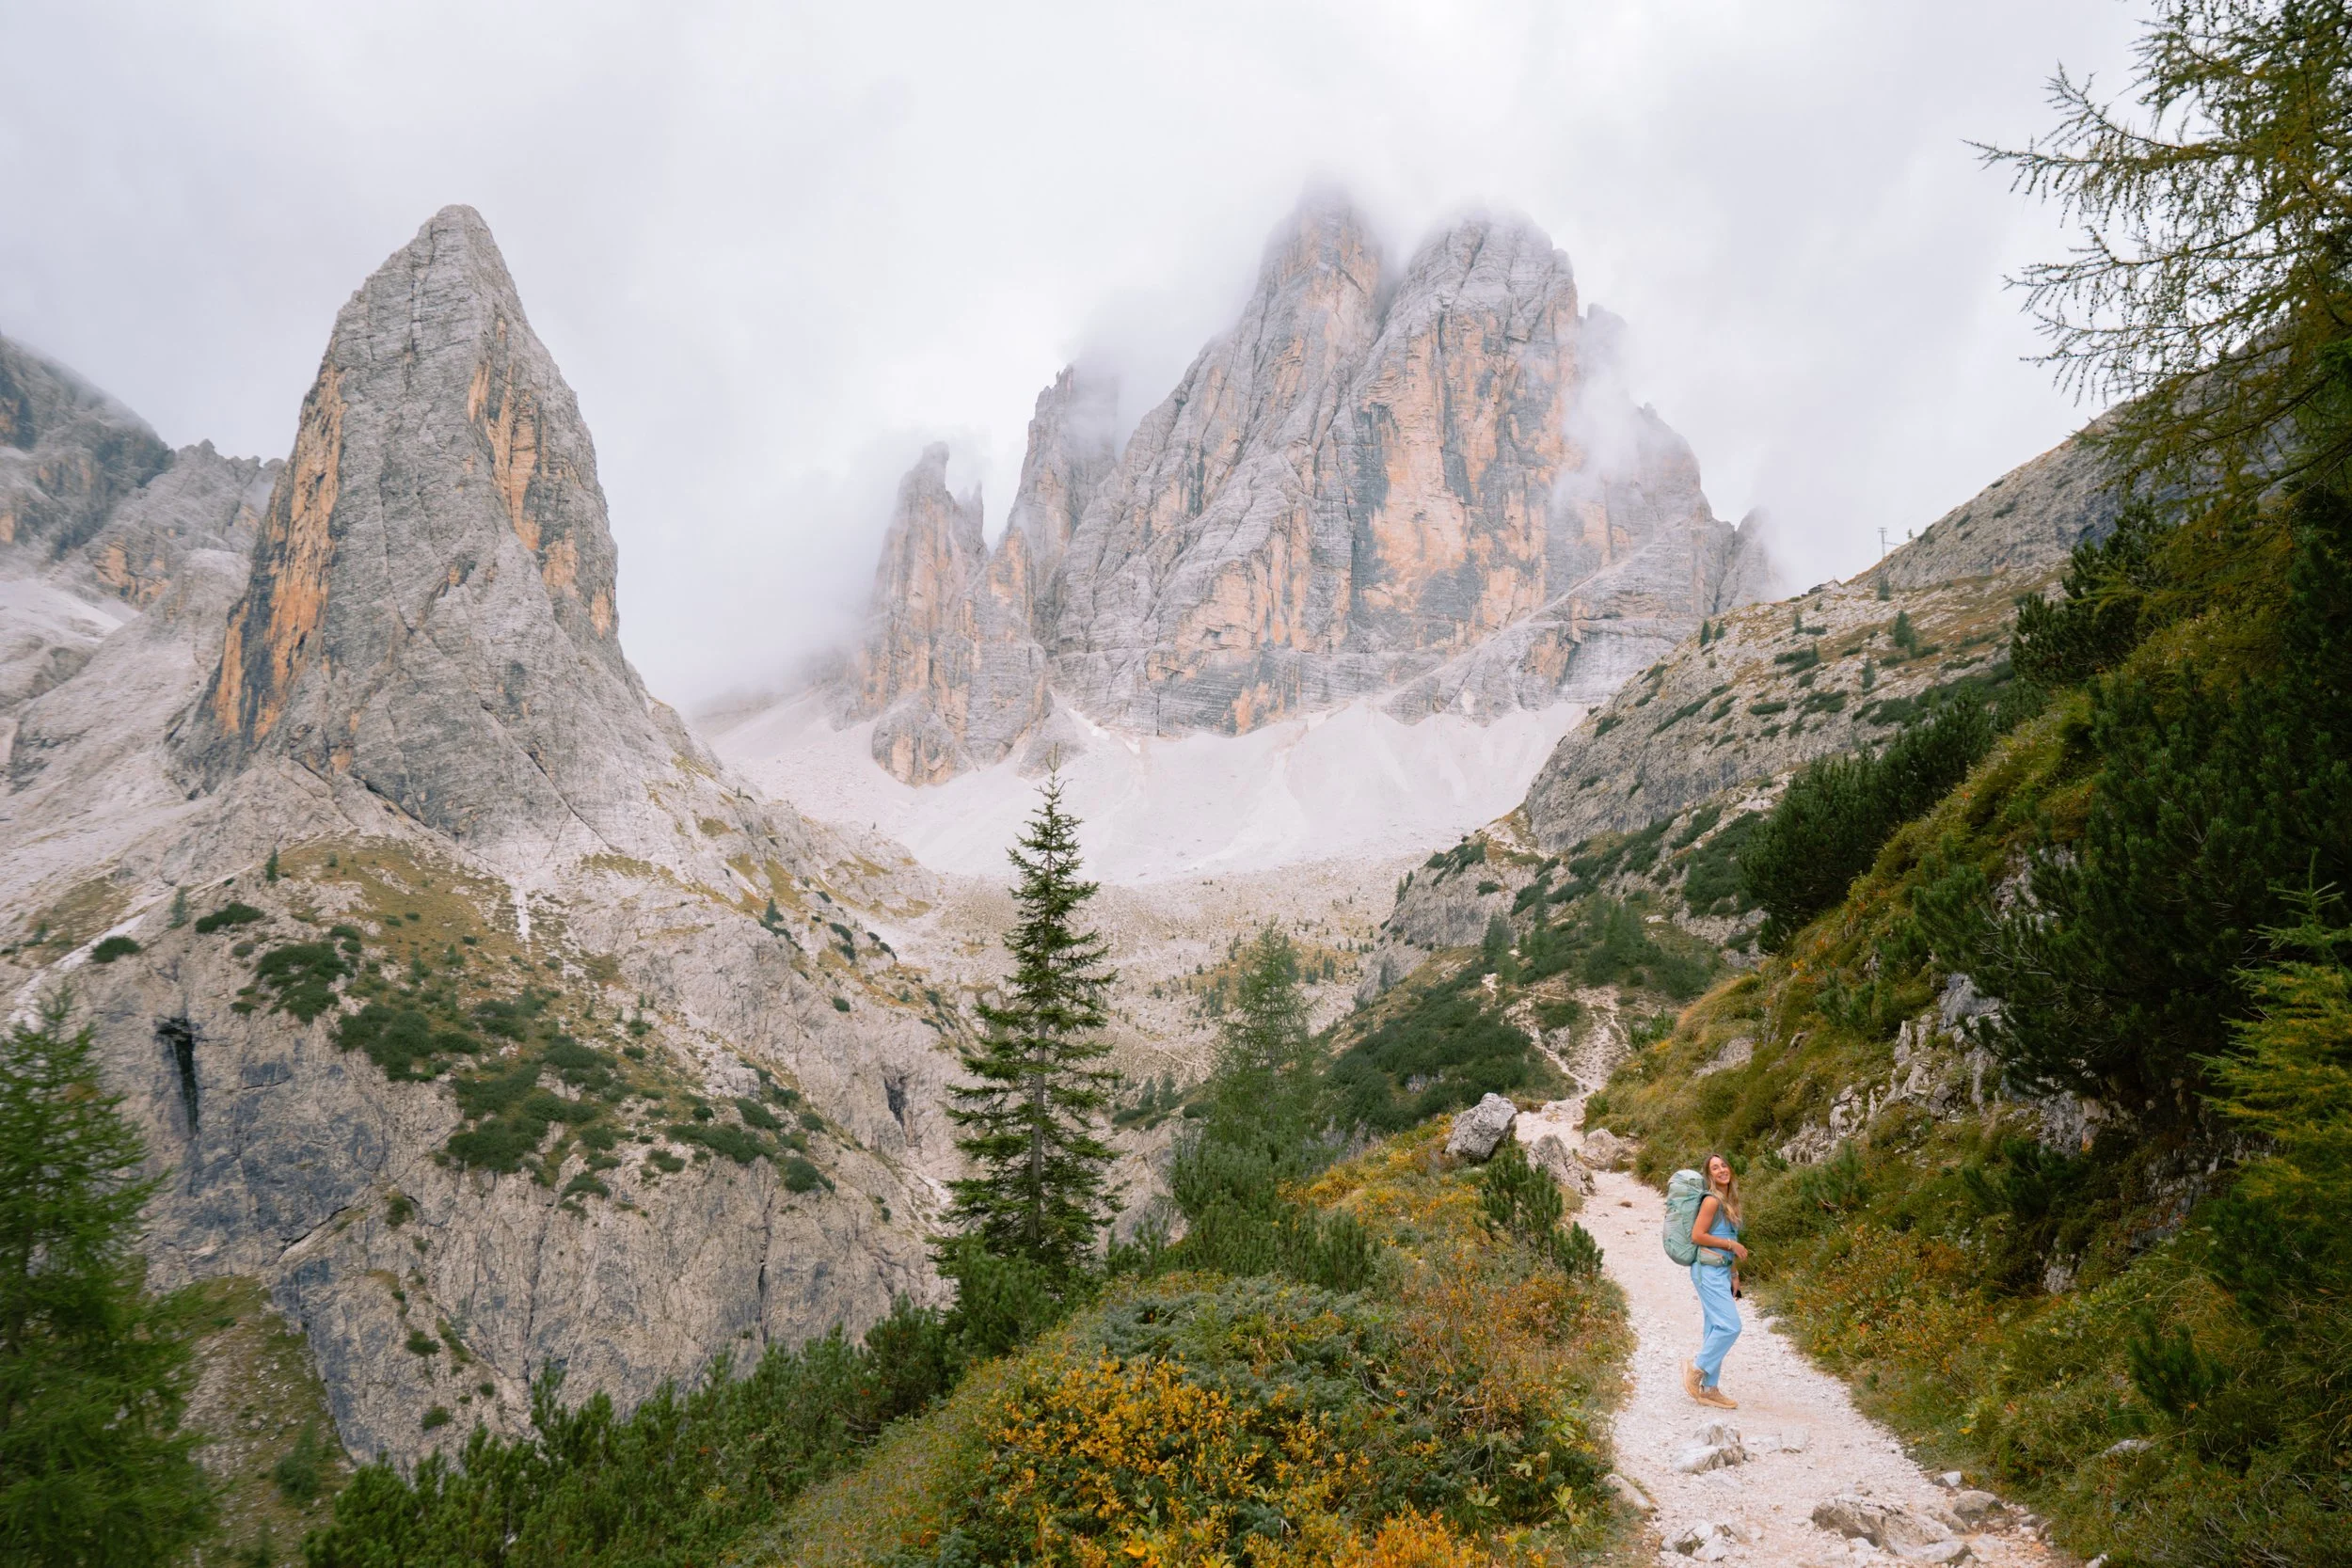
Hut-to-hut hiking is my new favorite kind of hiking.
In early September 2025, the gals and I packed up our hiking gear and headed to northern Italy to explore the Dolomites – a dramatic, beautiful mountain range that makes you feel like you’re in some kind of fantasy-adventure novel.
If you’re planning a trip to the Dolomites, chances are you’re as overwhelmed as I was. But fear not, because I have full confidence that if you follow this itinerary, you’ll get to see some of the absolute best that this stunning area has to offer.
Itinerary Overview
This itinerary covers a mix of iconic Dolomites highlights and a short hut-to-hut backpacking route. And I say backpacking lightly here, because we slept in cozy rifugios or mountain huts and ate delicious dinners and breakfasts provided by the huts.
We based ourselves in a few different areas to experience different parts of the region – Cortina d’Ampezzo, Sesto, and Val di Funes – and rented a car for the entire trip to make getting around easier.
Here’s what we covered at-a-glance:
3 nights in Cortina d’Ampezzo
2 nights hut-to-hut
1 night in Sesto
2 nights in Val di Funes
1 day in Venice
Getting Around the Dolomites
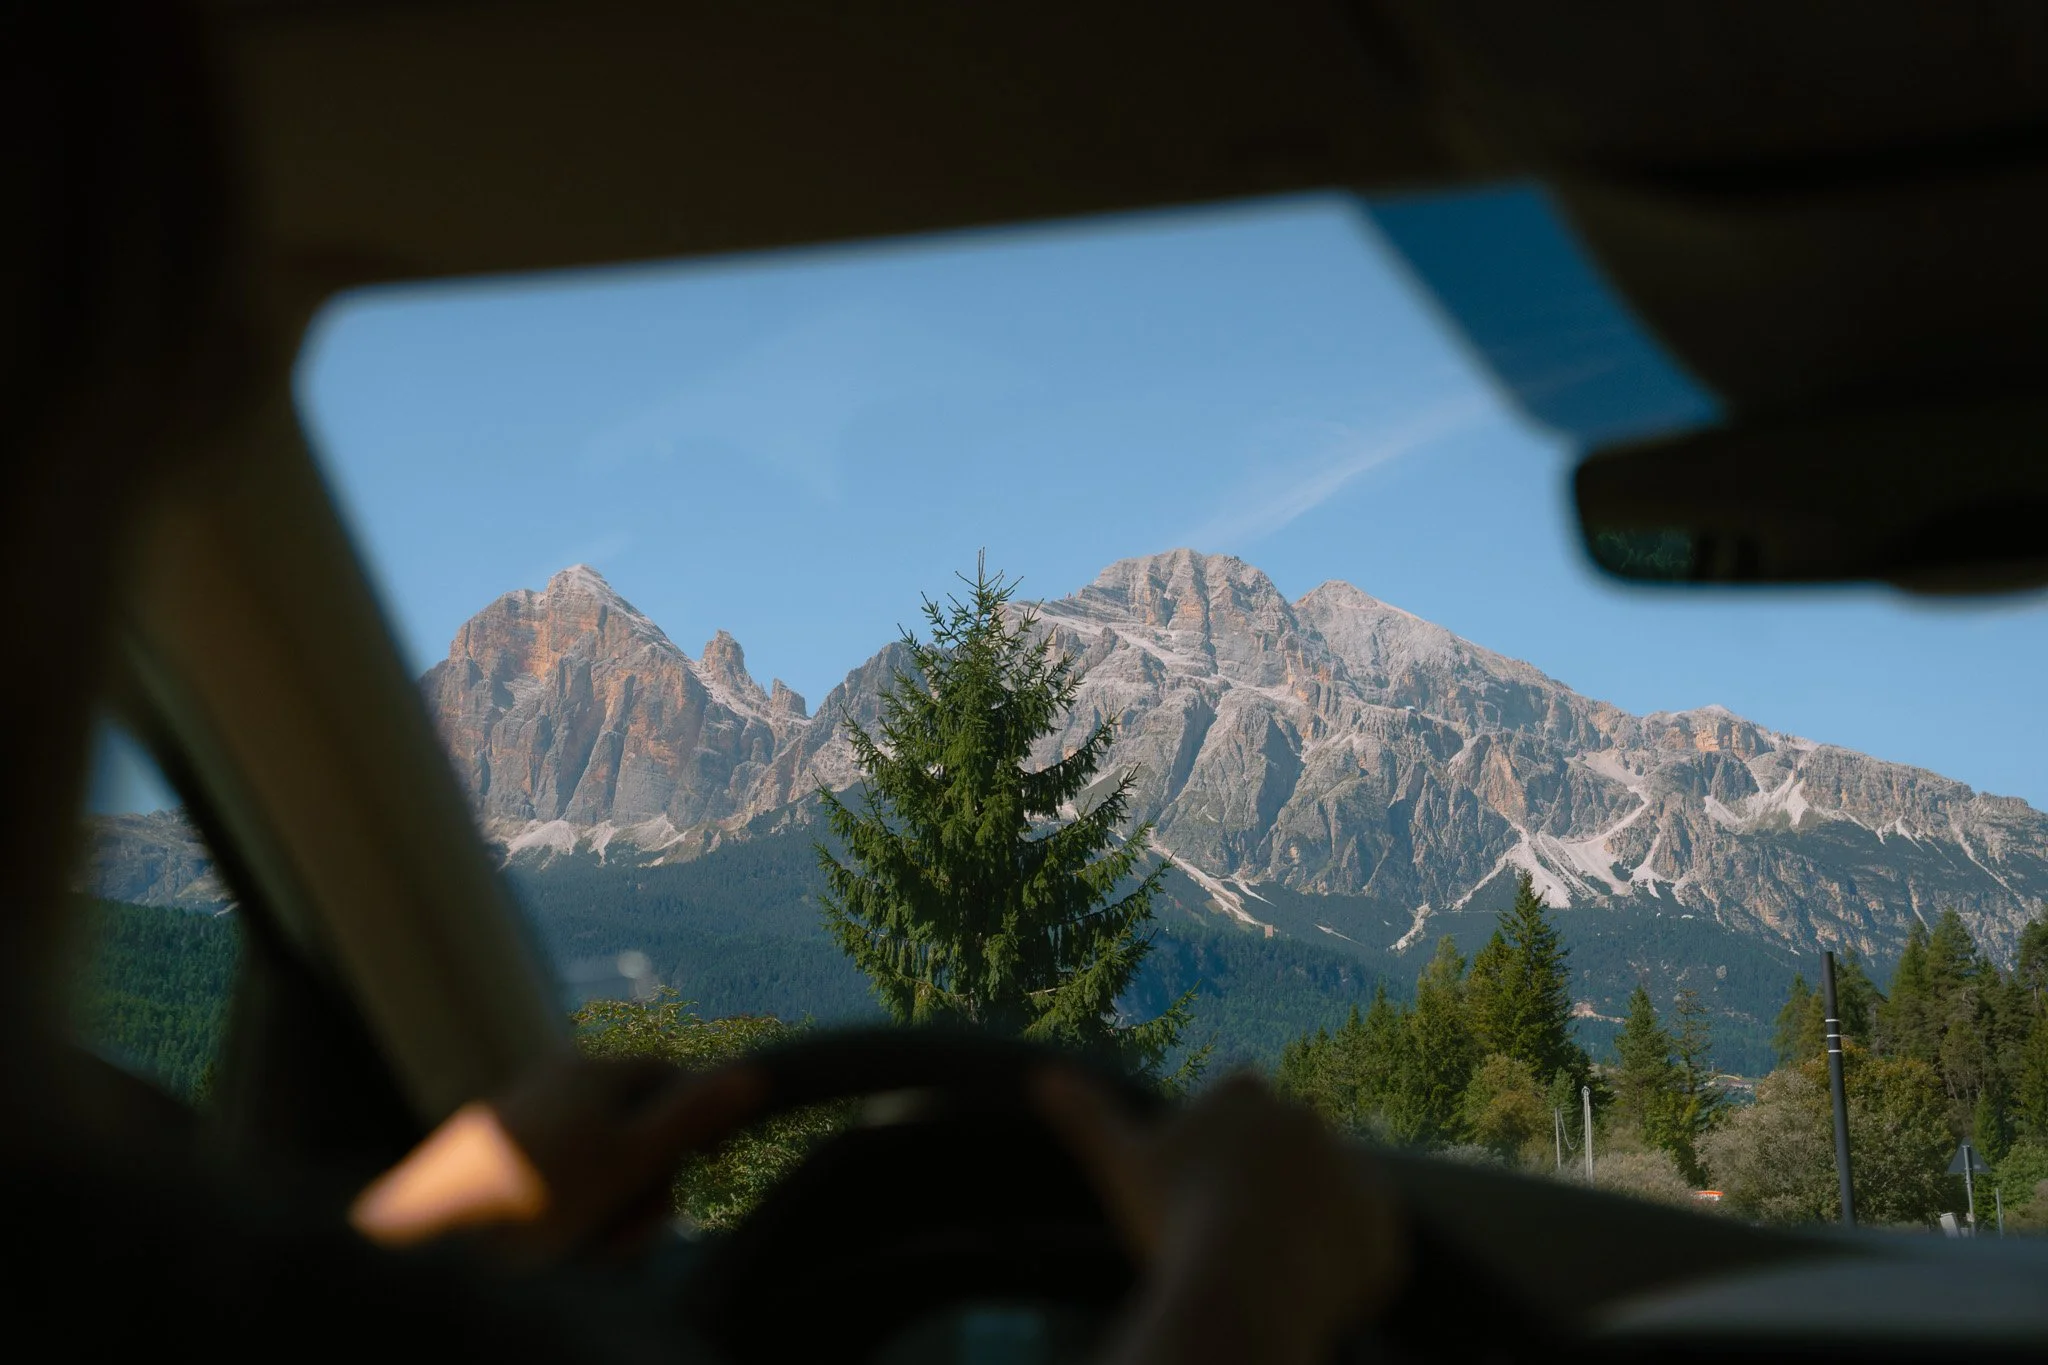
Incredibly scenic drive from Venice to Cortina!
We flew into Venice and rented a car for the duration of the trip, which I highly recommend. During the hut-to-hut hiking portion, we simply left our rental car in a parking garage at the hotel we booked for one night at the conclusion of our hike. Since there are so many hikers doing that exact thing, I expect many hotels will accommodate this but it’s safe to get in touch with them via phone call or email in advance, just in case.
The main roads and highways are extremely well maintained, but you should keep your wits about you when driving through some of the smaller towns as they can be narrow and busy.
What to Wear and How to Pack for the Dolomites
We visited in mid-September, and the weather was all over the place which is typical for a mountain environment. Warm and sunny during the day, but crisp mornings and cold evenings, especially at higher elevations. We also got hit with a full day of rain, which made me regret not waterproofing my gear ahead of time. I ended up wearing a mix of clothes, sometimes it was tank top and shorts weather, other times it was puffy coat weather.
If you want my full, detailed packing list for the hut-to-hut (with ALL of the exact pieces and gear), I’ve linked it here.
Here are some highlights of what I brought (and how I’d pack differently next time):
Athleisure + hiking staples — Breathable, functional pieces were my everyday uniform. Leggings, hiking pants, and lightweight tanks or long sleeves that I could mix and match depending on the weather. Aside from a few nicer outfits for exploring Venice and going out for dinner in the smaller towns in the Dolomites, my primary wardrobe was ALL athleisure and I never really felt underdressed.
Layers — The most important part of my packing list! I rotated between a fleece, a lightweight puffer, and a rain jacket pretty much every day, sometimes all within a single hike. You won’t need a super heavy puffy jacket, just something easy to pack and layer.
Hiking bottoms — I alternated between hiking pants and leggings. I didn’t bring any shorts, but there were a few days in town that were warmer than others.
Footwear — I keep it simple when it comes to footwear on long trips like this. Hiking boots for the trails, a pair of nicer shoes for walking around town, and a pair of sandals for the huts. Wear your bulky hiking boots on the plane ride (obvi taking them off for the long flight hehe) or tie them to your backpack using shoelaces + carabiner (carry-on only club!).
My favorite hiking boots: Merrell Moab Speed 2 GTX
My go-to sandals: Teva Original Universal Sandals
My nicer walking shoes that I bring everywhere: VEJA Campo Leather Shoes
Other essentials:
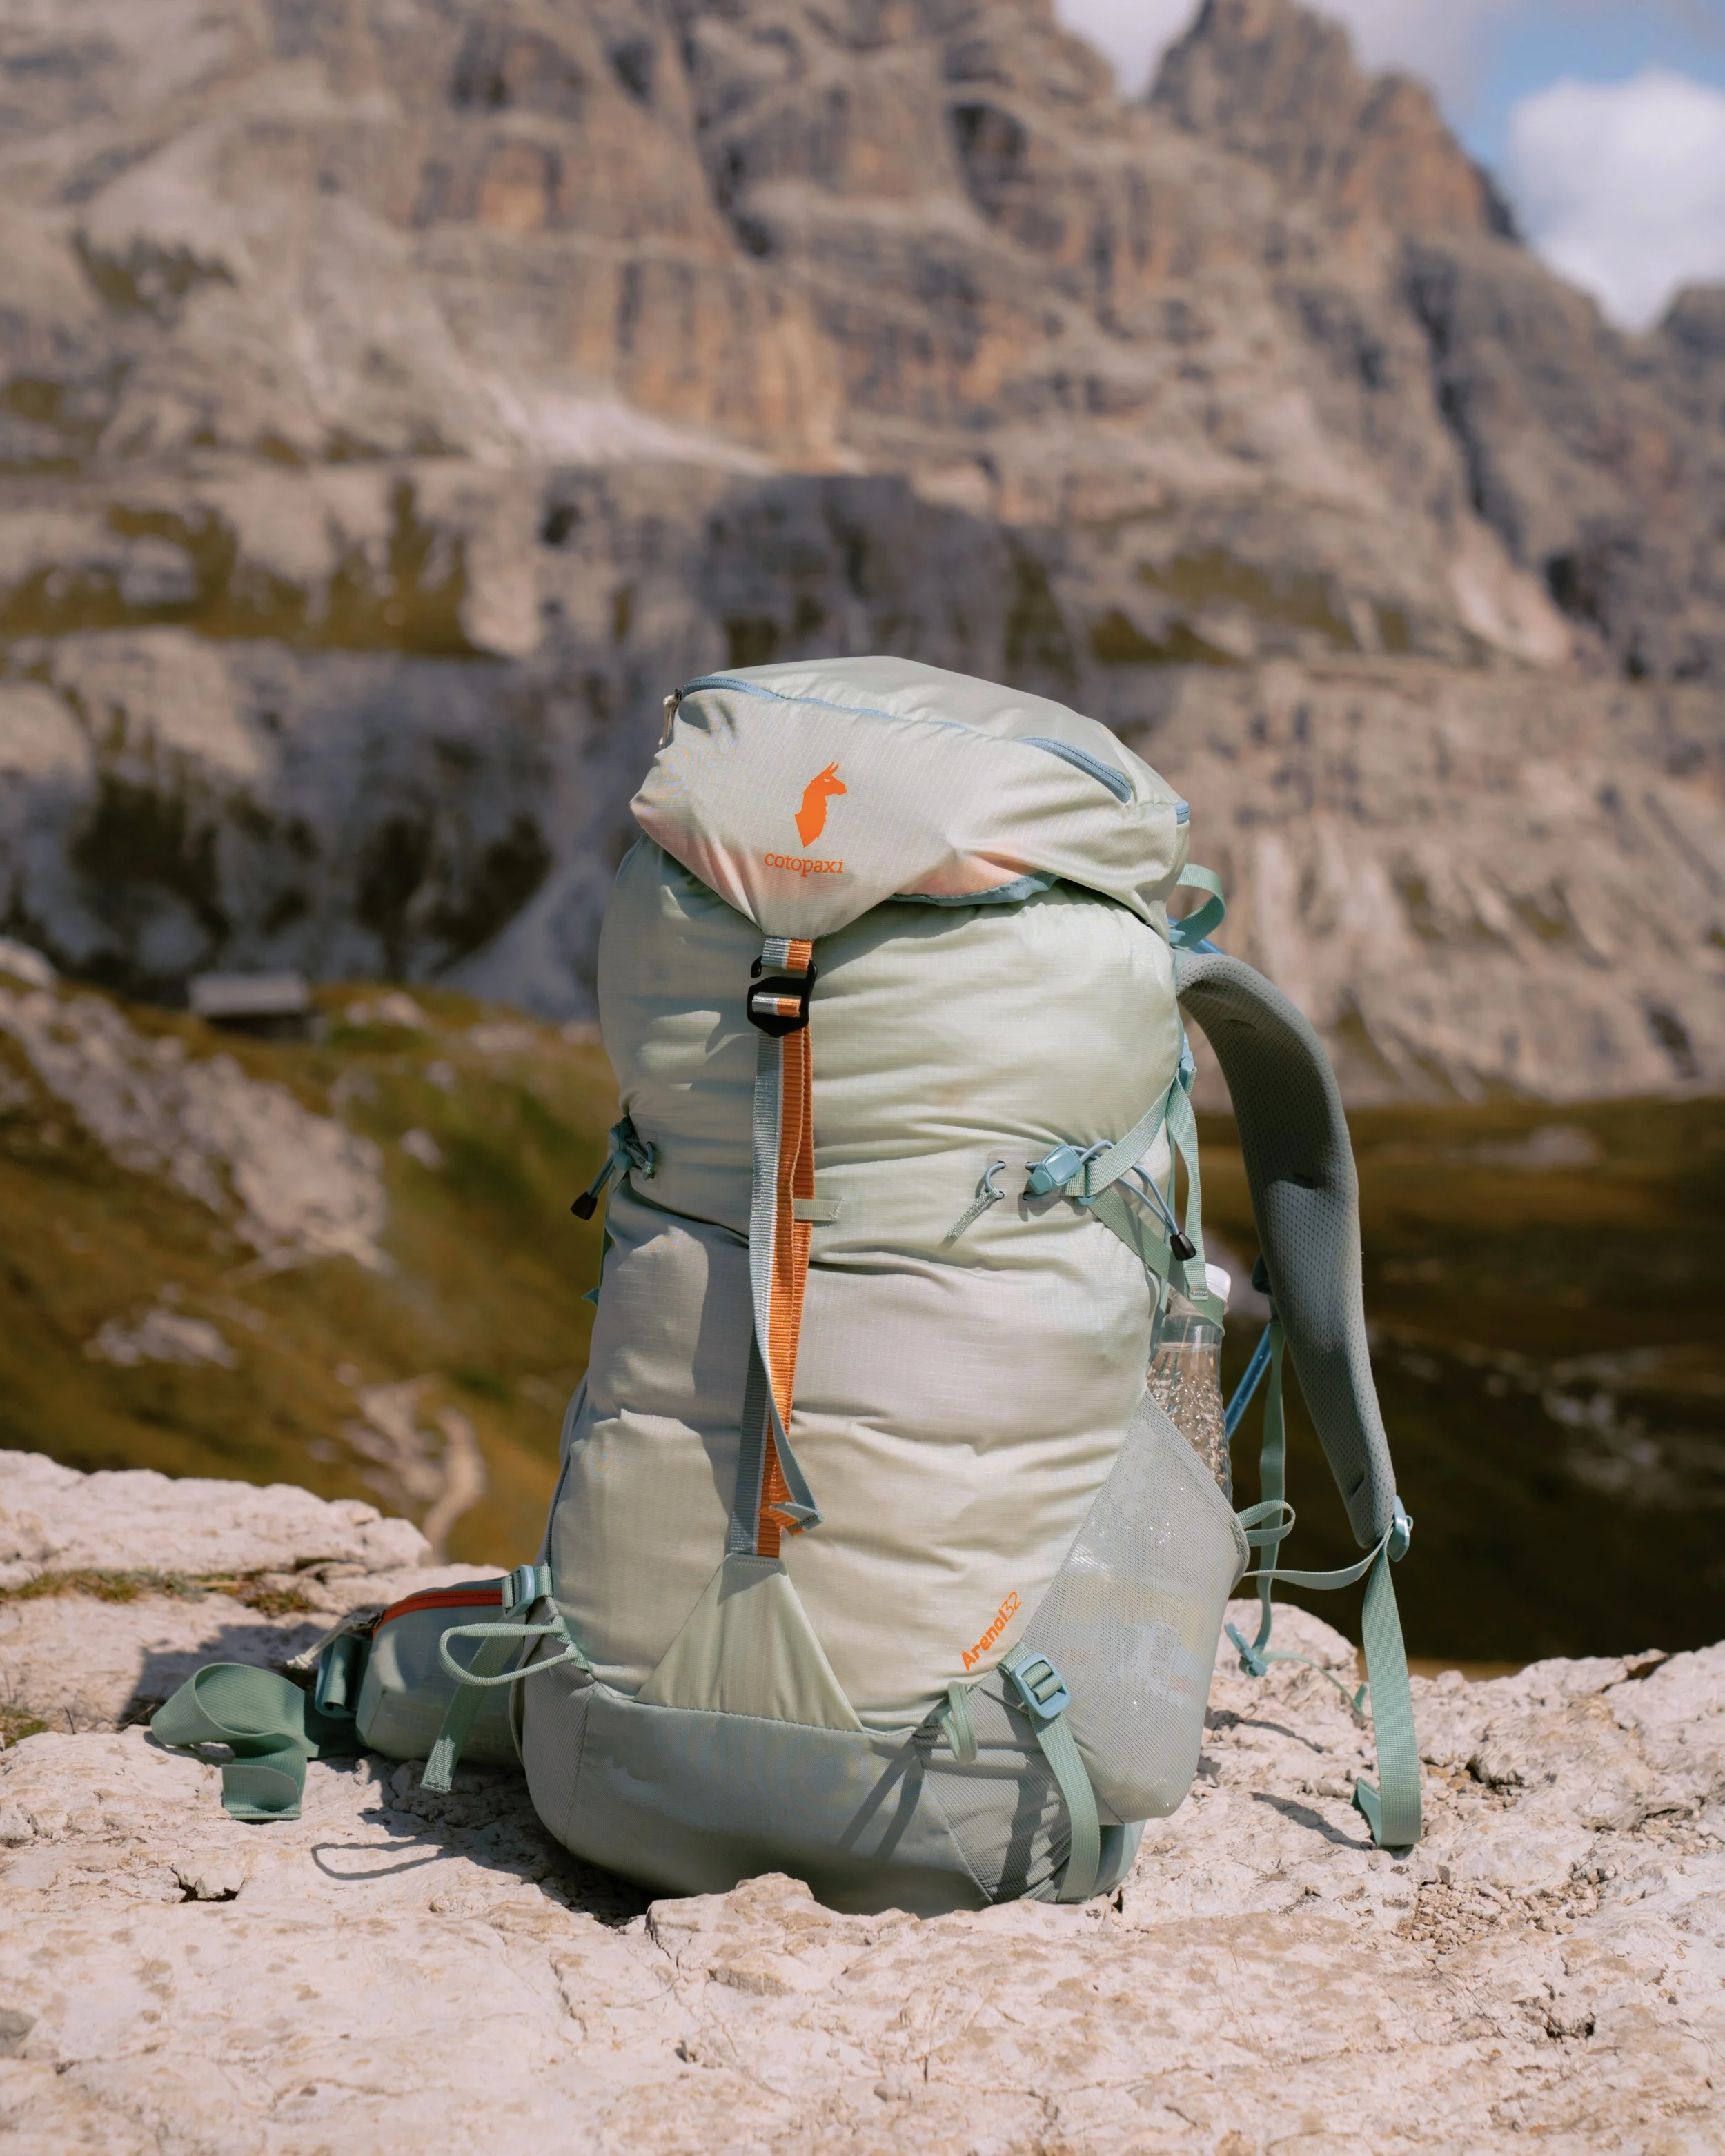
Backpack — 30-40L size recommended for a 2-night hut trek and some of the day hikes where you need to bring a packed lunch, extra layers, and camera gear. I loved the Cotopaxi Arenal 32L and its been my go-to for treks like this.
Rain cover for your backpack
Headlamp (for early starts)
Sunglasses
Reusable water bottle or hydration bladder
Kindle for reading in the huts
What I’d pack differently next time:
Better rain prep. I got completely soaked one day because my gear wasn’t properly waterproofed, and all of my extra clothes got soaked on the inside, too. Such a rookie mistake. You can re-waterproof your gear easily by washing it with Nikwax.
When to Visit the Dolomites
The best time to visit is late June through early October, depending on what you want to do.
Late June: Summer crowds haven’t started yet, wildflowers blooming and all huts open
July–September: Excellent for hiking + hut-to-hut season, but definitely peak season
Late September–early October: Fewer crowds, fall colors start to pop, but some huts/cable cars may close OR the huts won’t have hot water or showers
We went in early September, which was supposedly the best time for hiking and yet we still got some rainy days and poor visibility. You never know what the mountains will do, so it’s best to come prepared and set your expectations.
How to Book Dolomites Huts (and When to Do It)
Booking rifugios in the Dolomites is not as straightforward as booking a hotel — and if you wait too long, you will miss out on the good ones. Most huts don’t live on big booking platforms like Booking.com or Airbnb. Instead, you’ll usually need to book directly through the hut’s website or by emailing them.
When to book
If you’re planning to visit during peak season (July–September), I recommend booking 5-6 months in advance. For our trip in September, we booked our huts in February. The most popular huts — especially ones along routes like Alta Via 1 or near iconic spots like Tre Cime — fill up VERY quickly.
For shoulder season (June or late September), you may have a bit more flexibility, but I still wouldn’t leave it last minute. Have your route well-researched and then determine where you’d like to stay based on your daily mileage.
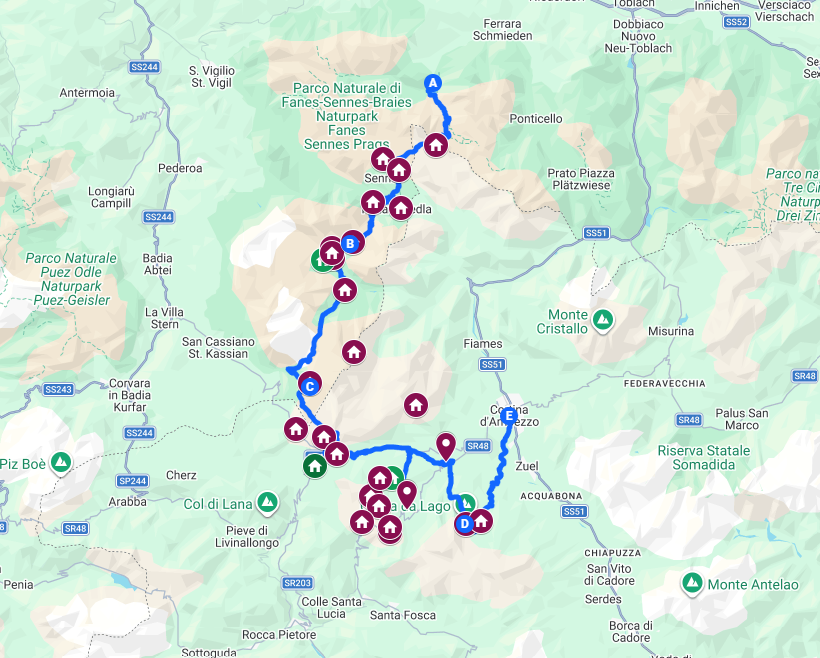
Google Maps is a really useful planning tool! I’m planning a second trip to the Dolomites and we mapped out where to stay by marking every single hut along our route and then contacted all of them to check for availability. Based on which huts were available, we determined the length of hiking we were comfortable doing each day and then finalized our booking. It took some effort and coordination, but I have no doubt it’ll be worth it.
How to book
Most rifugios will have a simple website with booking instructions. Some have online reservation systems, but many will ask you to send an email request with your dates, group size, and whether you want half board (which typically includes dinner + breakfast — and is 100% worth it).
A few things to know:
Half board is the standard and makes your life way easier
You’ll usually pay a deposit upfront and/or settle everything upon on arrival
Not all huts take credit cards, so bring cash/euros
What to book early
If you have your heart set on specific huts, lock those in first and build your route around them.
My biggest tip
Don’t overcomplicate it! Pick 2–3 huts, map a realistic hiking distance between them, and go from there. It’s way more enjoyable than trying to cram in too much. And please, please do not obsess over staying in all the “Instagrammable” spots. Once you’re in the Dolomites, you’ll realize there is beauty all around. You cannot go wrong, and it’ll be even more rewarding to find your own hidden gems rather than take photos of the same exact spot as everyone else.
Day 1: Travel + Cortina d’Ampezzo
We initially meant to spend 2 nights in Venice at the beginning of our trip. I won’t bore you with the details, but the most insane flight delays ever had us spending the night in New Jersey instead…so upon our arrival, our other friends (who had much, much better luck than we did) picked us up to begin our drive into the Dolomites. That’s another pro-tip: give yourself a couple buffer days before the trek since rifugios aren’t easy to reschedule or rebook.
I immediately felt the life returning into my body as we drove, knowing that a glass of red wine, some pasta and a tiramisu awaited me in Cortina. We started out in the flat Italian countryside before the mountains grew more and more dramatic. It was one of those moments where we just keep looking out the window like…okay, wow. We have ARRIVED!
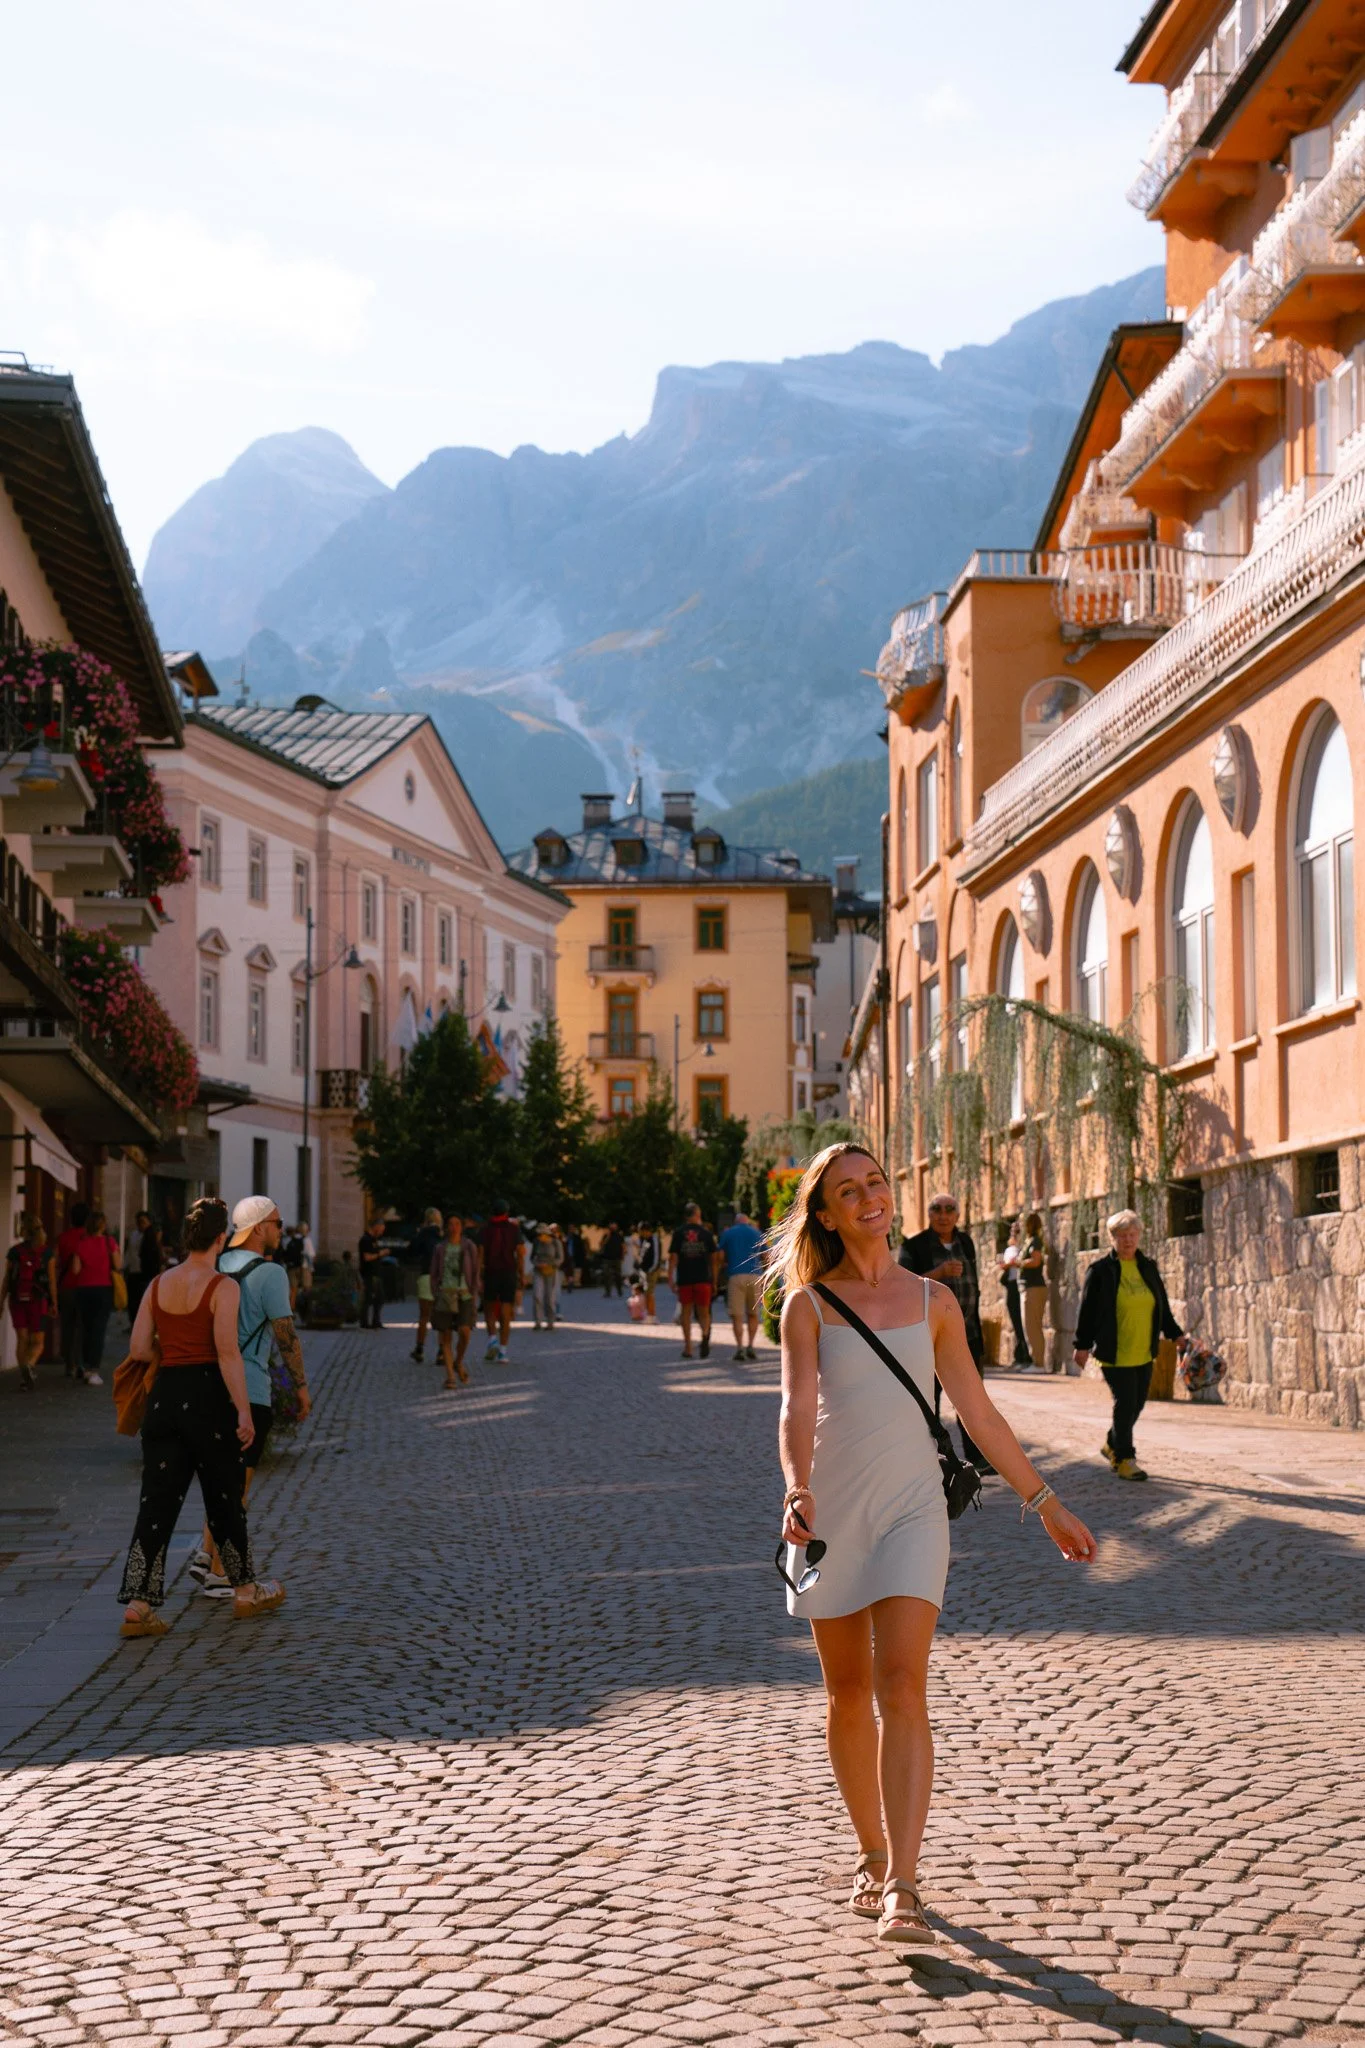
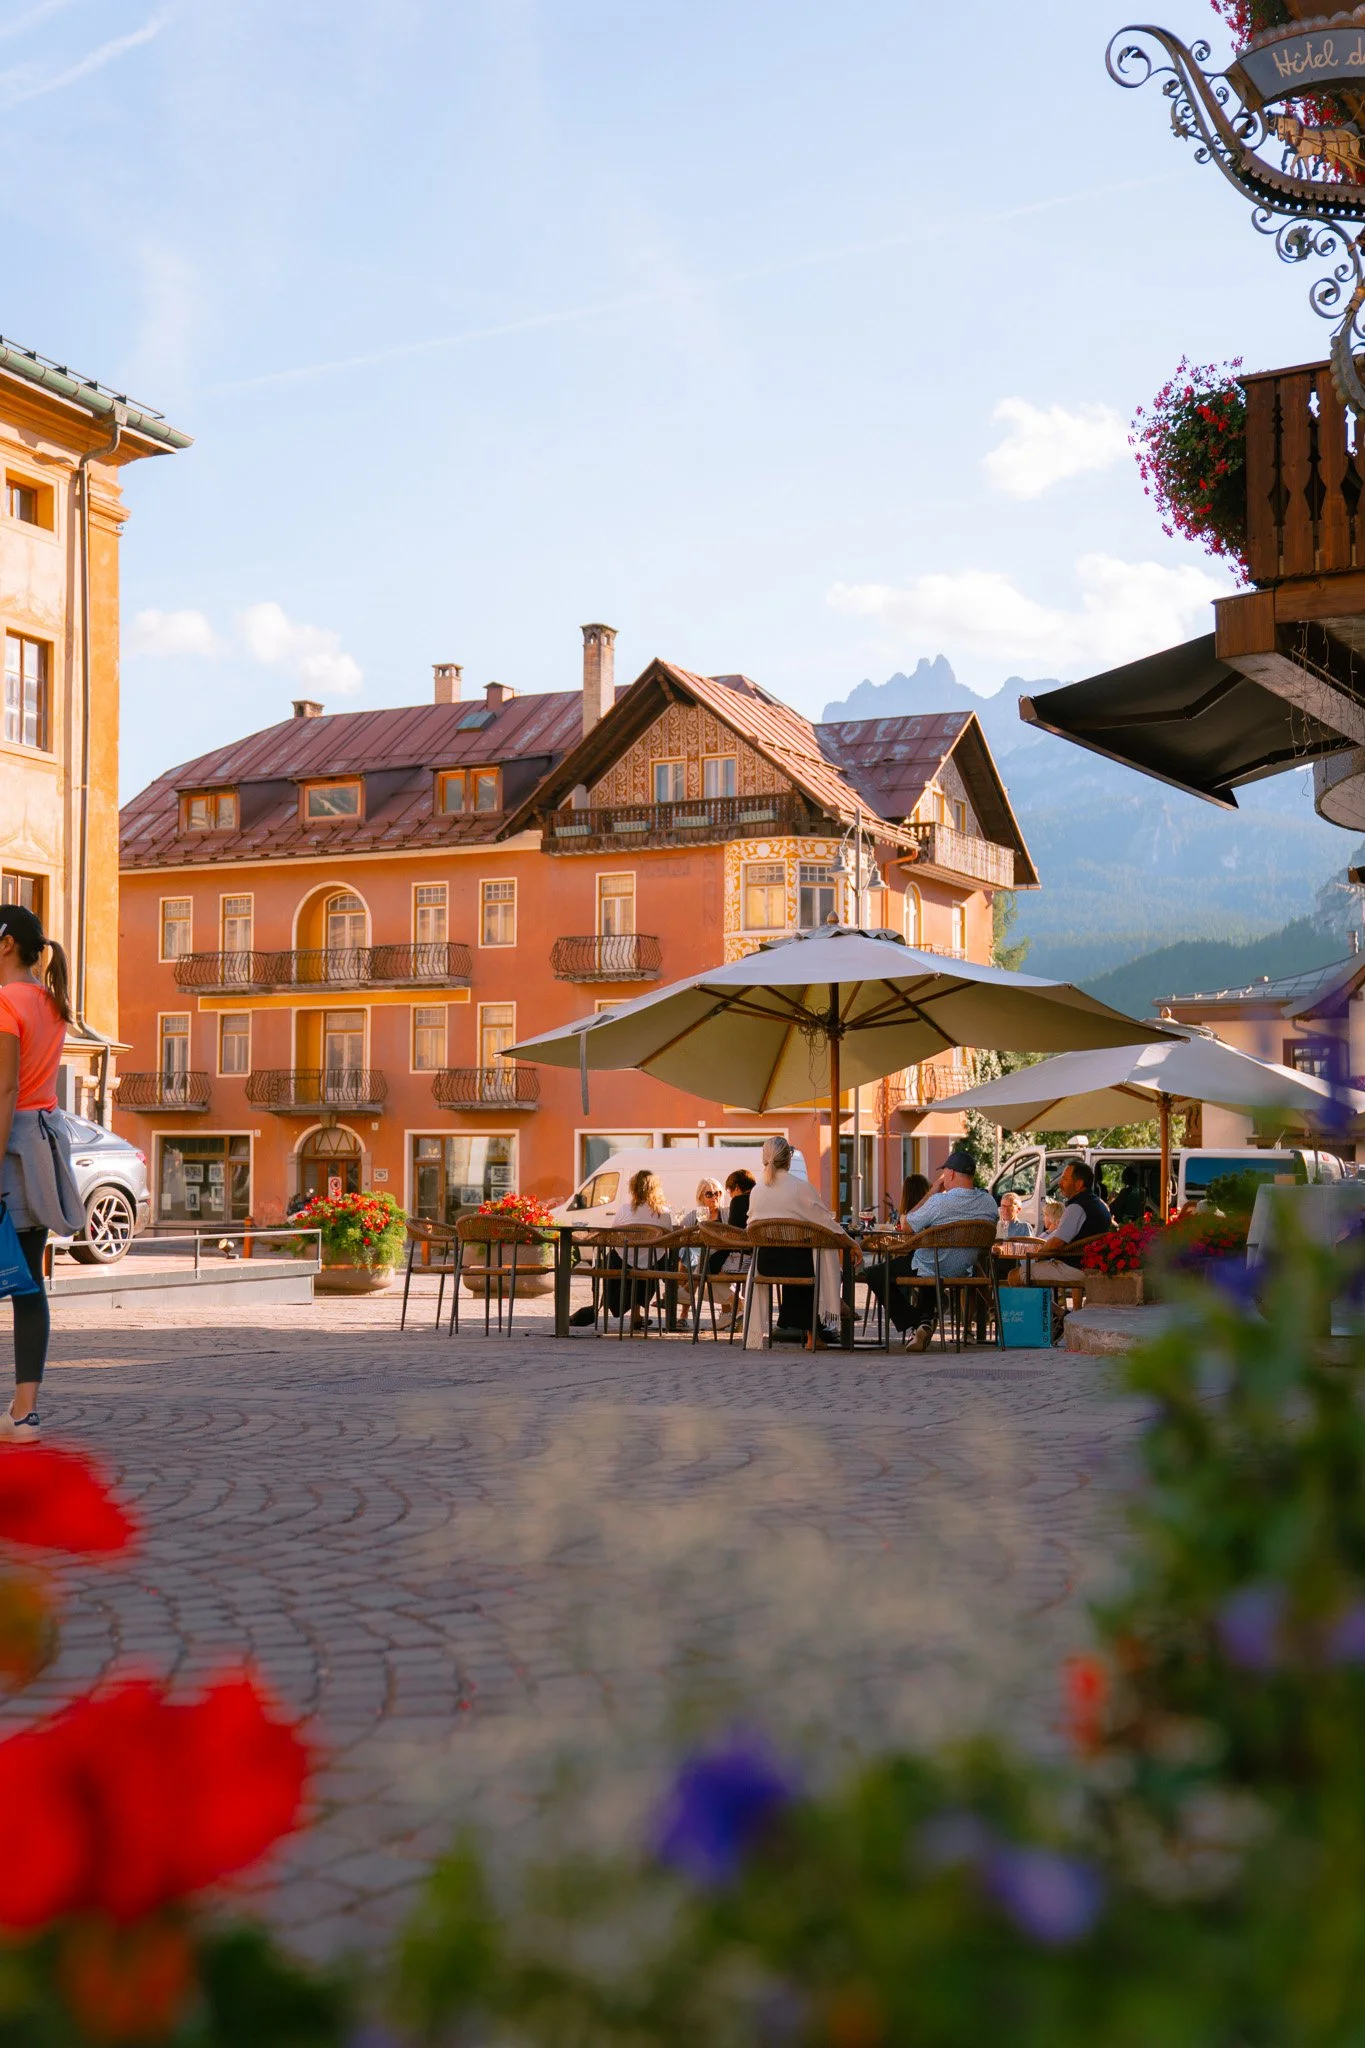
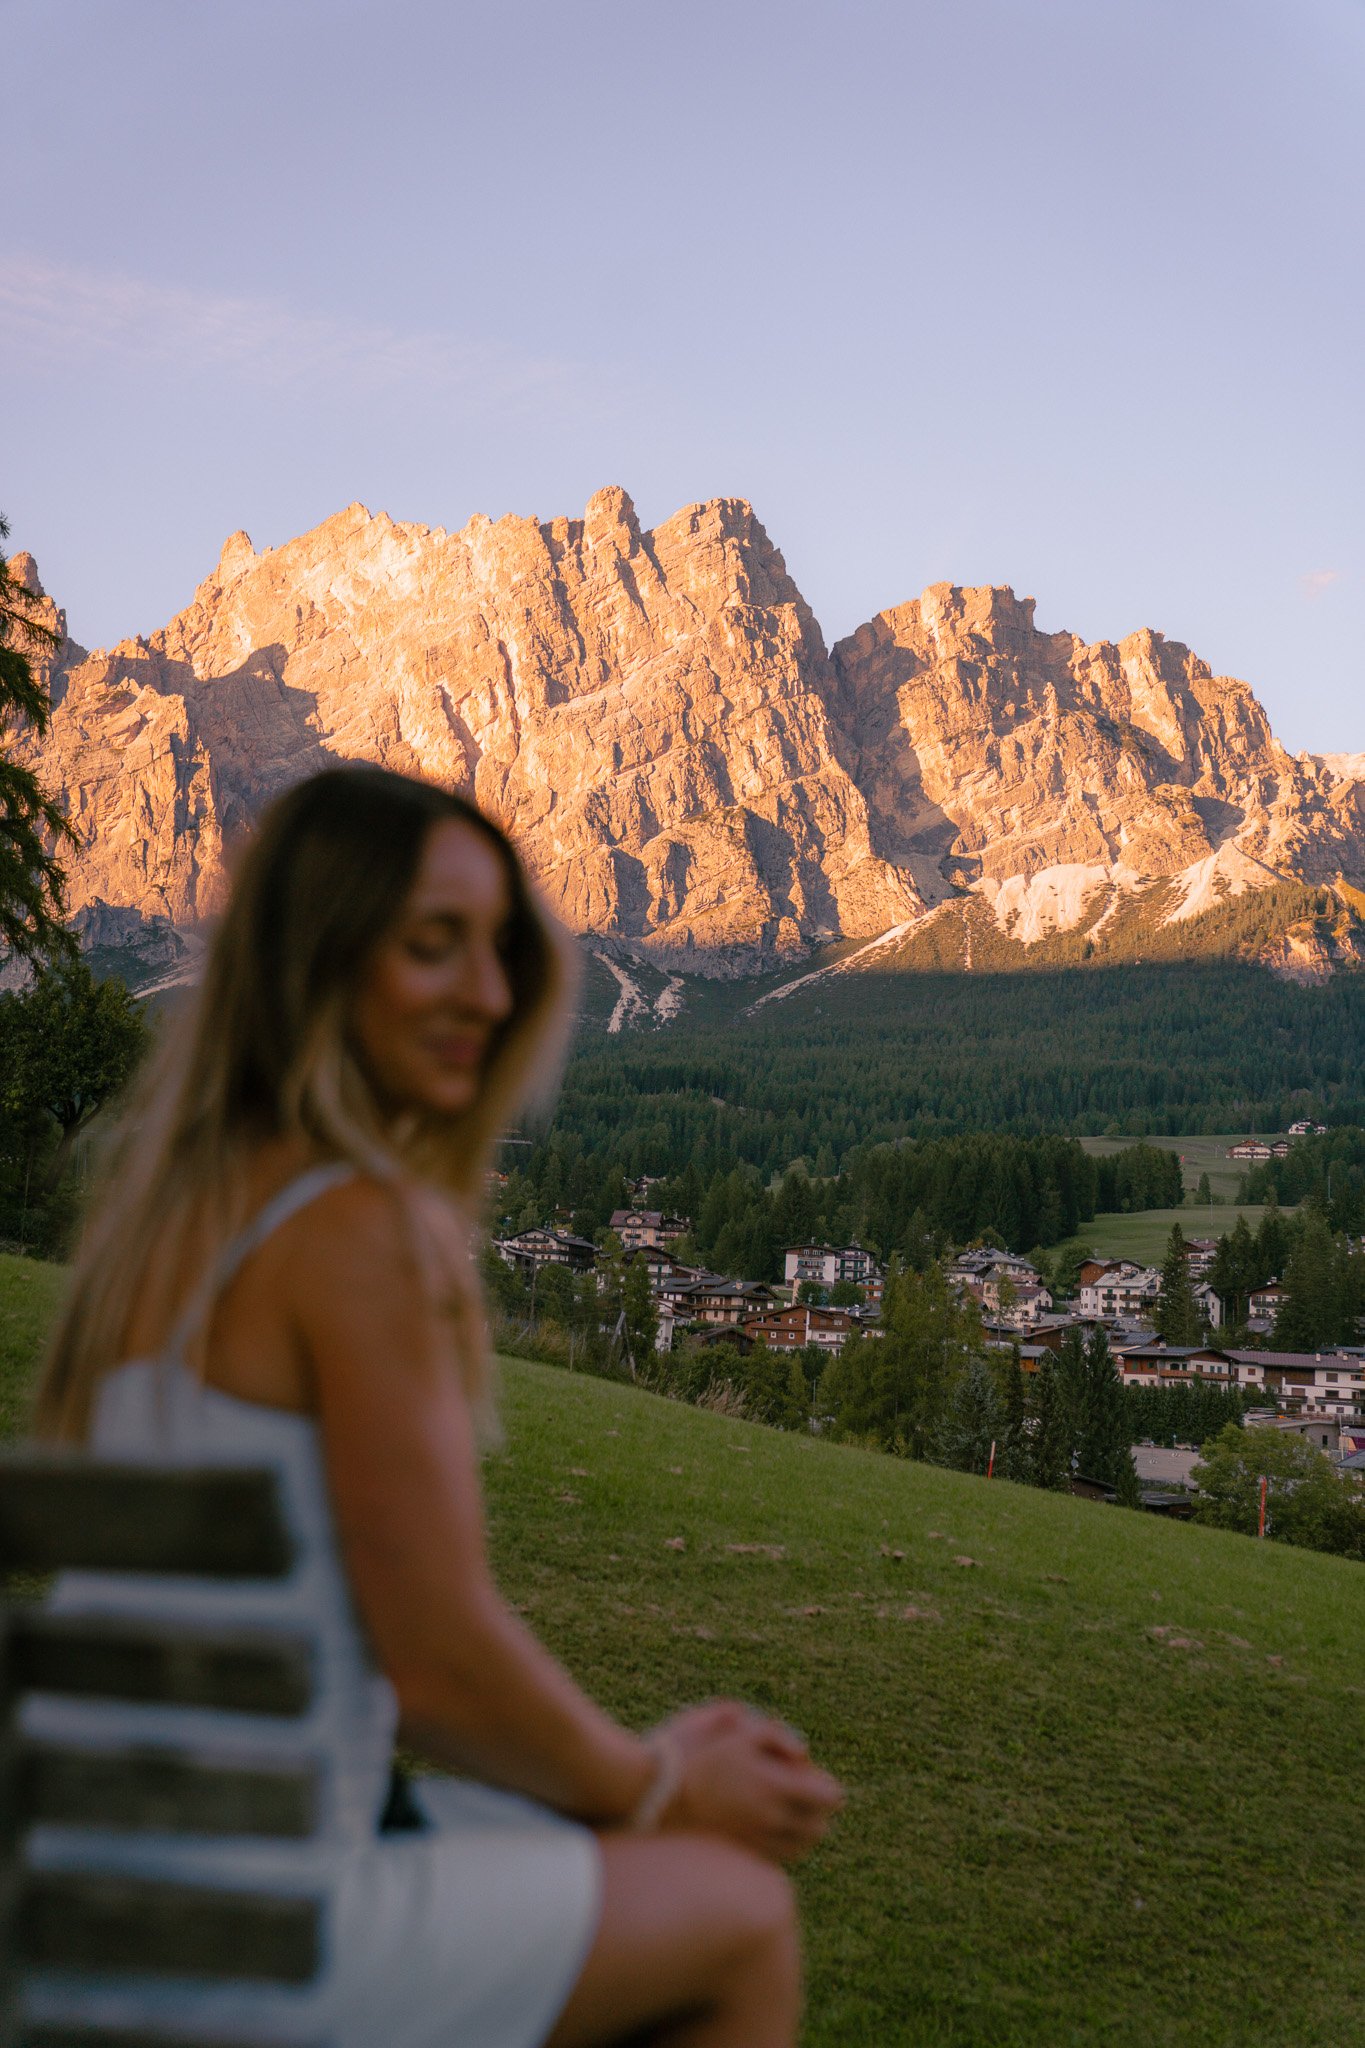
We based ourselves in Cortina d’Ampezzo for the first few nights, which is a great home base with easy access to some of the most iconic hikes and lakes in the region.
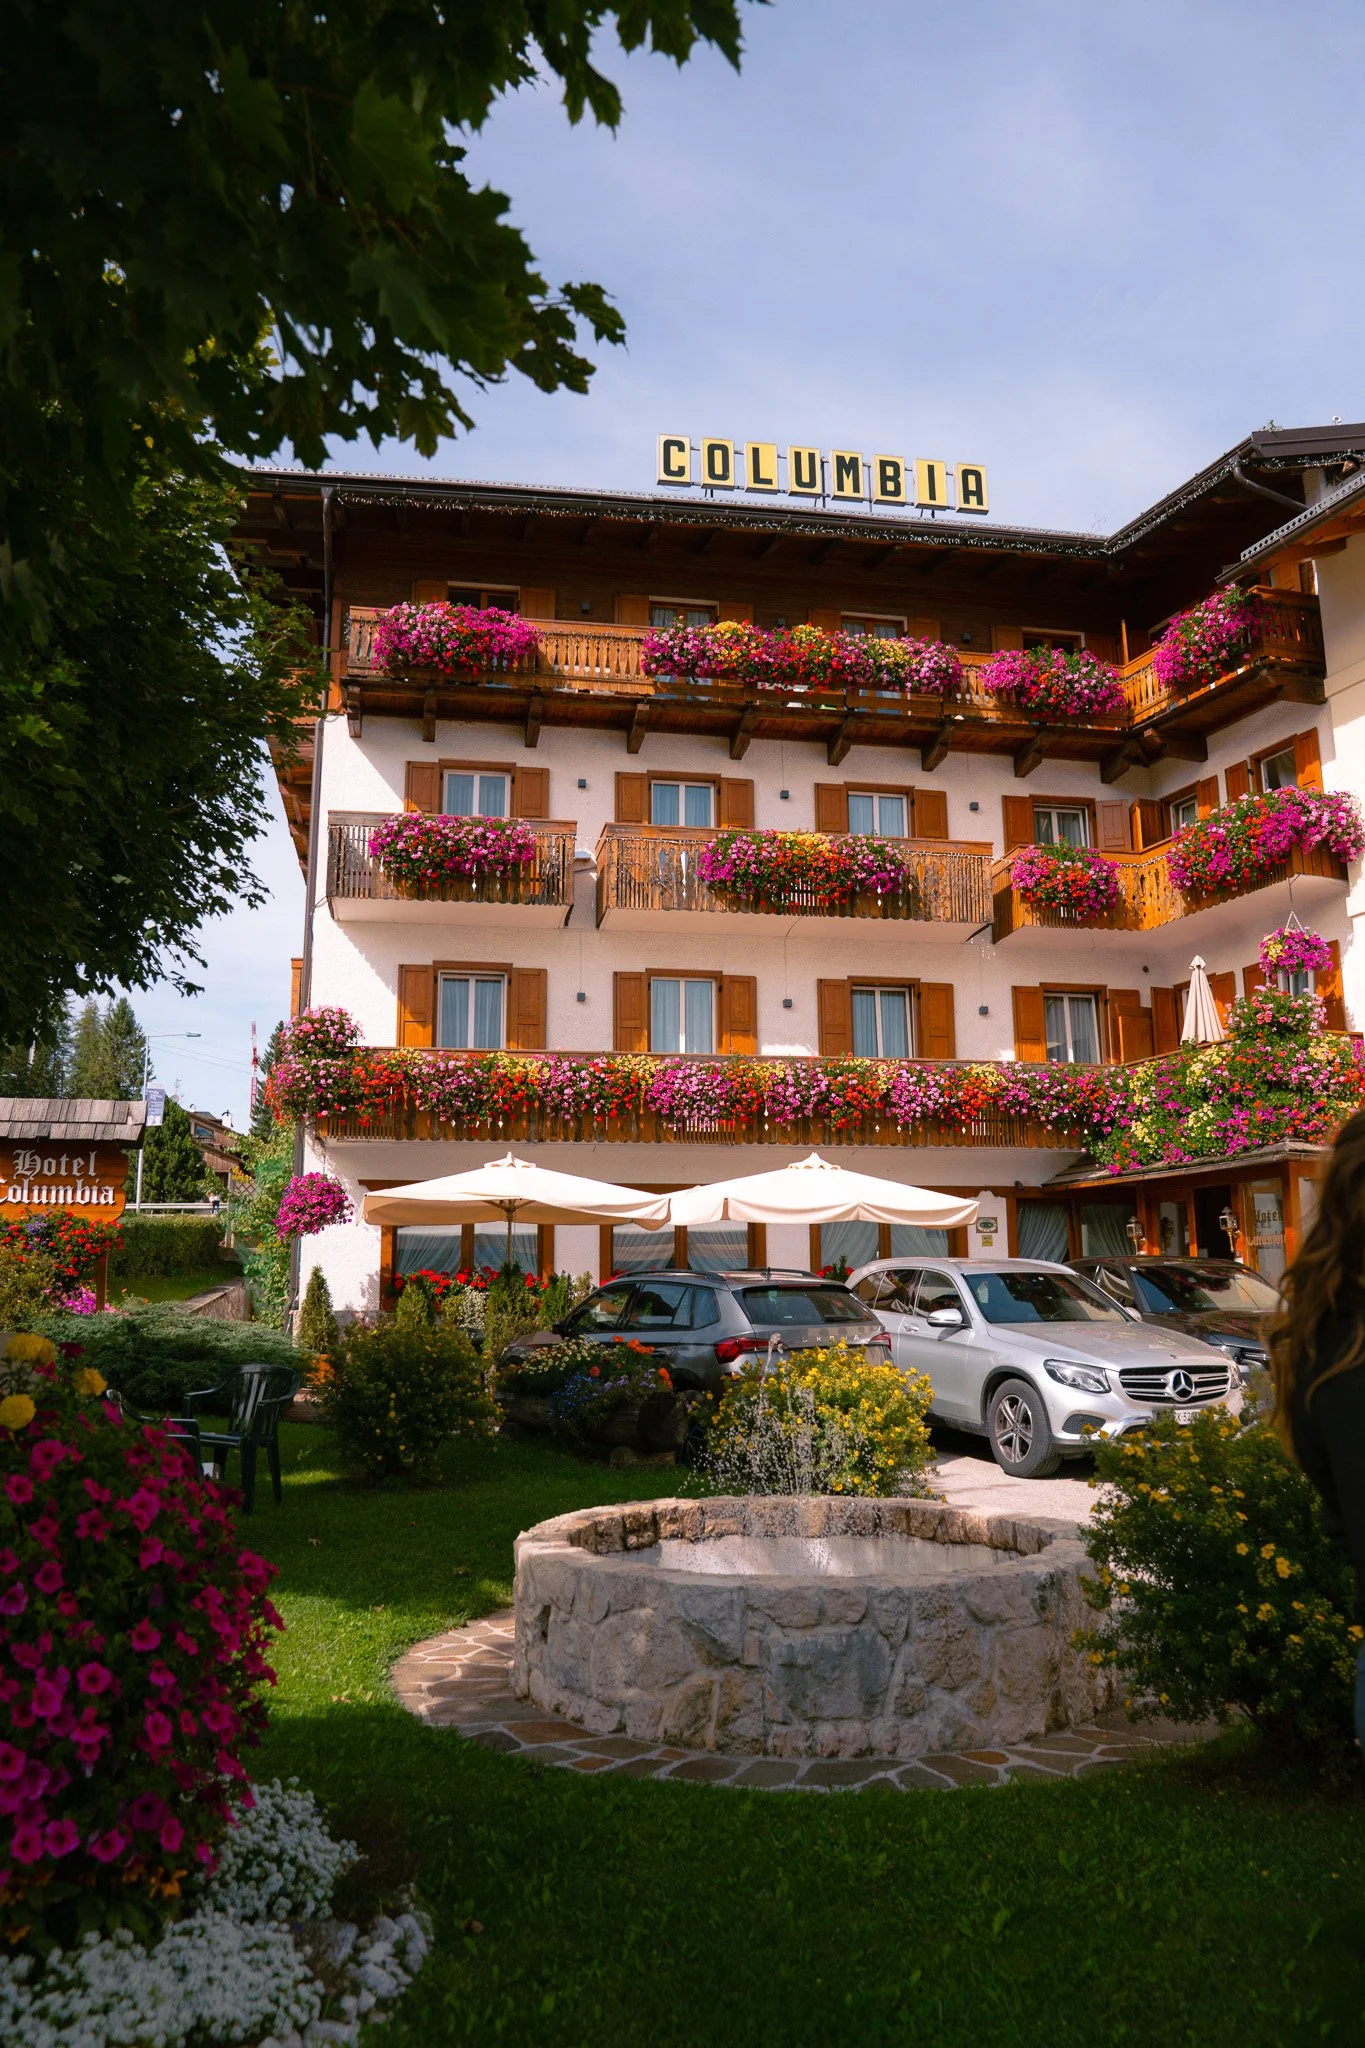
After checking into Hotel Columbia, which was positively LOVELY, we kept things pretty low-key — grabbed dinner in town, took a quick stroll, and tried to stay awake long enough to adjust to the time change. We had an early start to the following day, and after our stressful travel fiasco, we passed right out.
Day 2: Lago di Braies
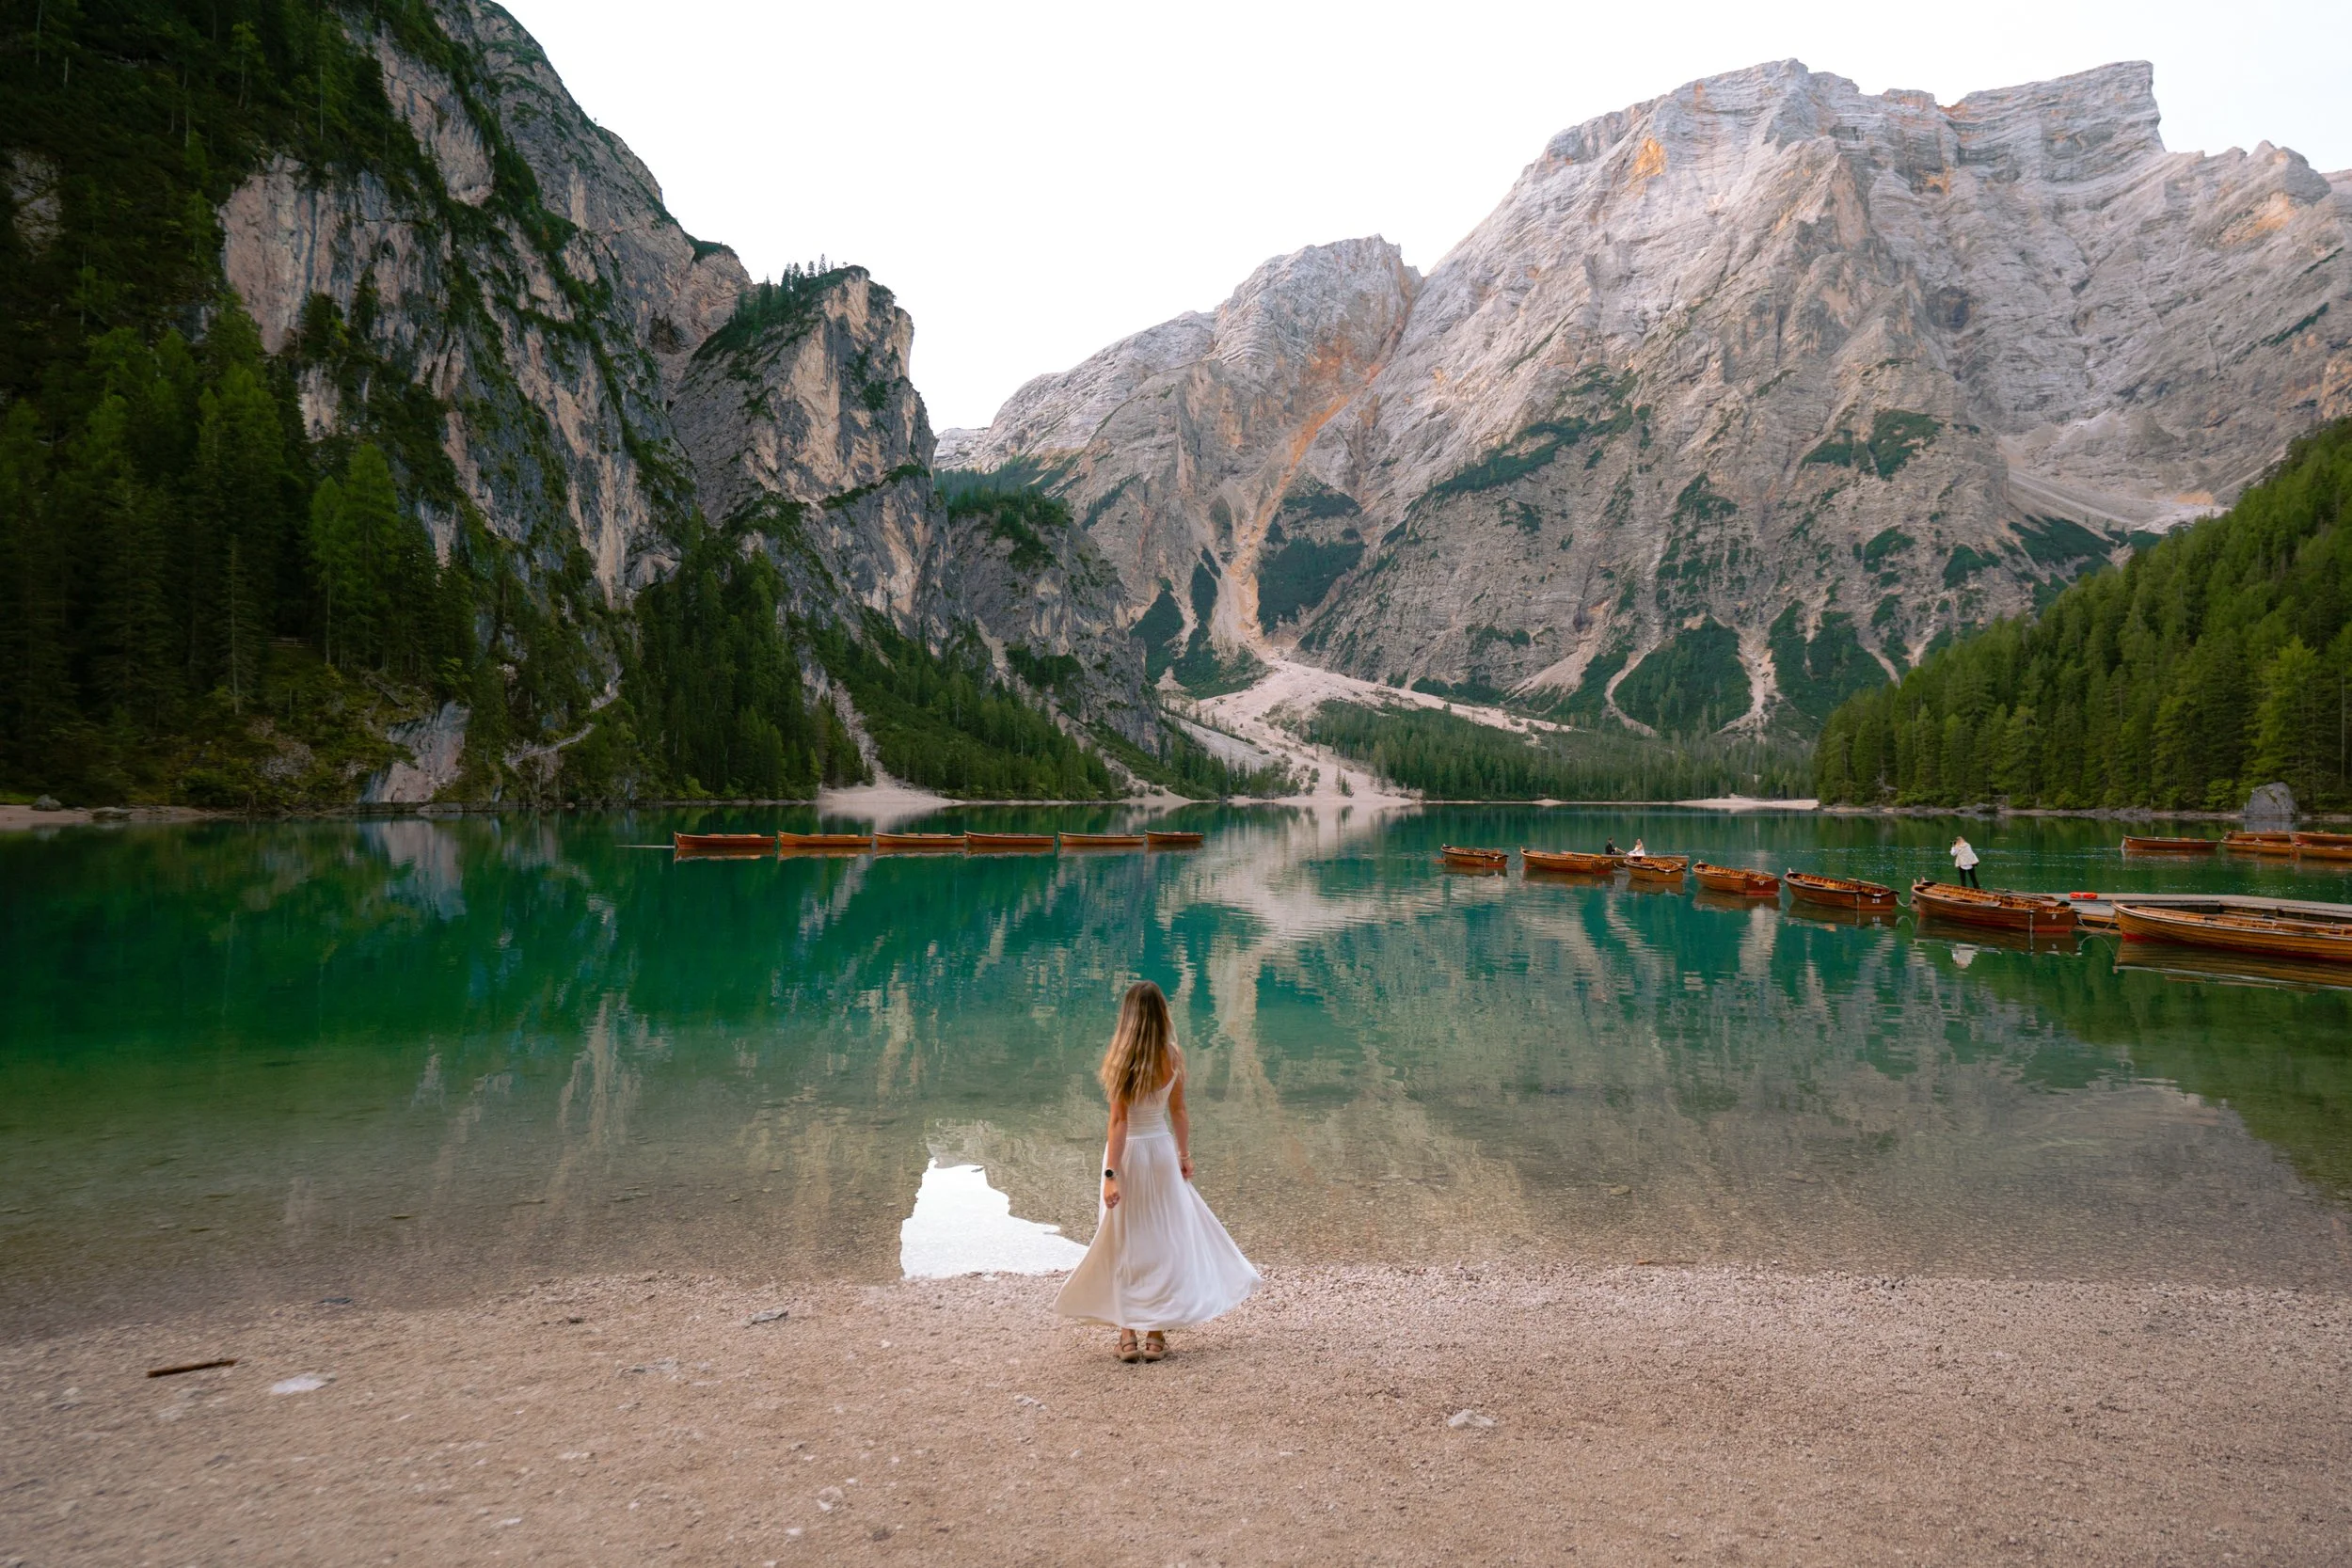
An actual fairytale
We set an early alarm for this one, and I mean early. Lago di Braies is one of the most popular spots in the Dolomites, and it’s about an hour driving distance from Cortina d’Ampezzo. If you don’t get there early, it does unfortunately become an overcrowded nightmare. The little wooden boats on the still lake were a bucket list shot for me as a photographer, and once they’re available to rent out, the stillness of the water and magic of the moment fades away.
A few things to know:
Parking needs to be booked in advance during peak season (usually July–September). You can reserve a parking pass online here ahead of time.
If you’re driving, the road to the lake typically closes to traffic from 9:30 AM to 4 PM in summer, unless you have a reservation (parking, hotel, or restaurant).
The boats cost around €50 for 45 minutes (up to 5 people), and rentals usually start around 9:30 AM. It’s honestly such a unique experience and totally worth it.
There are also a few dining options to grab some food right by the lake, including Chalet Lago di Braies, Emmas Bistro, and the Panorama Restaurant. We did just that and were not disappointed…my omelet had little bits of truffle on it and was genuinely heavenly.
We arrived just before 8:00 AM and the lake was completely calm, the water was an unreal milky turquoise, and the surrounding peaks reflected perfectly on the surface.
Most people gather around the main dock (the iconic photo spot), but I’d highly recommend walking the full loop around the lake. As you get further along the trail, the crowds thin out and you get a completely different perspective of the lake.
We took our time here, stopping constantly for photos and just soaking it in before heading back toward Cortina.
Day 3: Lago di Sorapis + Via Ferrata
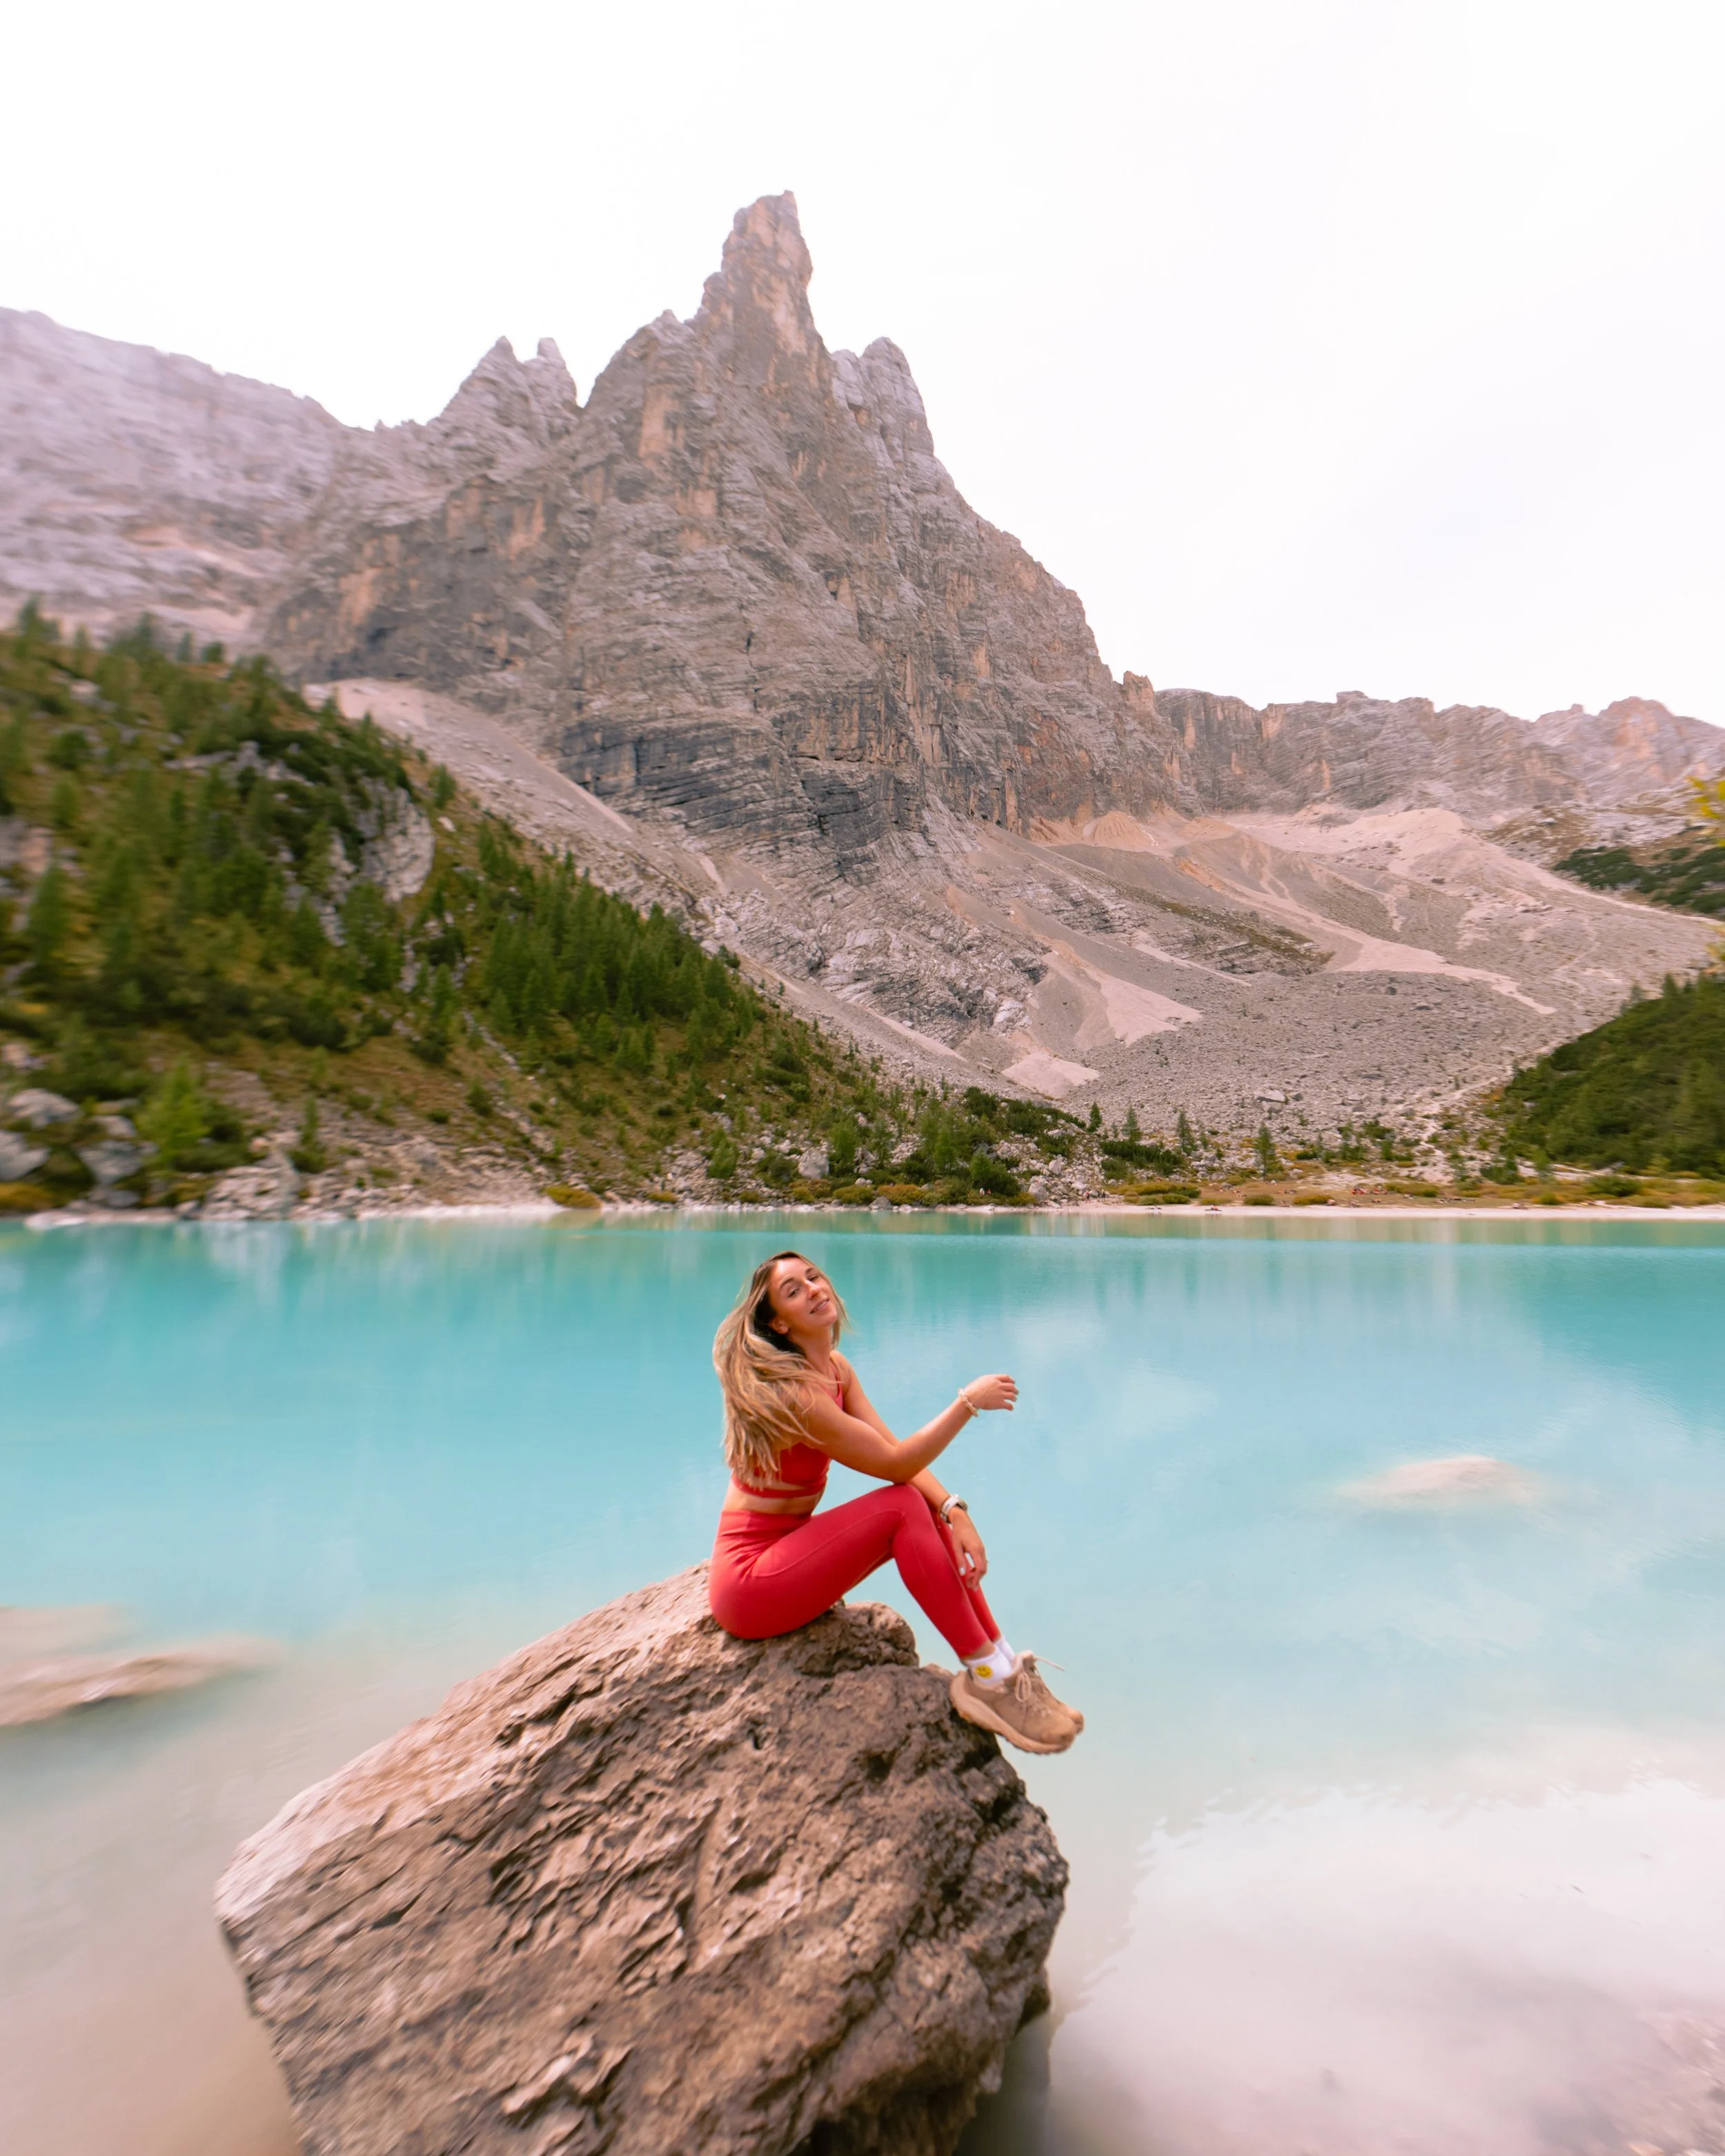
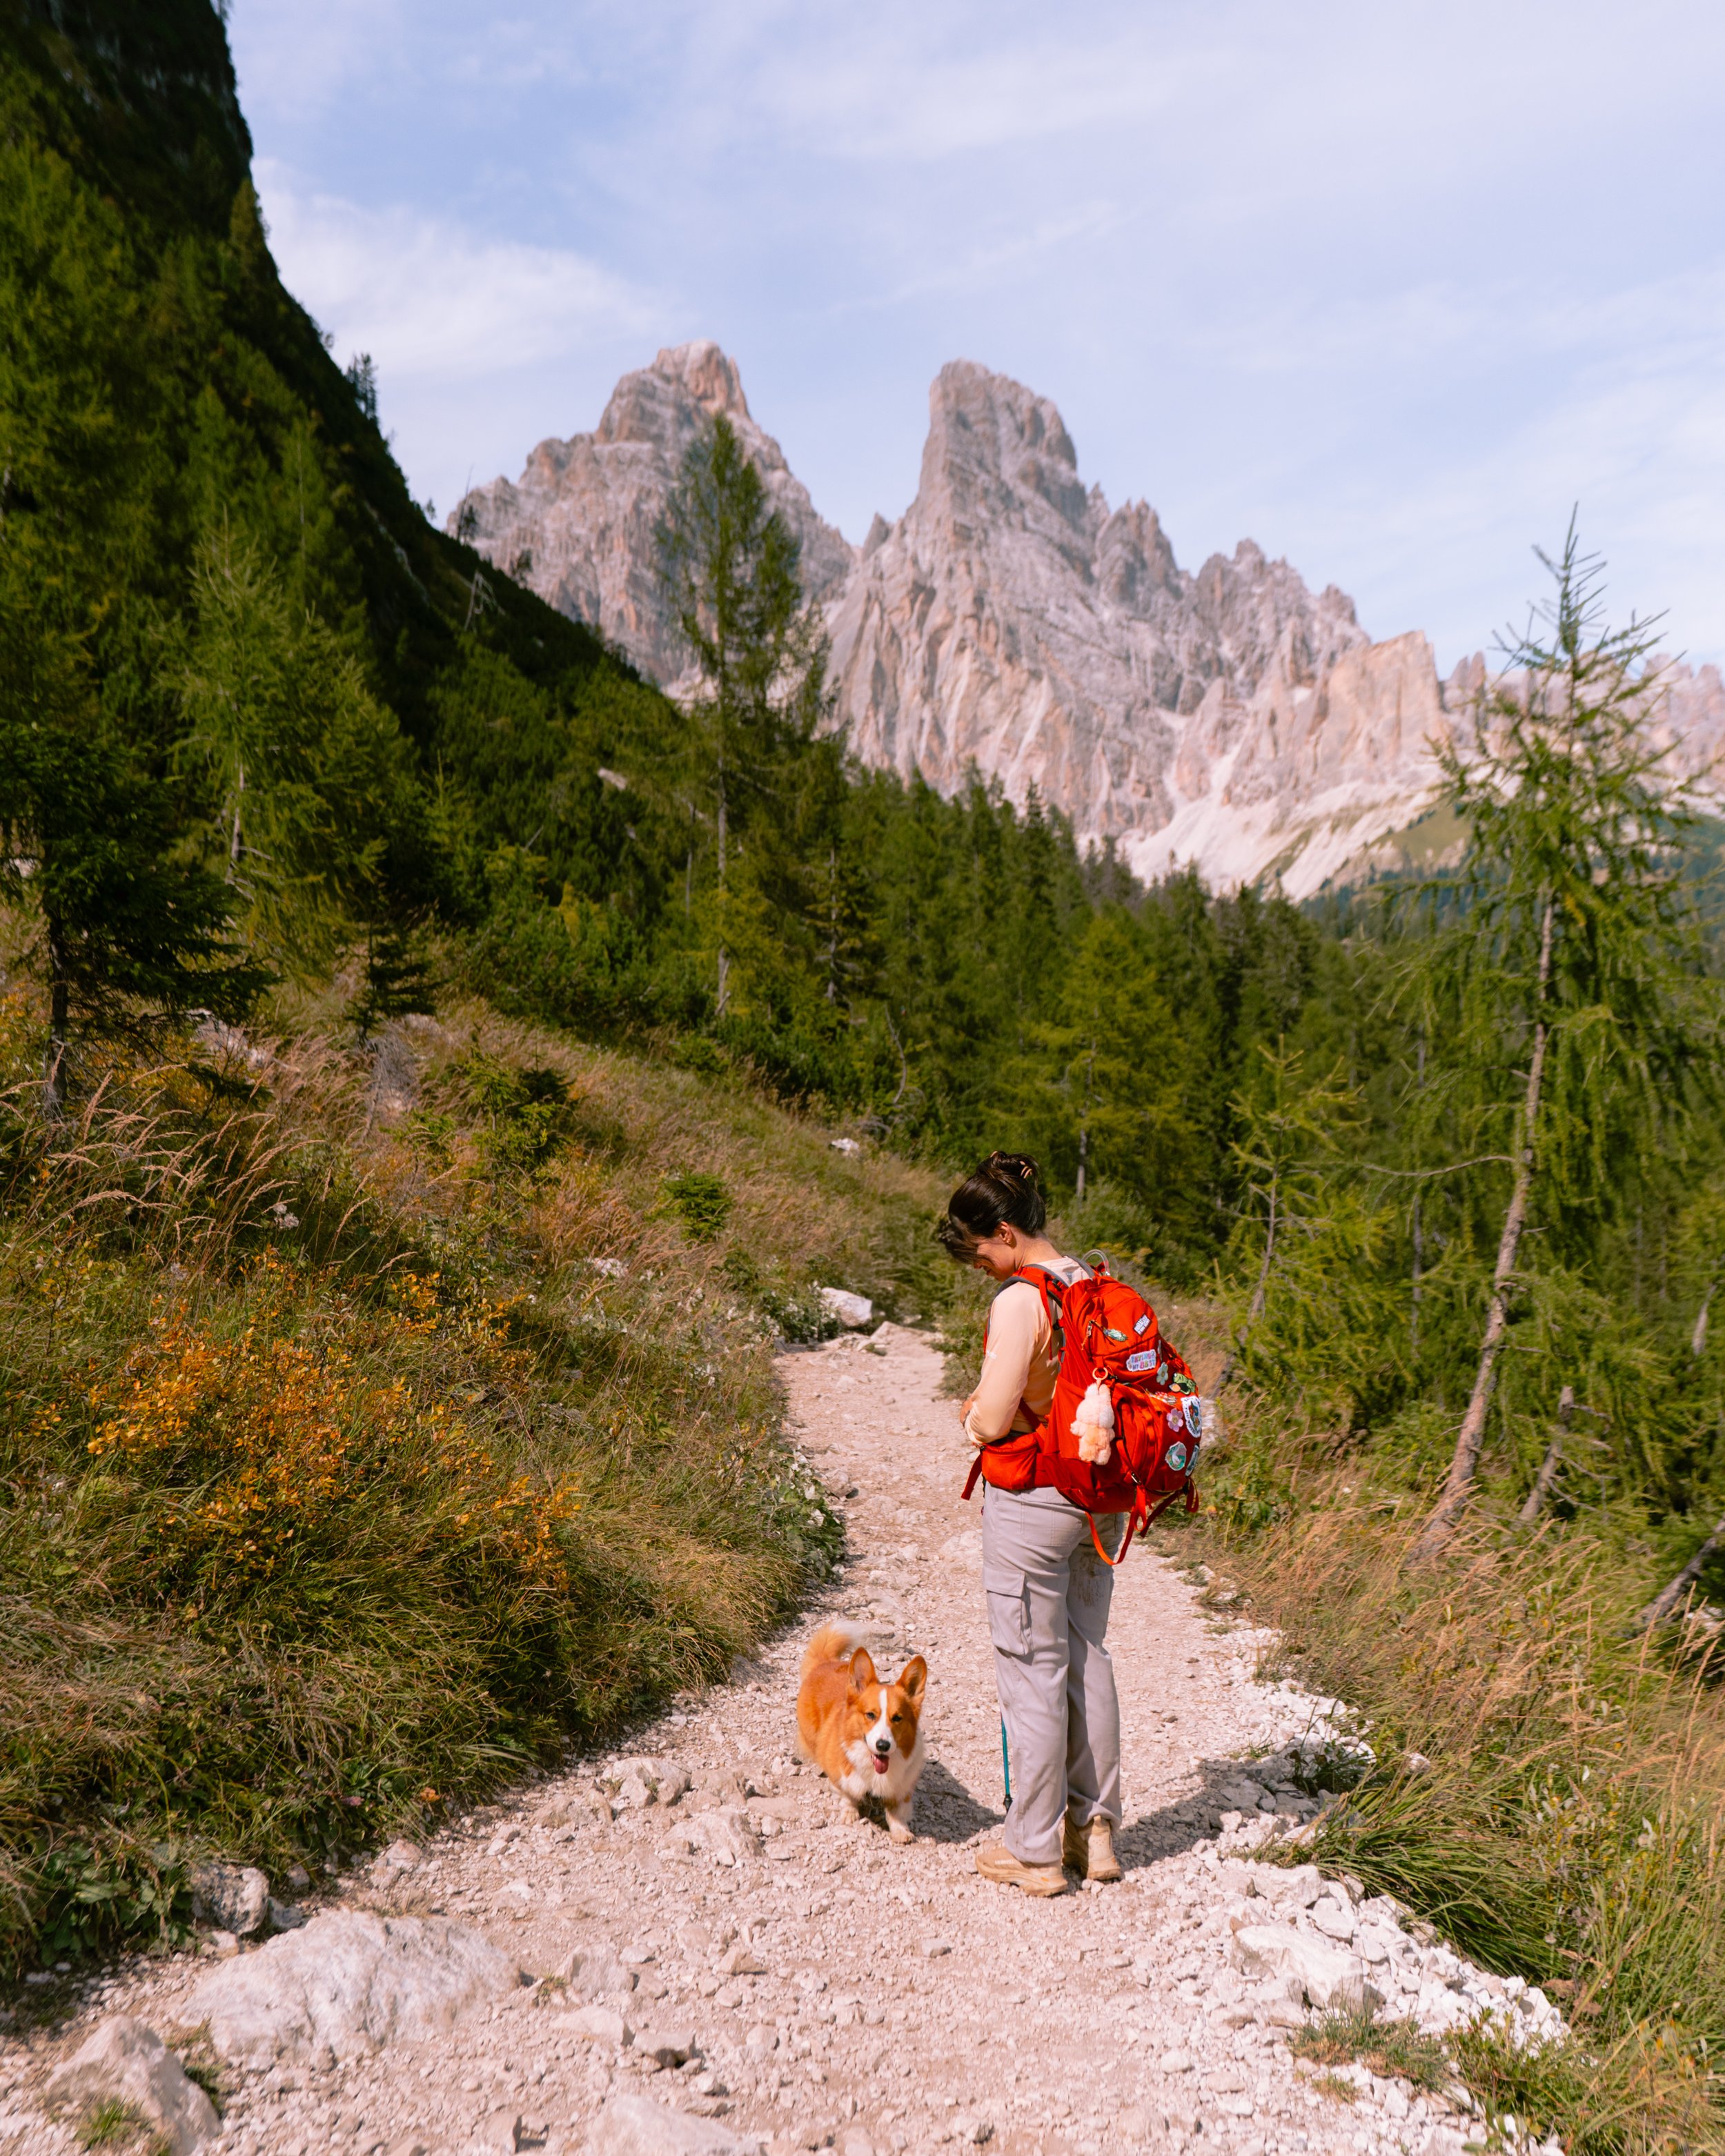
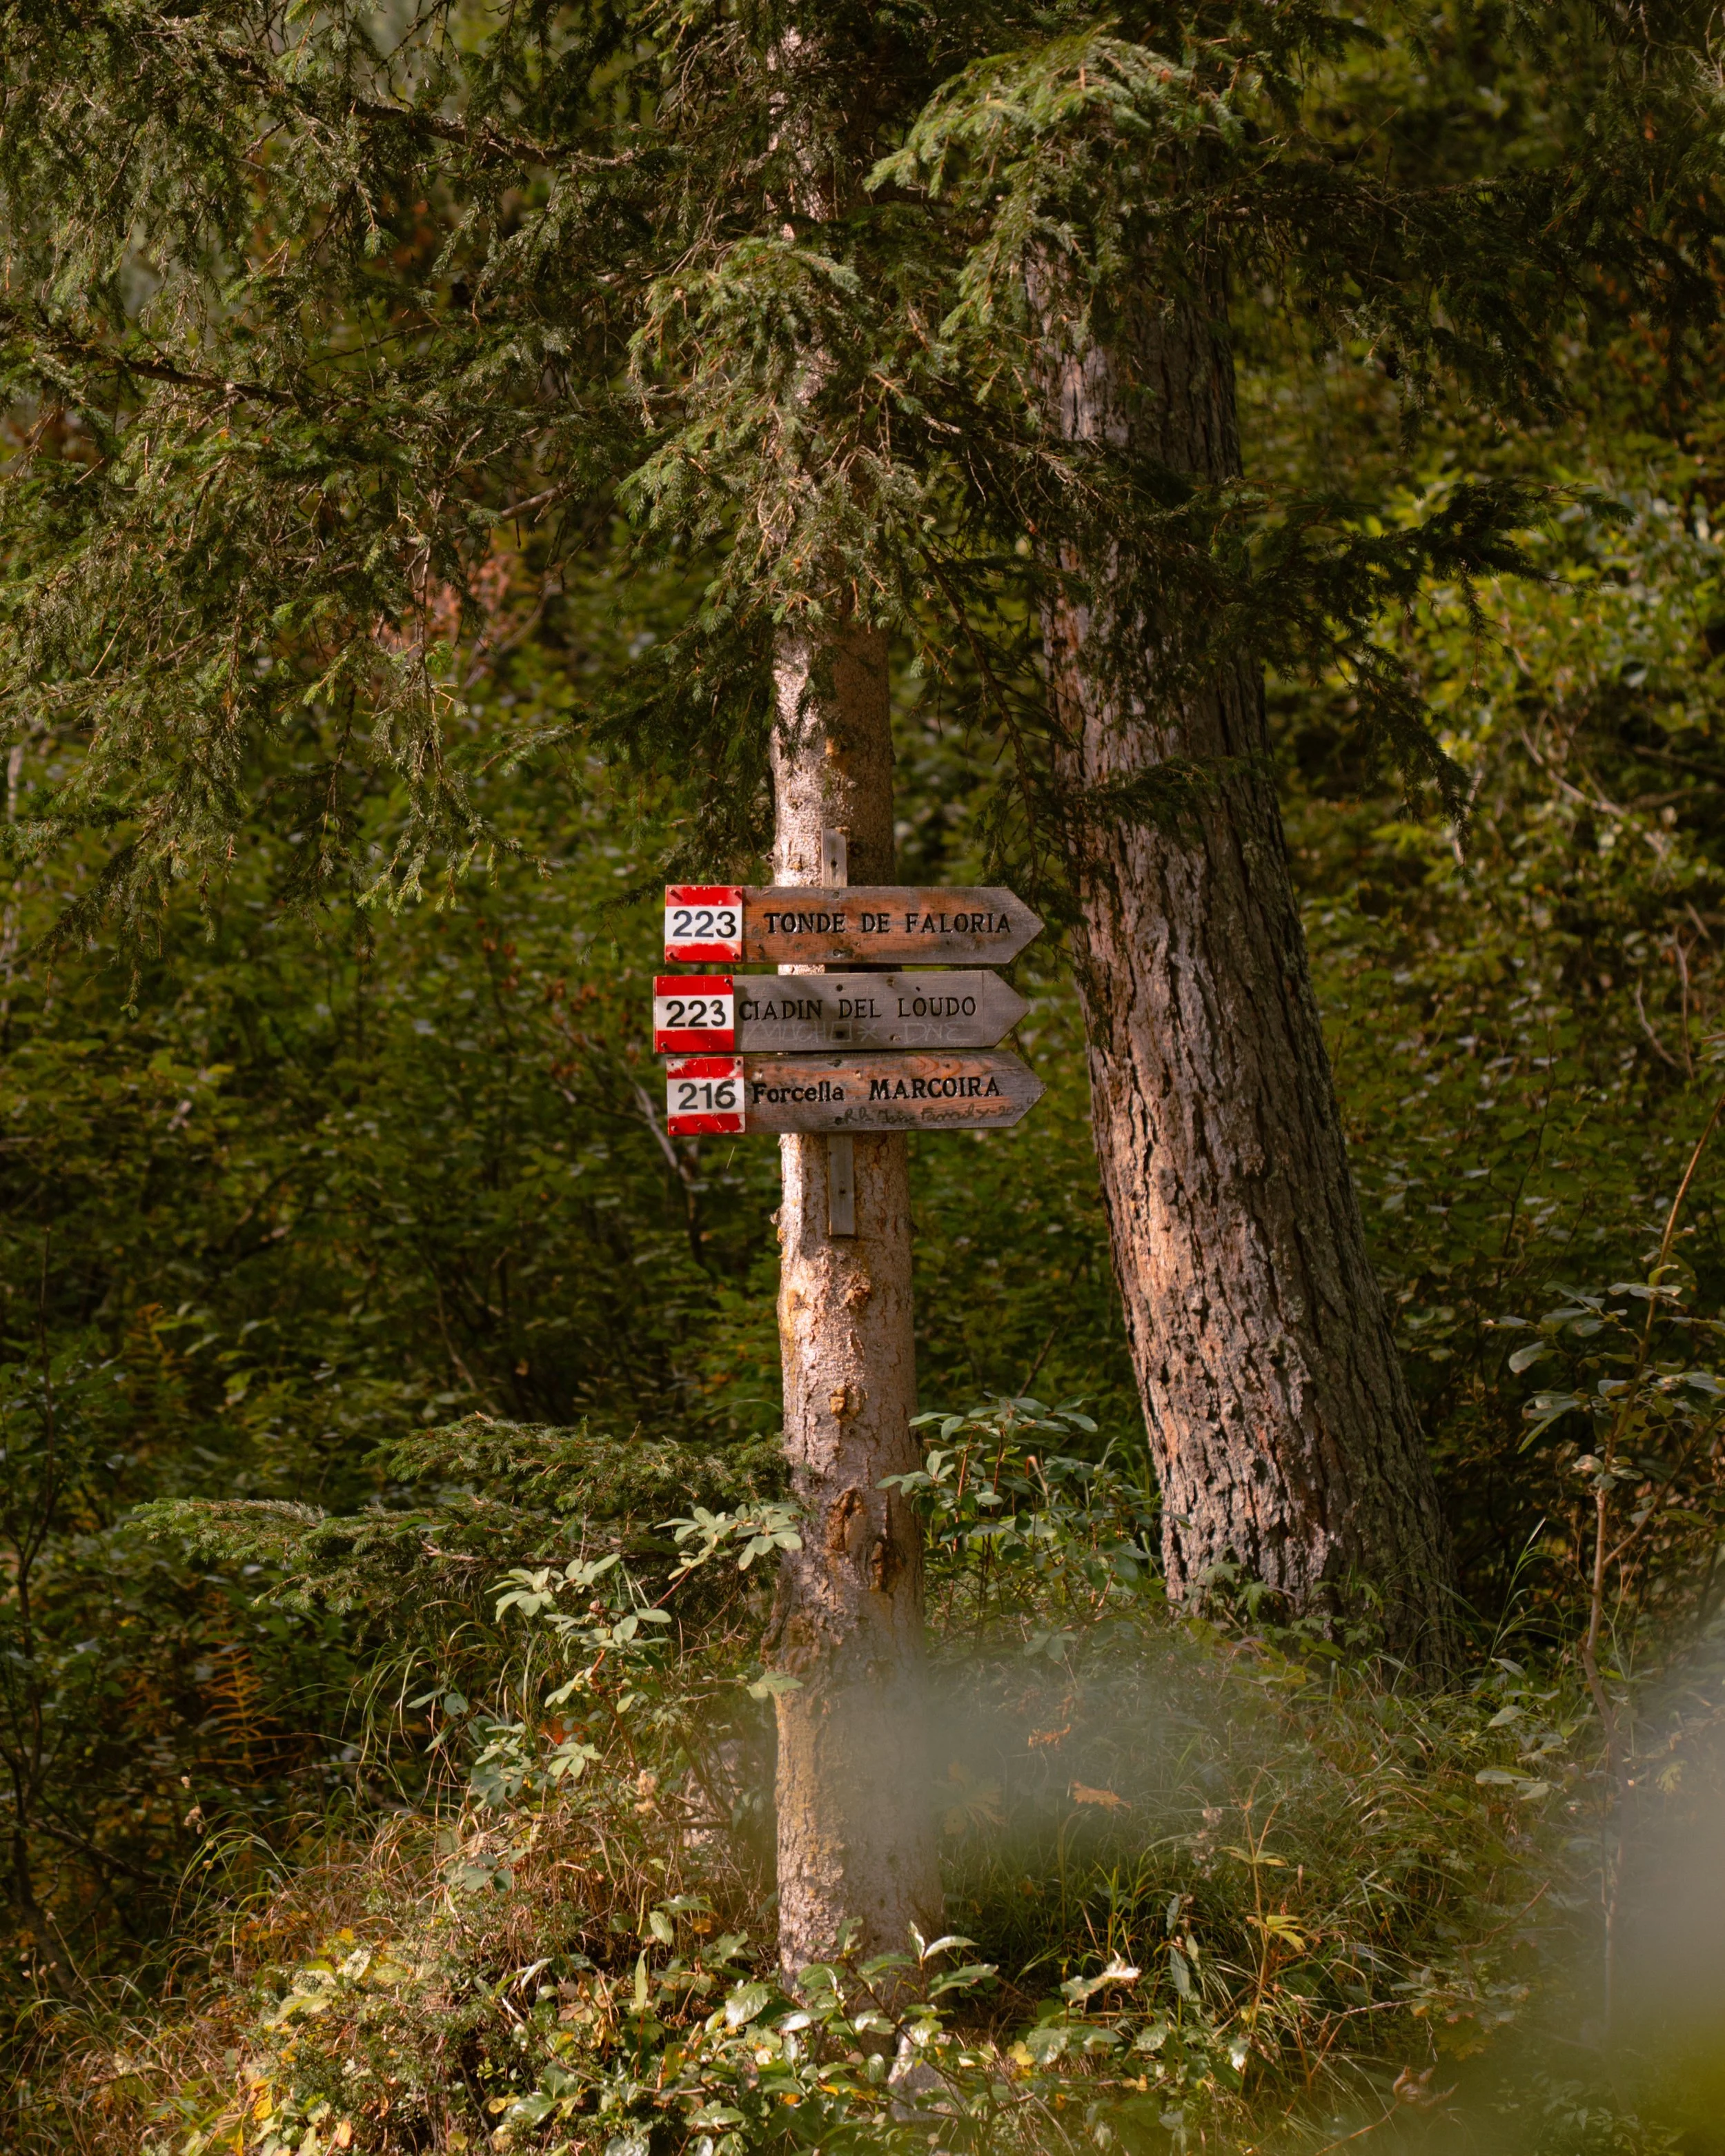
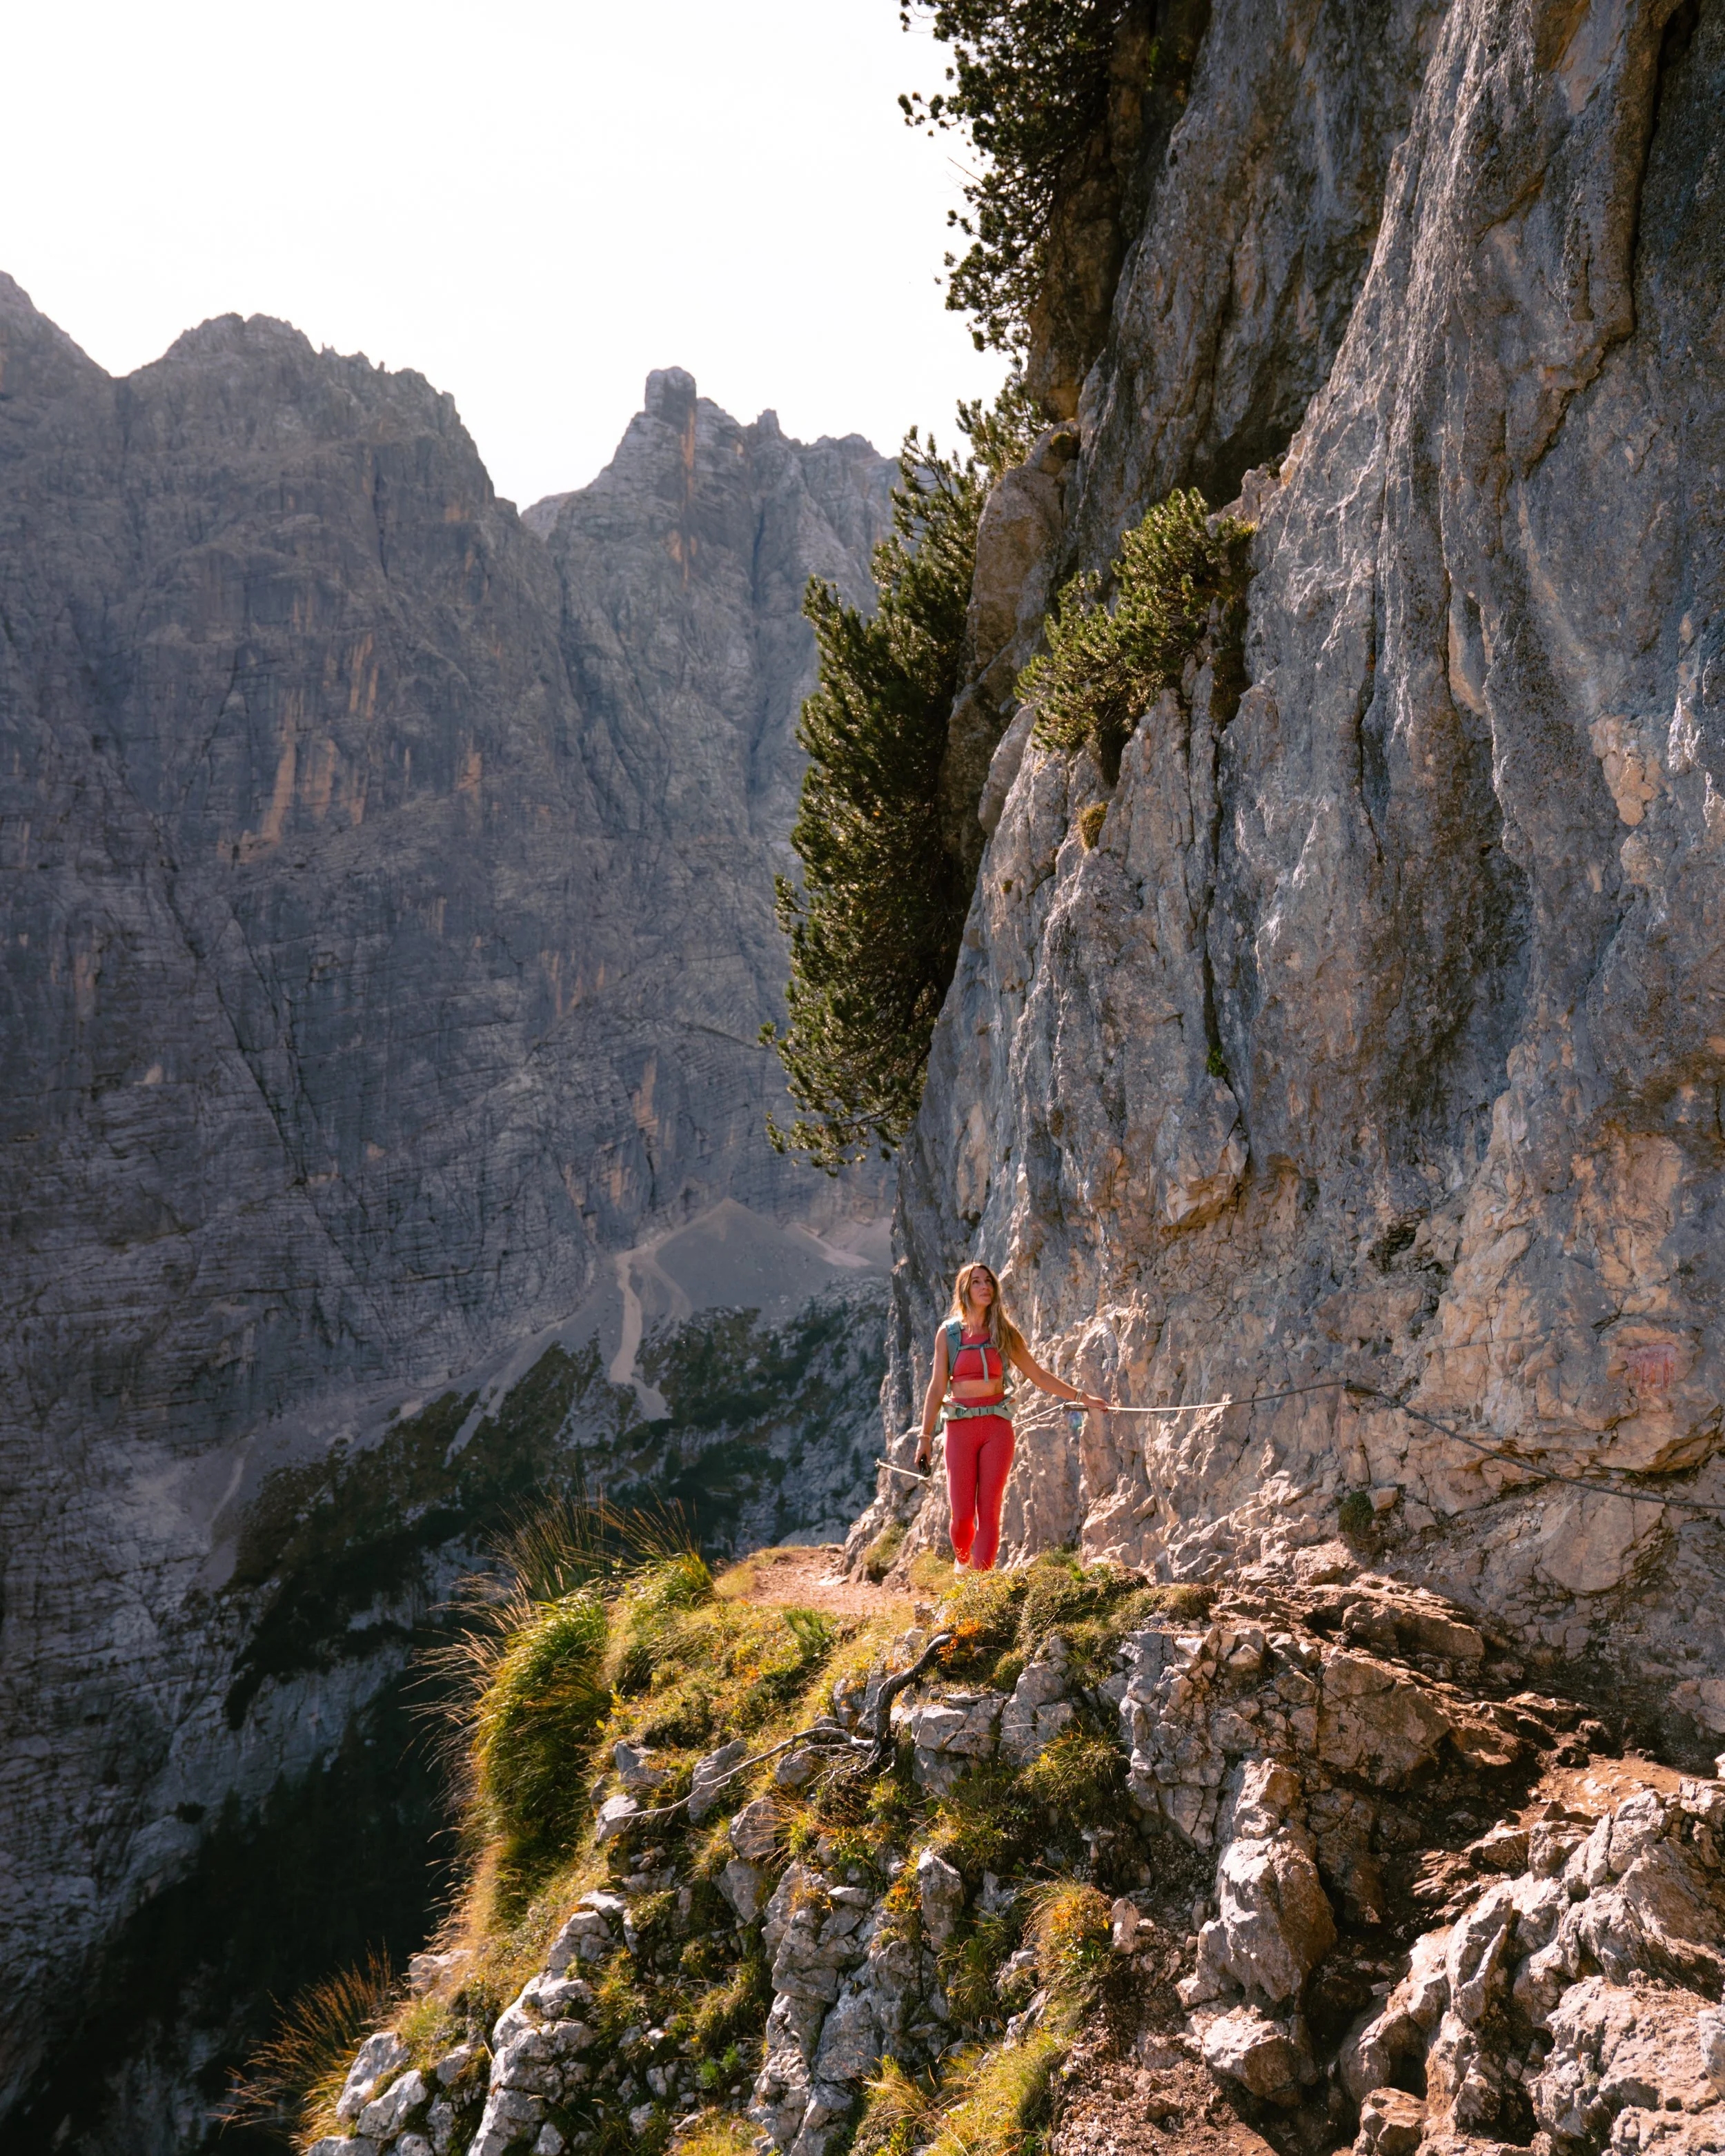
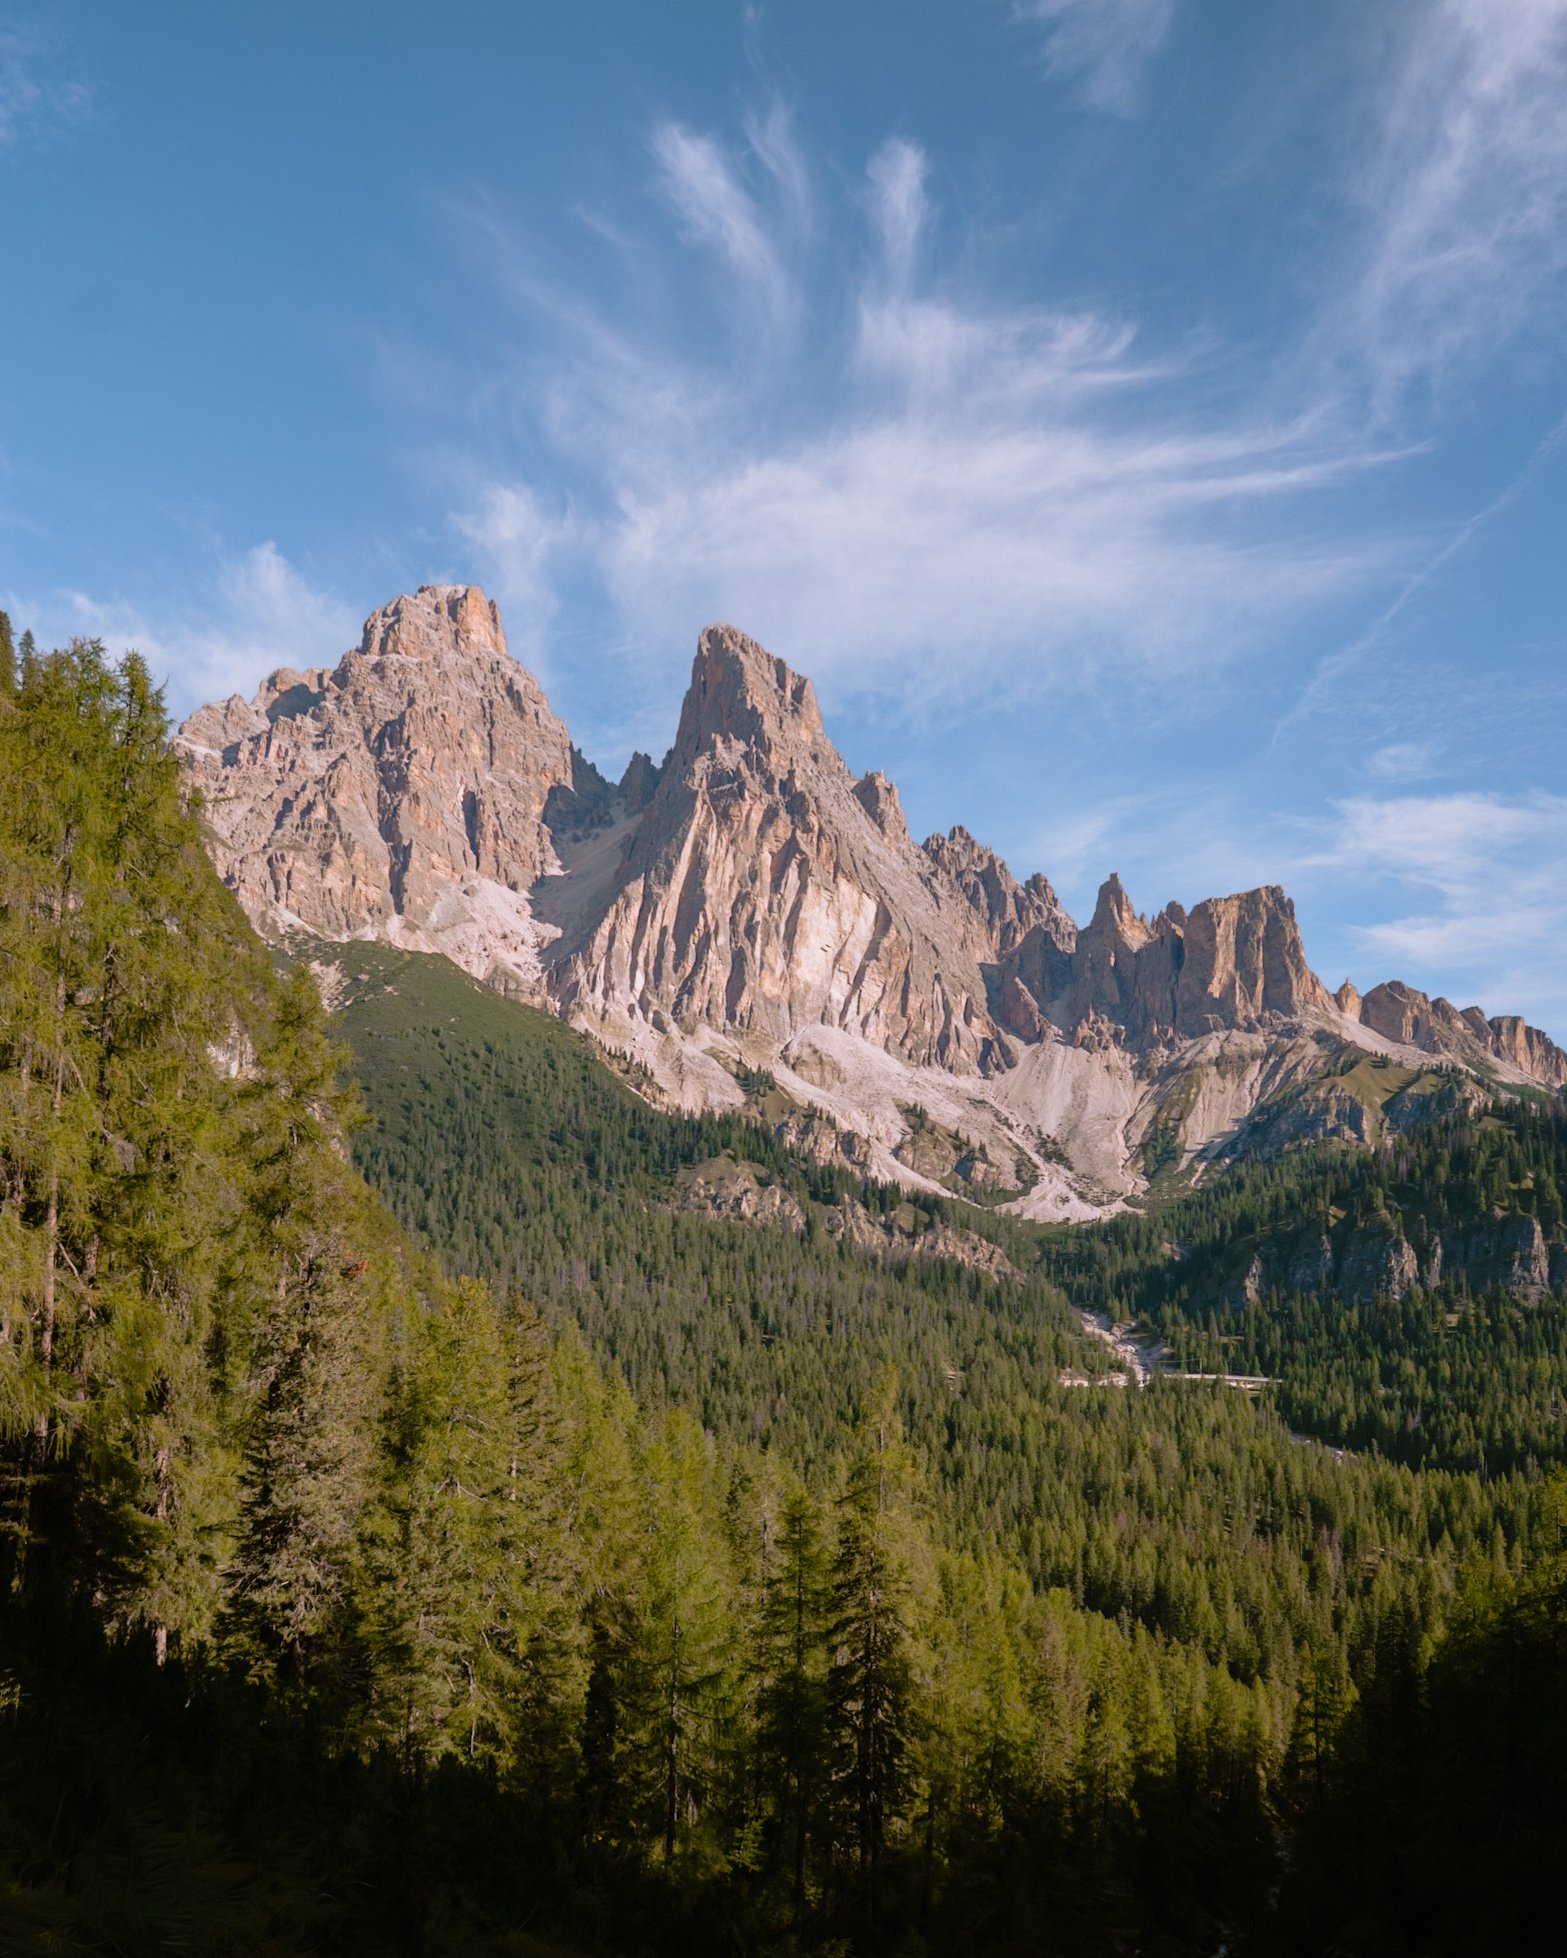
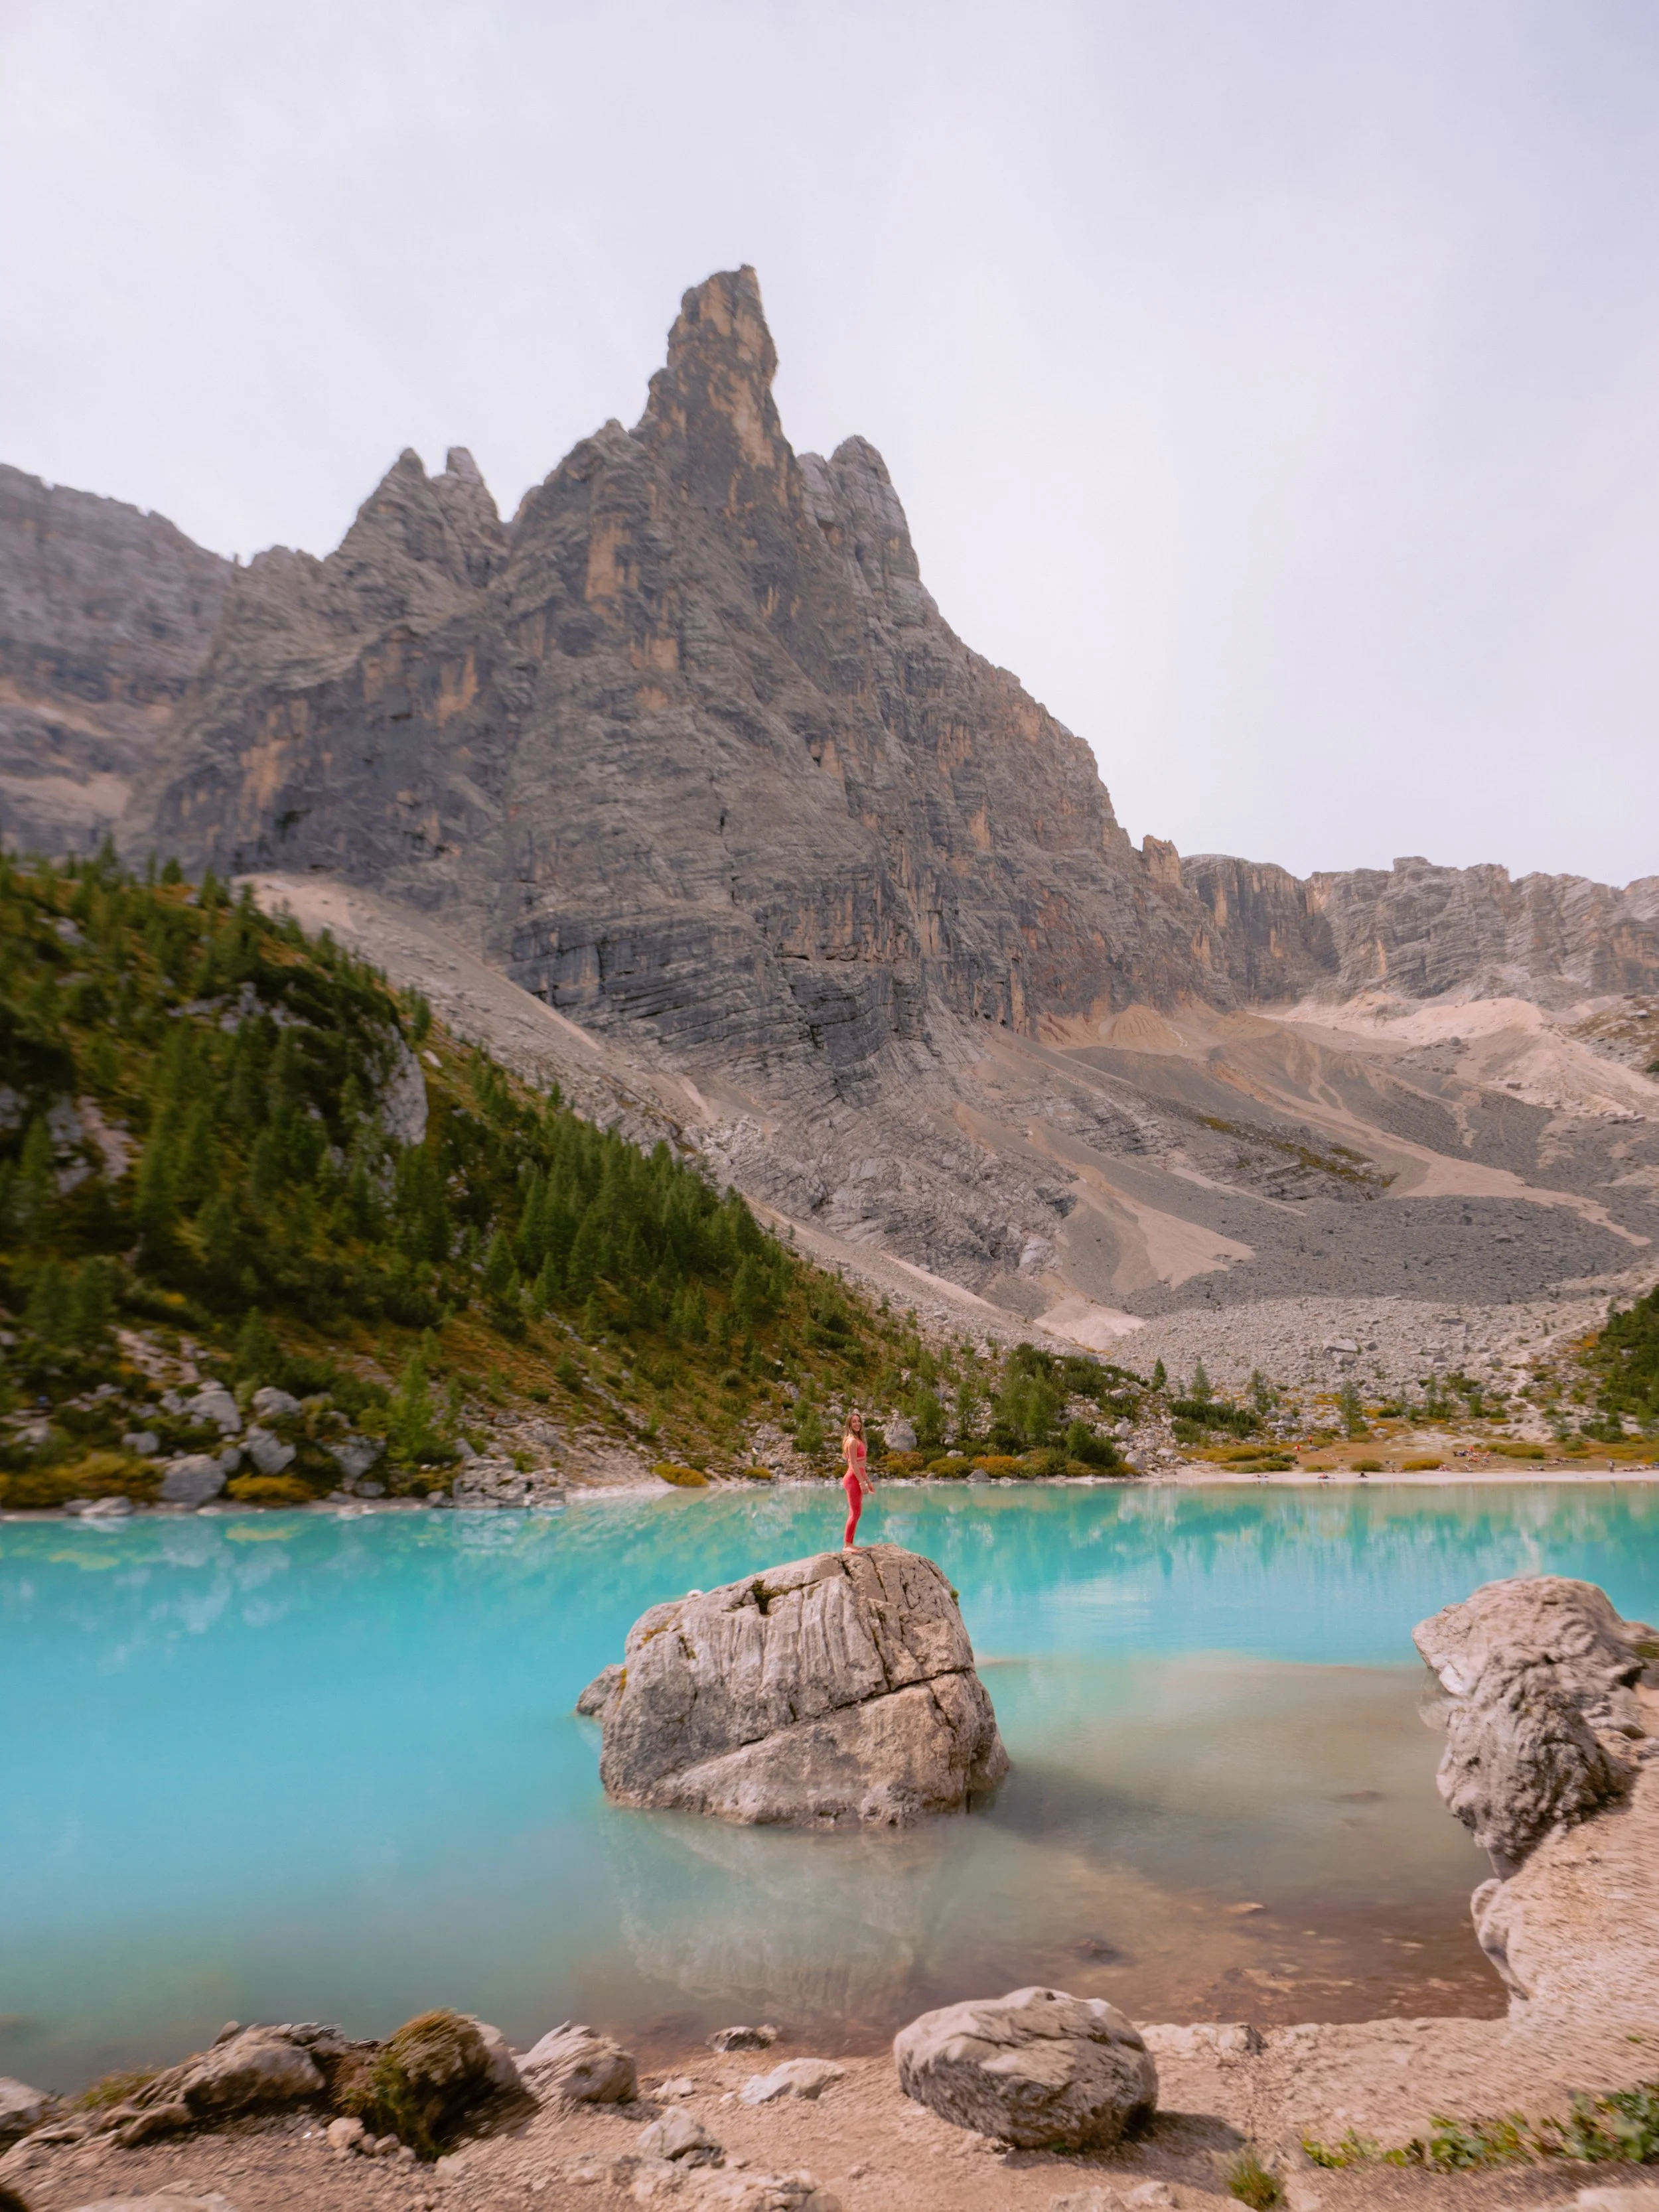
We started the morning with the hike to Lago di Sorapis, which is about 7–9 miles roundtrip. The trail itself keeps things interesting — you’ll move through forest, along narrow ledges, and across a few cable-assisted sections that require a bit of attention but are totally manageable. Our biggest mistake was starting this one too late in the morning (around 8:45 AM) and it was CROWDED. Like, Disneyland crowded.
But despite the crowds, when we finally arrived at the lake…it genuinely looked fake. The color is this bright, opaque turquoise that almost doesn’t make sense against the rocky backdrop.
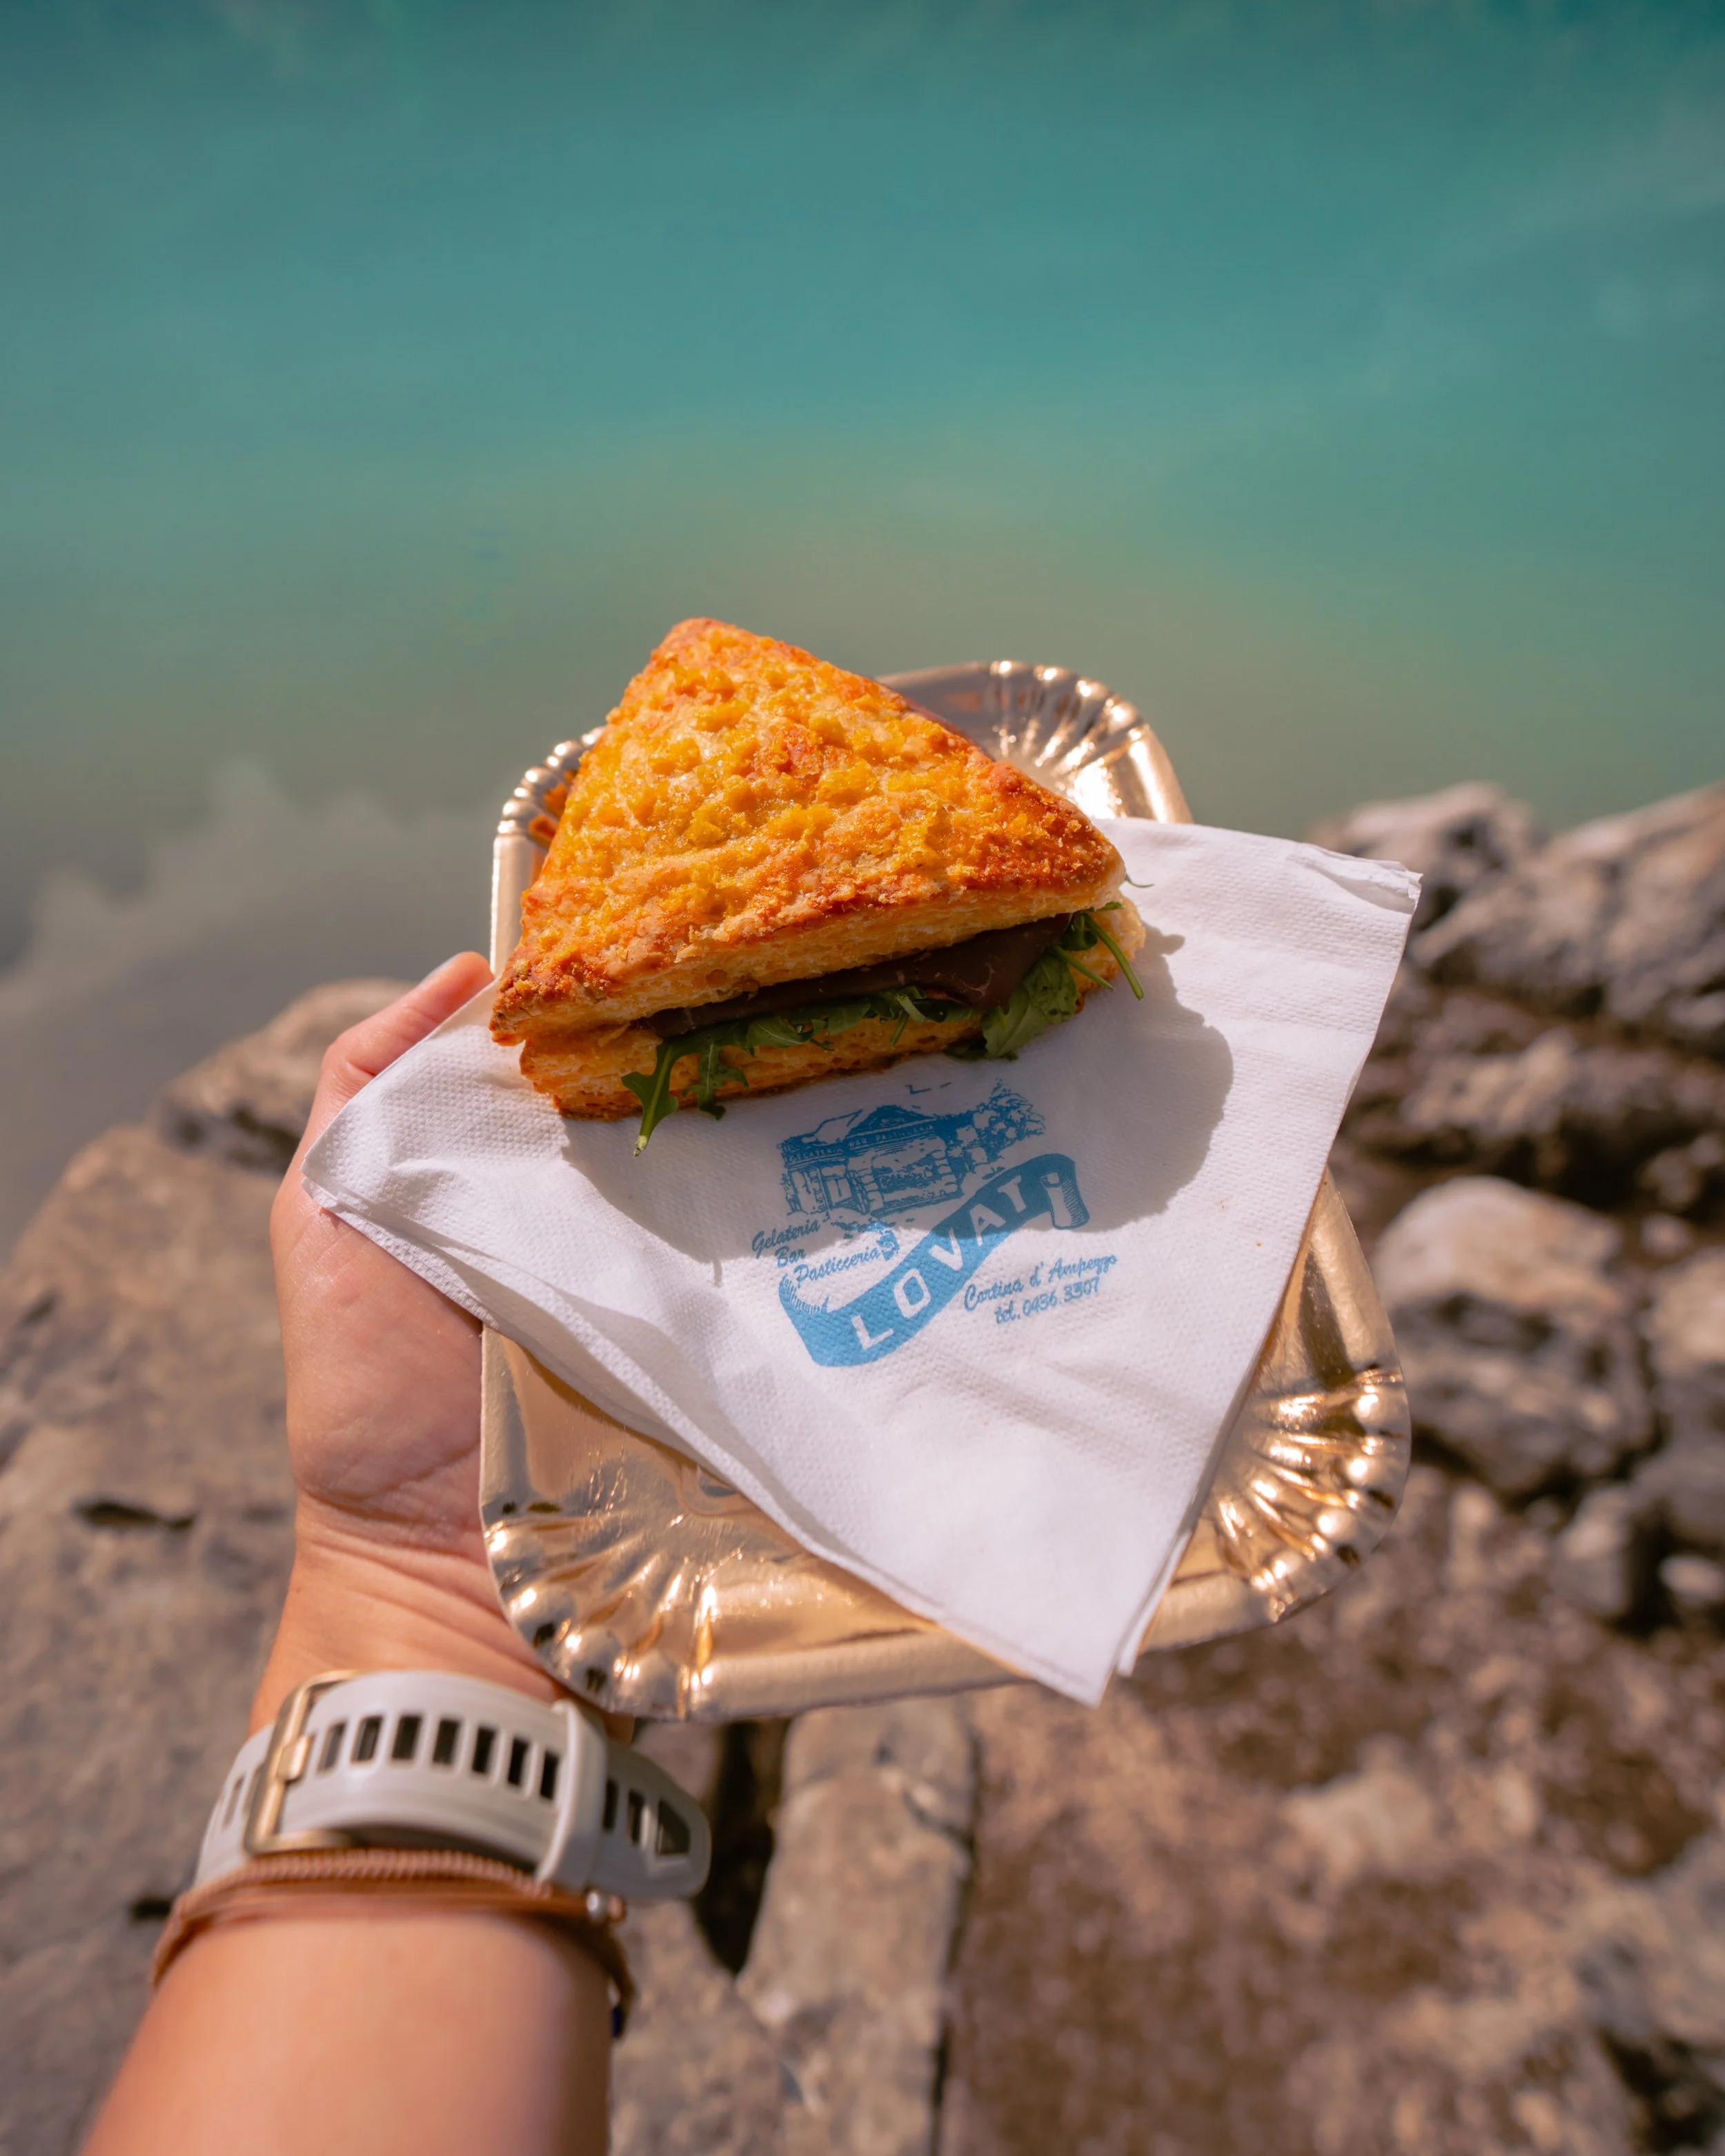
We hung out by the lake for a bit, ate our picnic lunch from the bakery, and then headed back down.
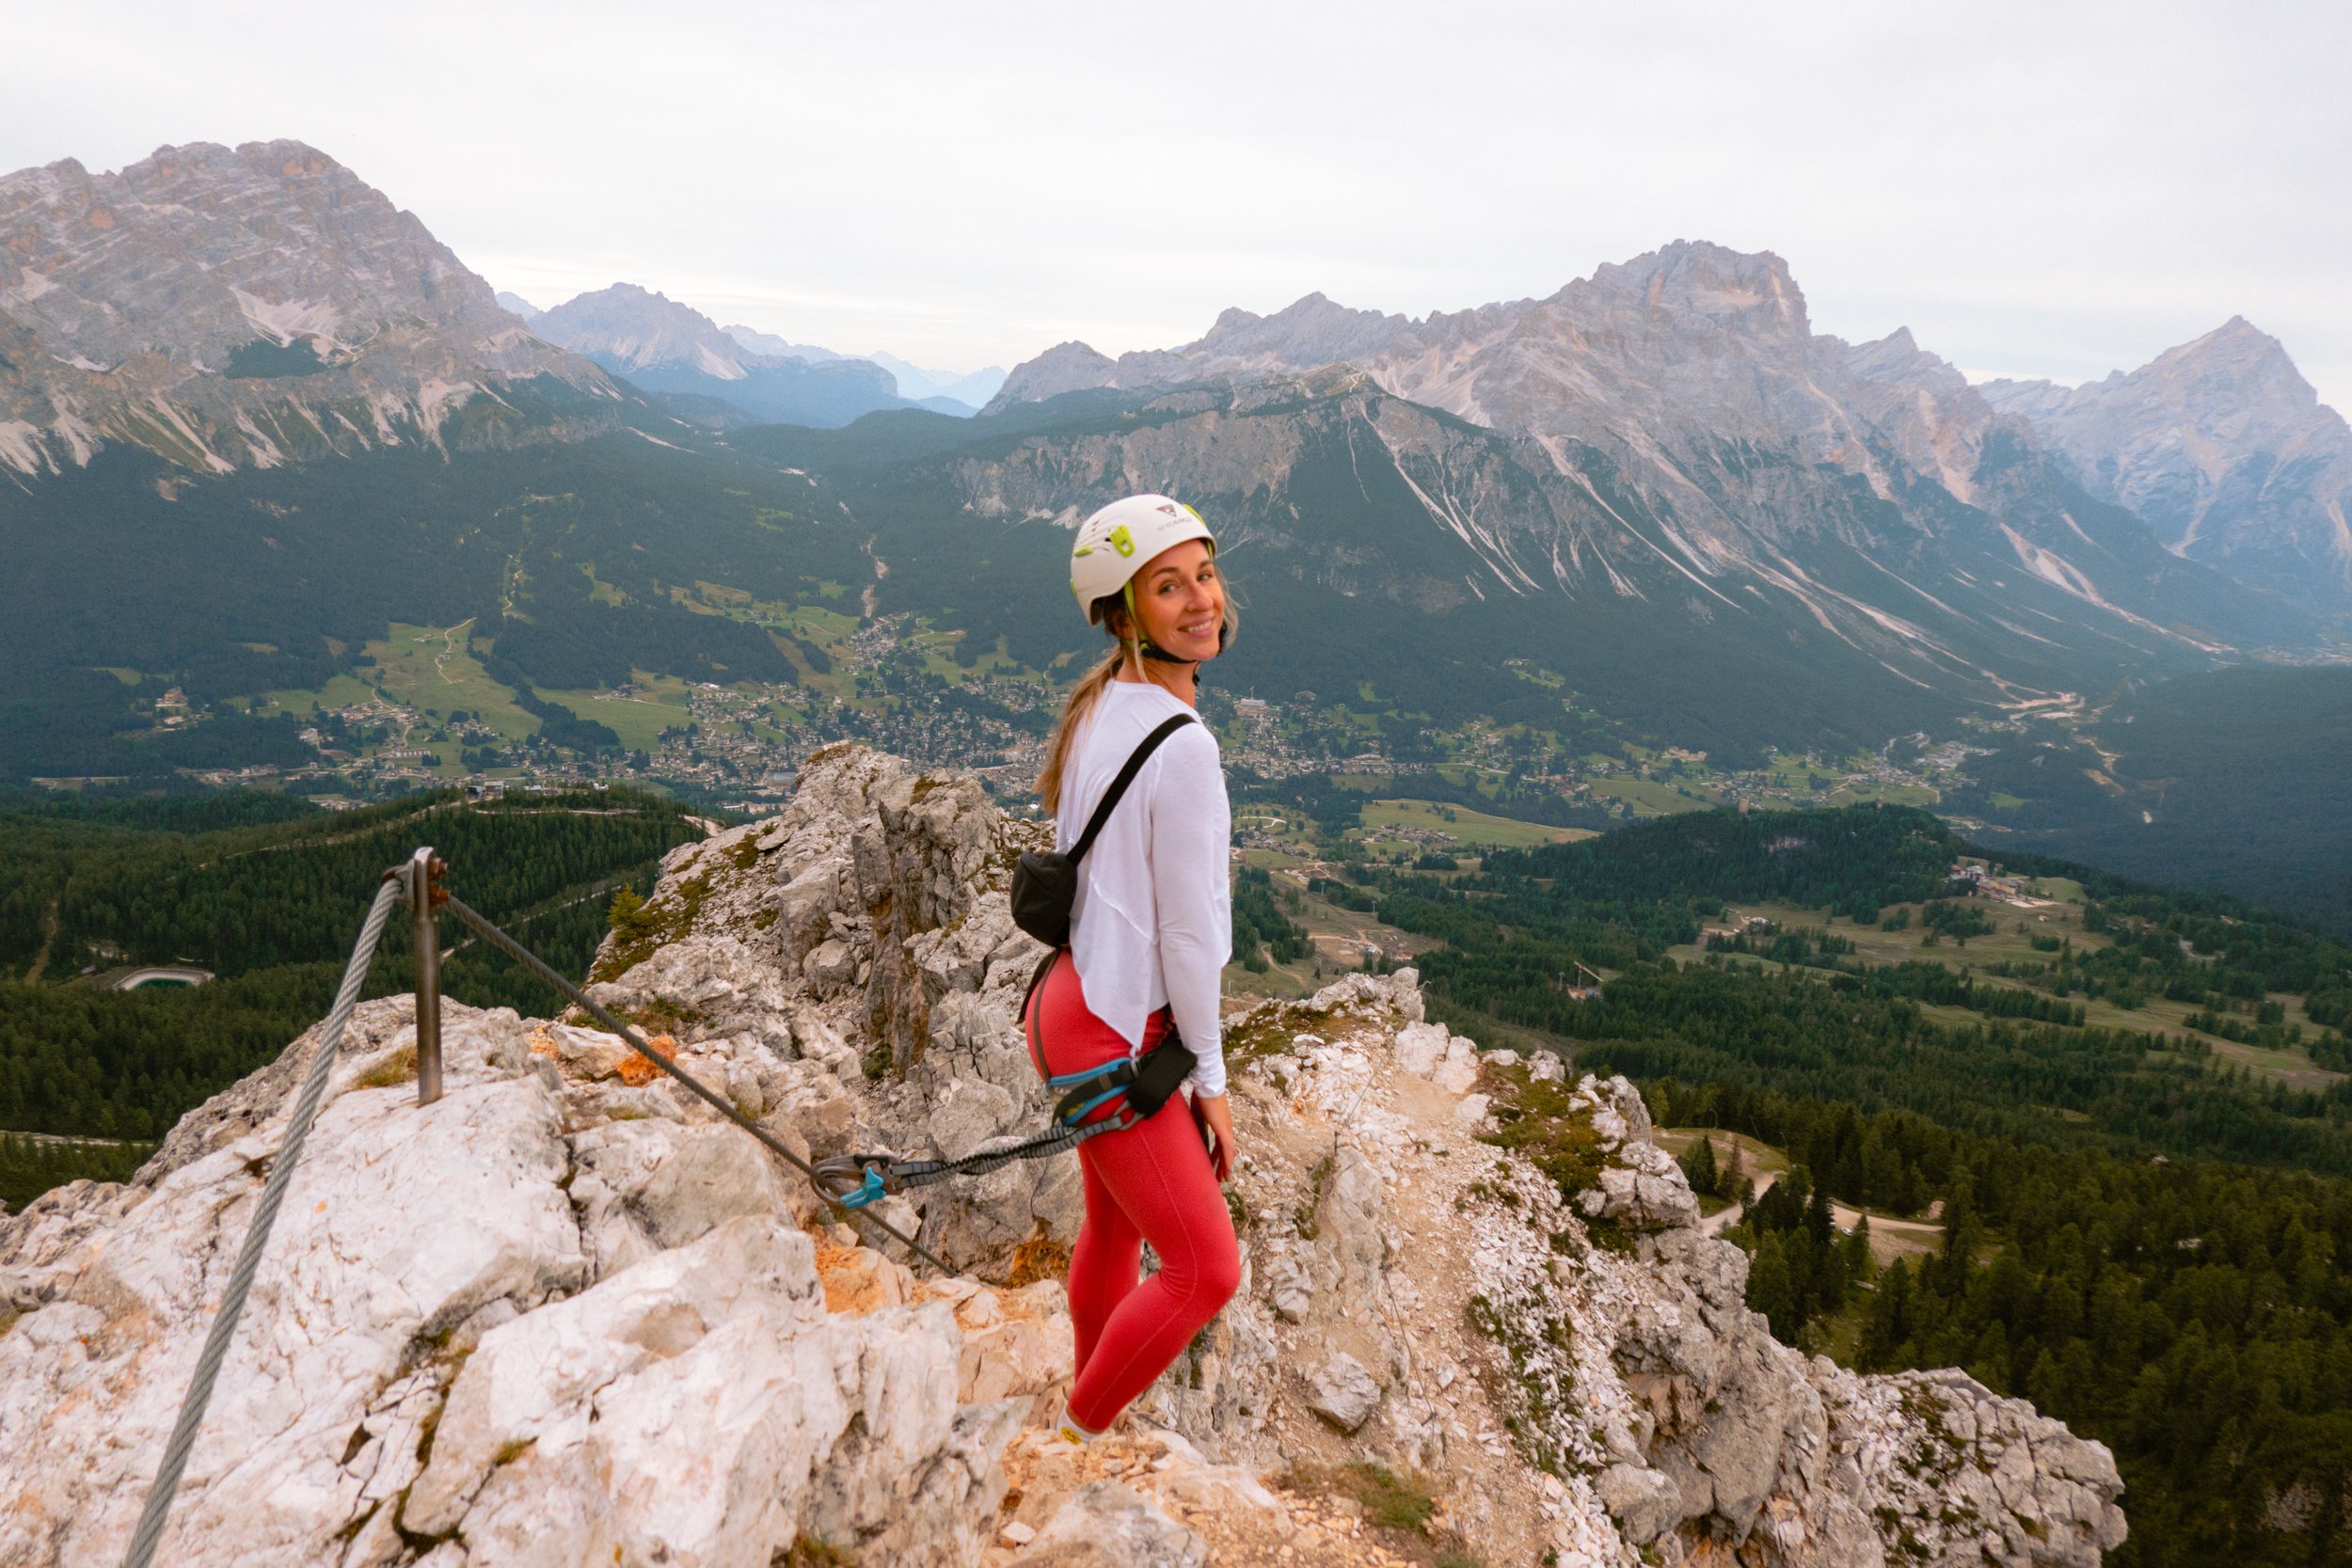
Top of the via ferrata with views of Cortina down below.
In the afternoon, we did a via ferrata (Ra Bujela), which was such a fun contrast to hiking and only a 10-15 minute drive from downtown Cortina. If you’ve never done a via ferrata before, it’s essentially a protected climbing route where you’re clipped into cables as you move along the rock face.
It’s a little adrenaline-inducing, a little humbling, and very cool. Definitely recommend if you’re comfortable with heights and want to try something different. There are several stores in Cortina that provide rental gear so you don’t need to bring your own all the way to the Dolomites.
Day 4: Start Hut-to-Hut (Sesto → Zsigmondy)
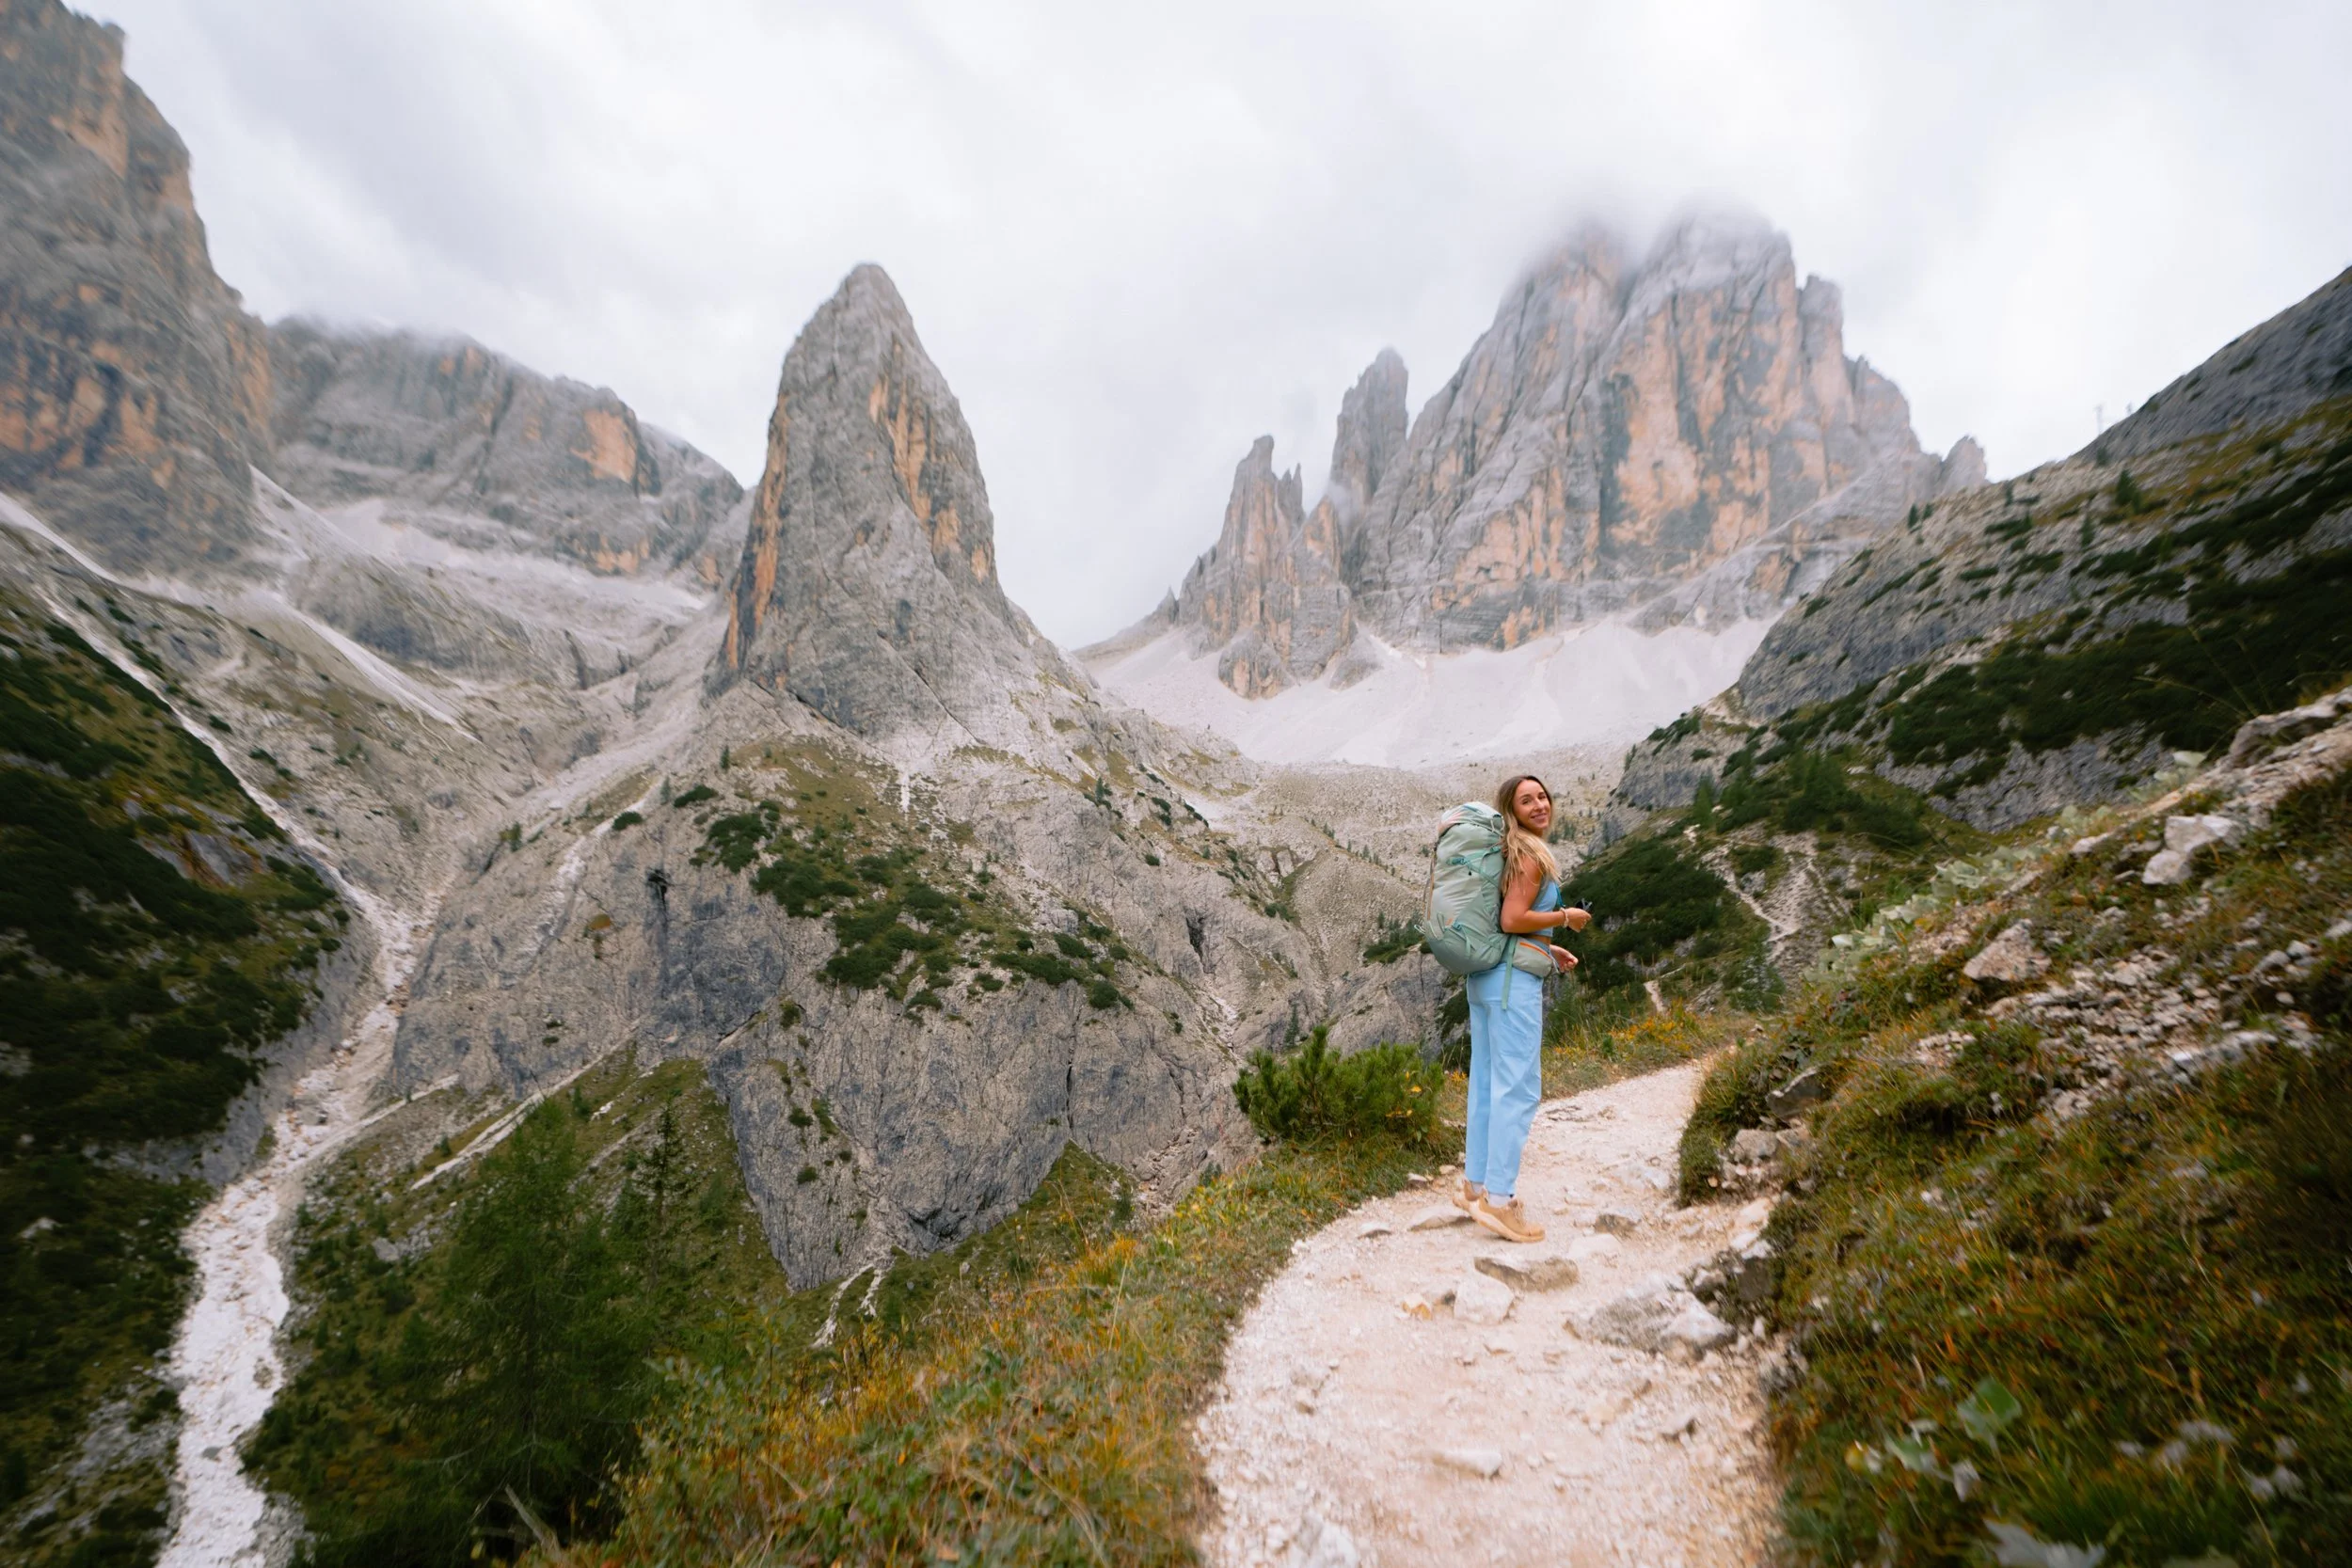
This is where the trip started to feel more like a true adventure!
We packed up everything we needed for the next couple of days, drove about an hour to Sesto, and hit the trail toward Rifugio Zsigmondy. The hike itself is about 5 miles with around 2,000 feet of elevation gain, and the landscape gradually shifts as you climb — from forested sections to more open, dramatic alpine terrain.
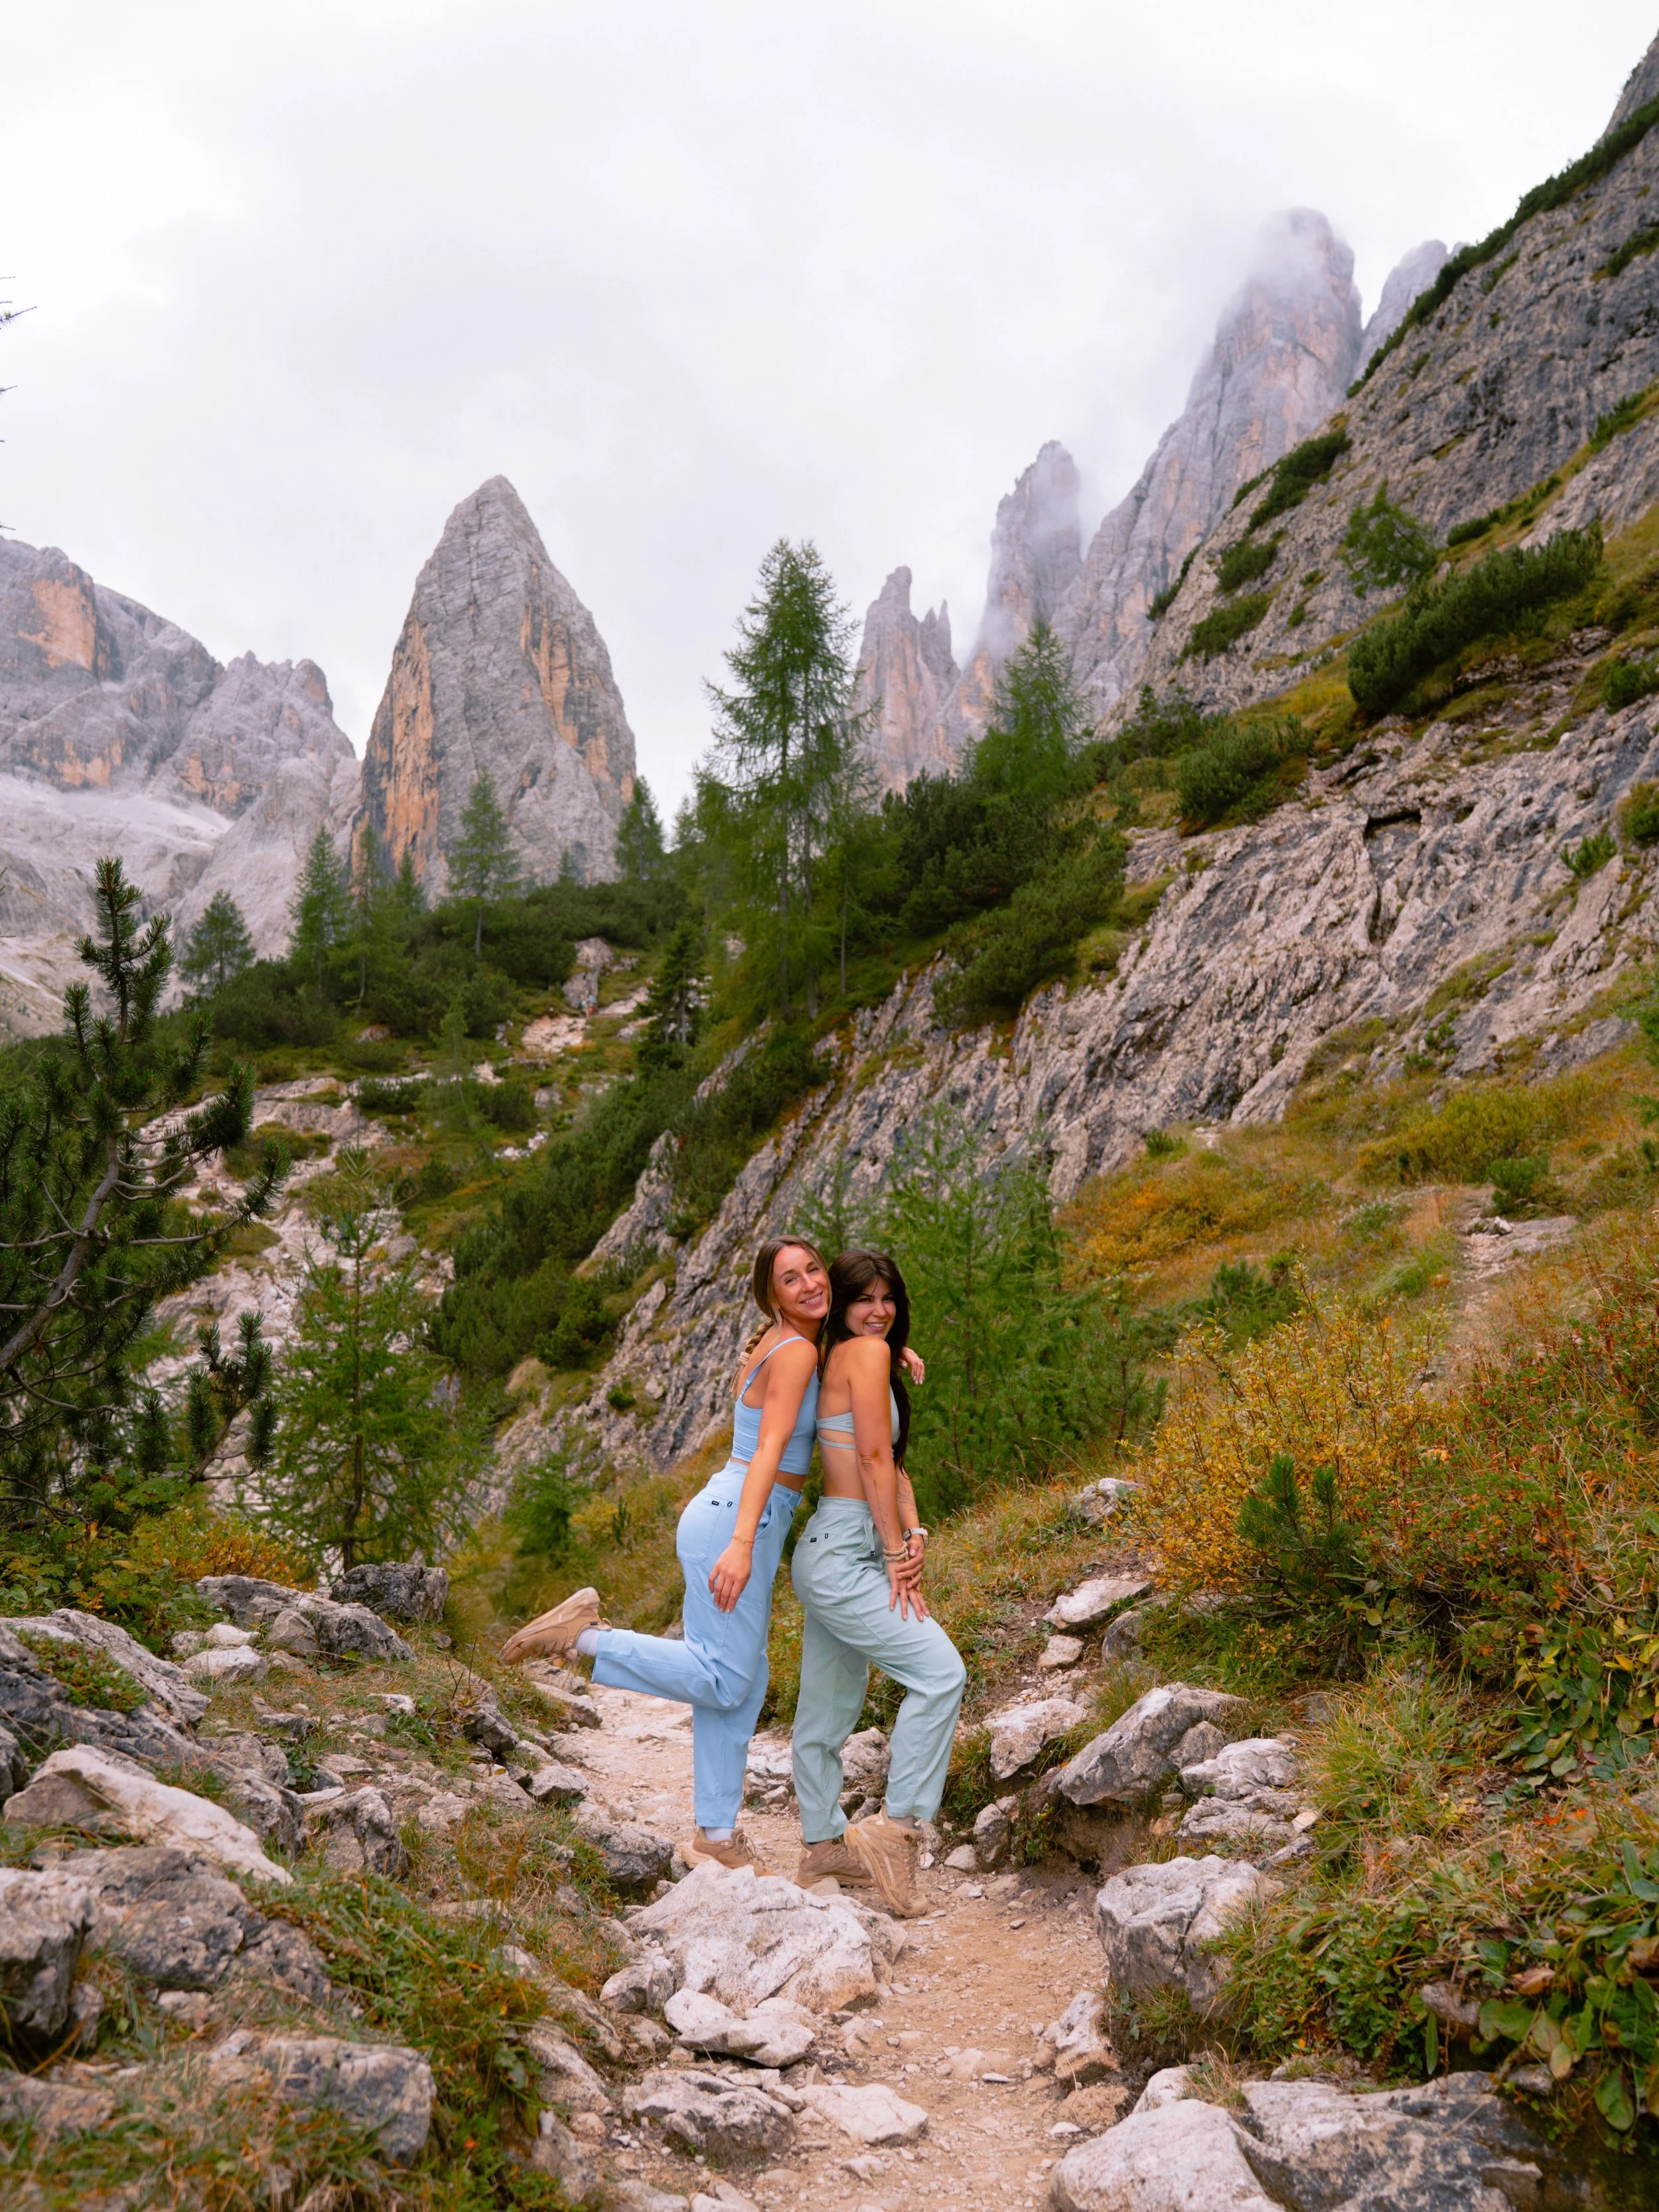
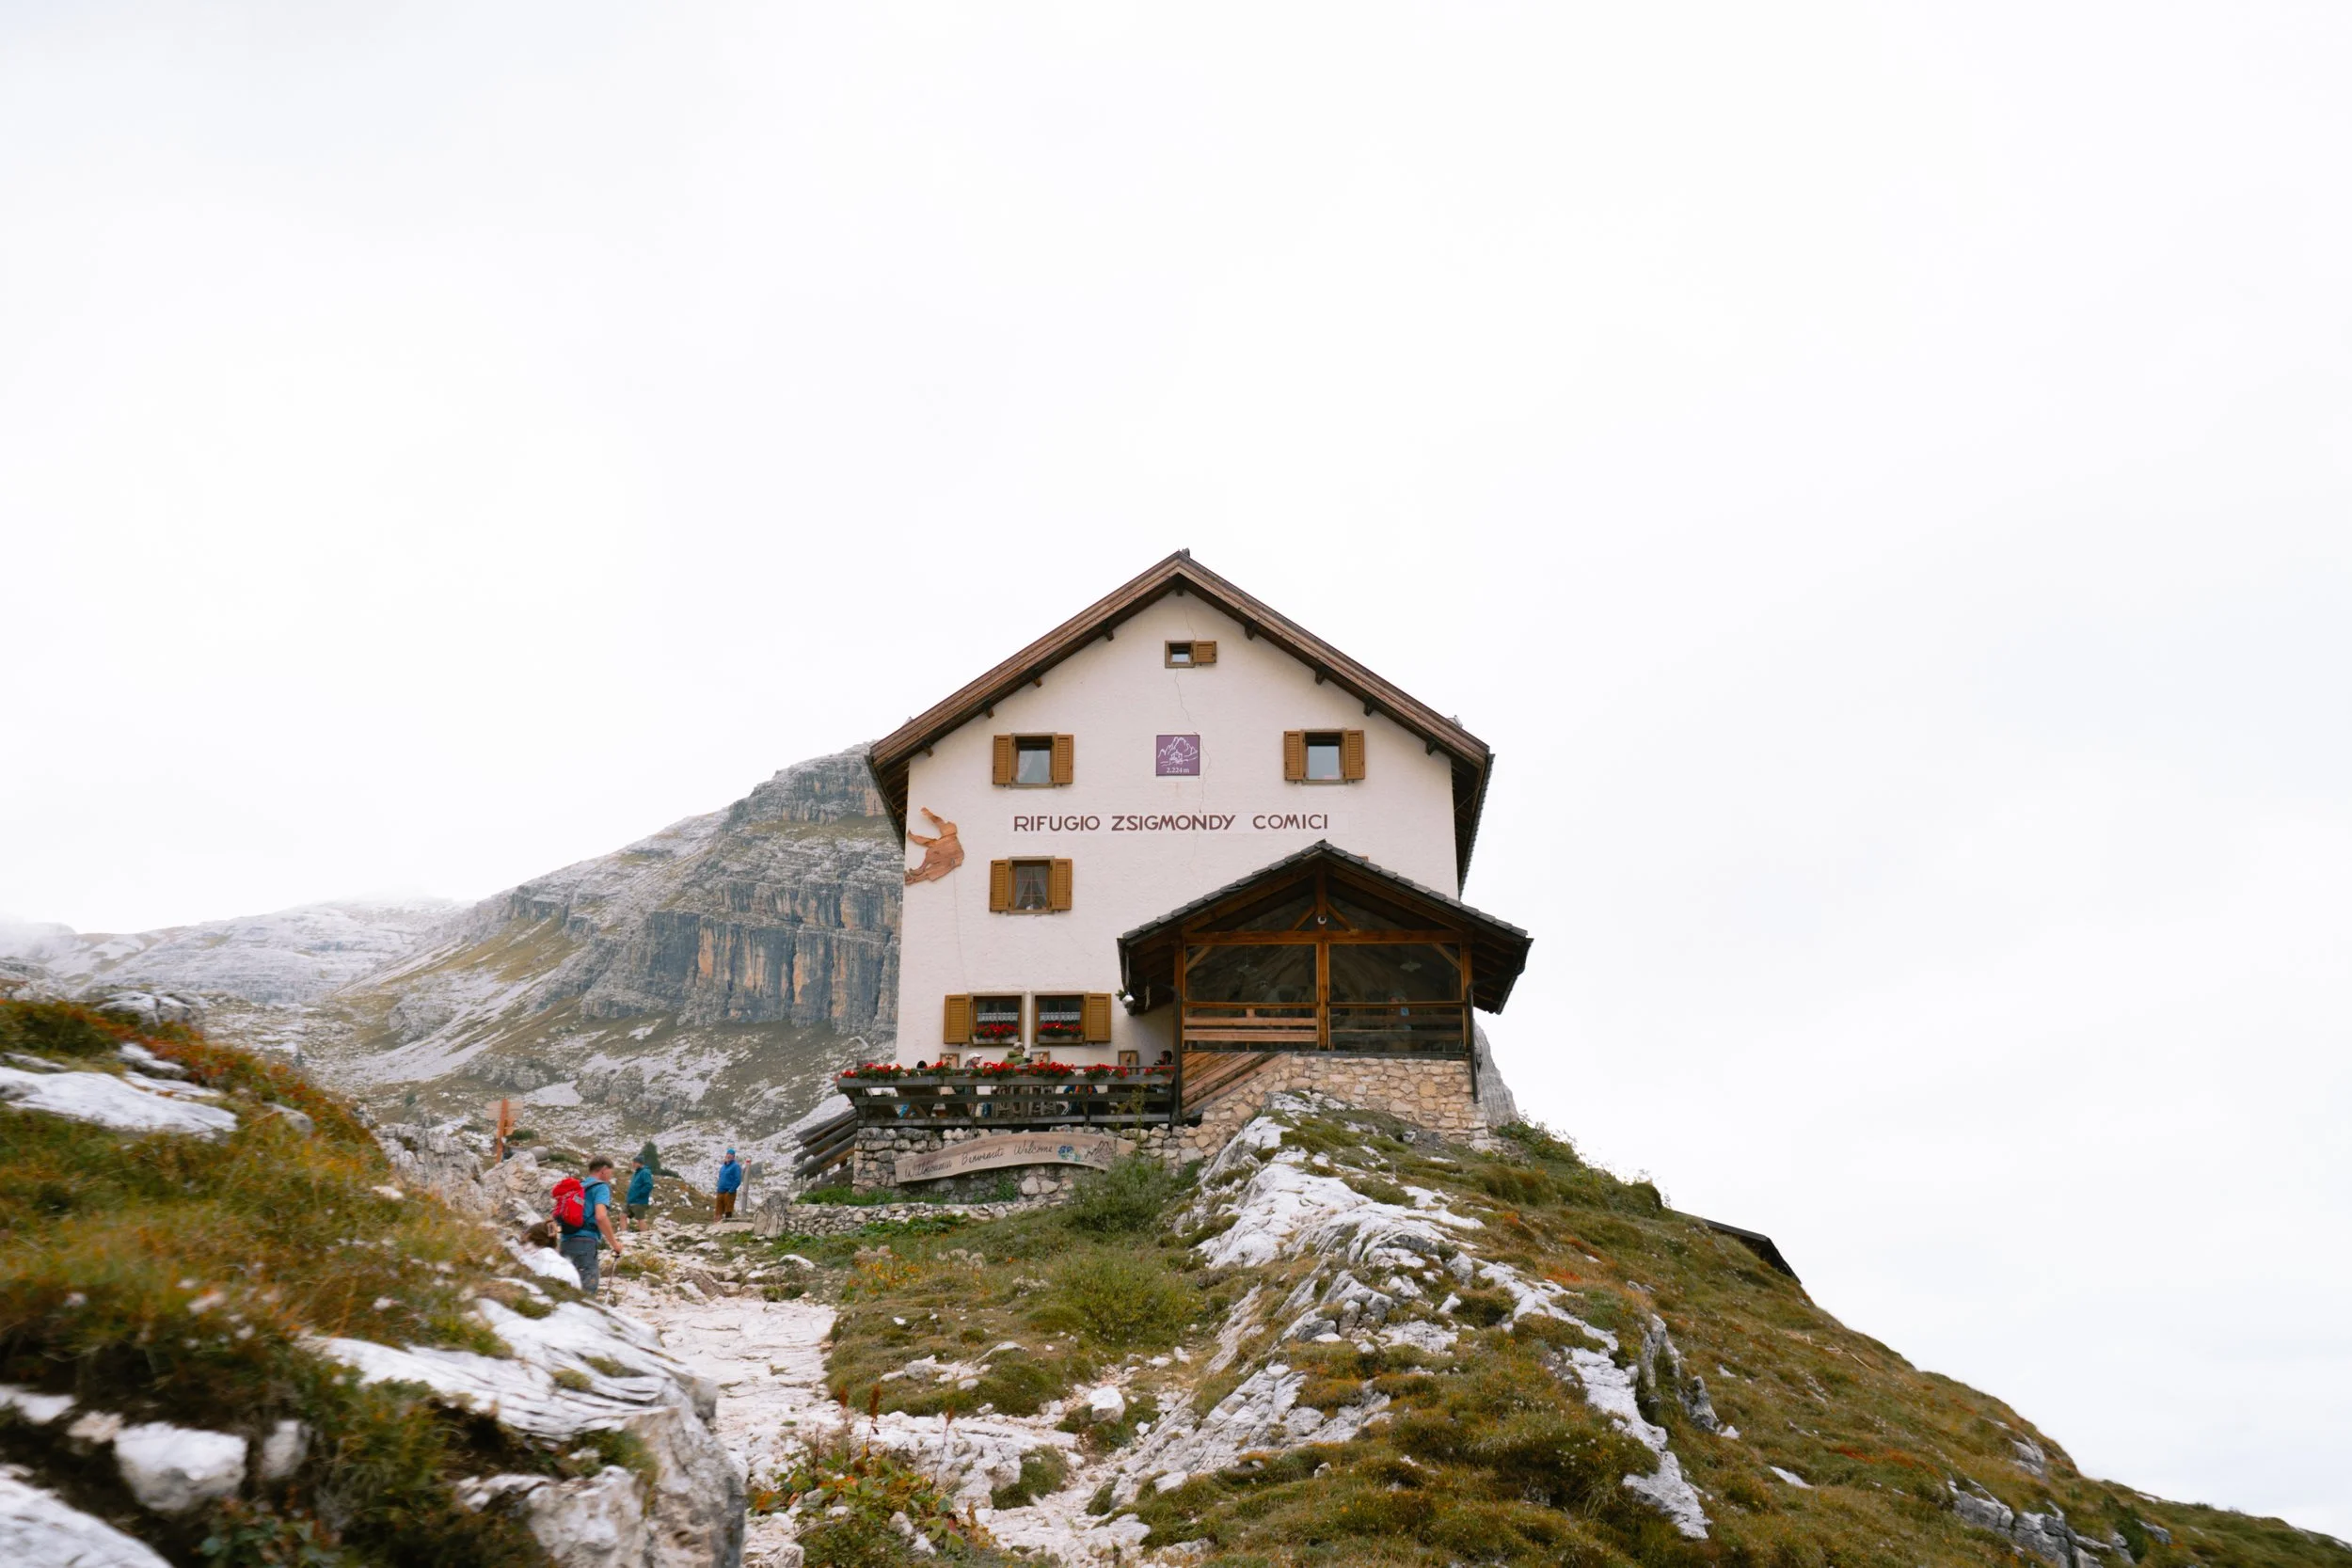
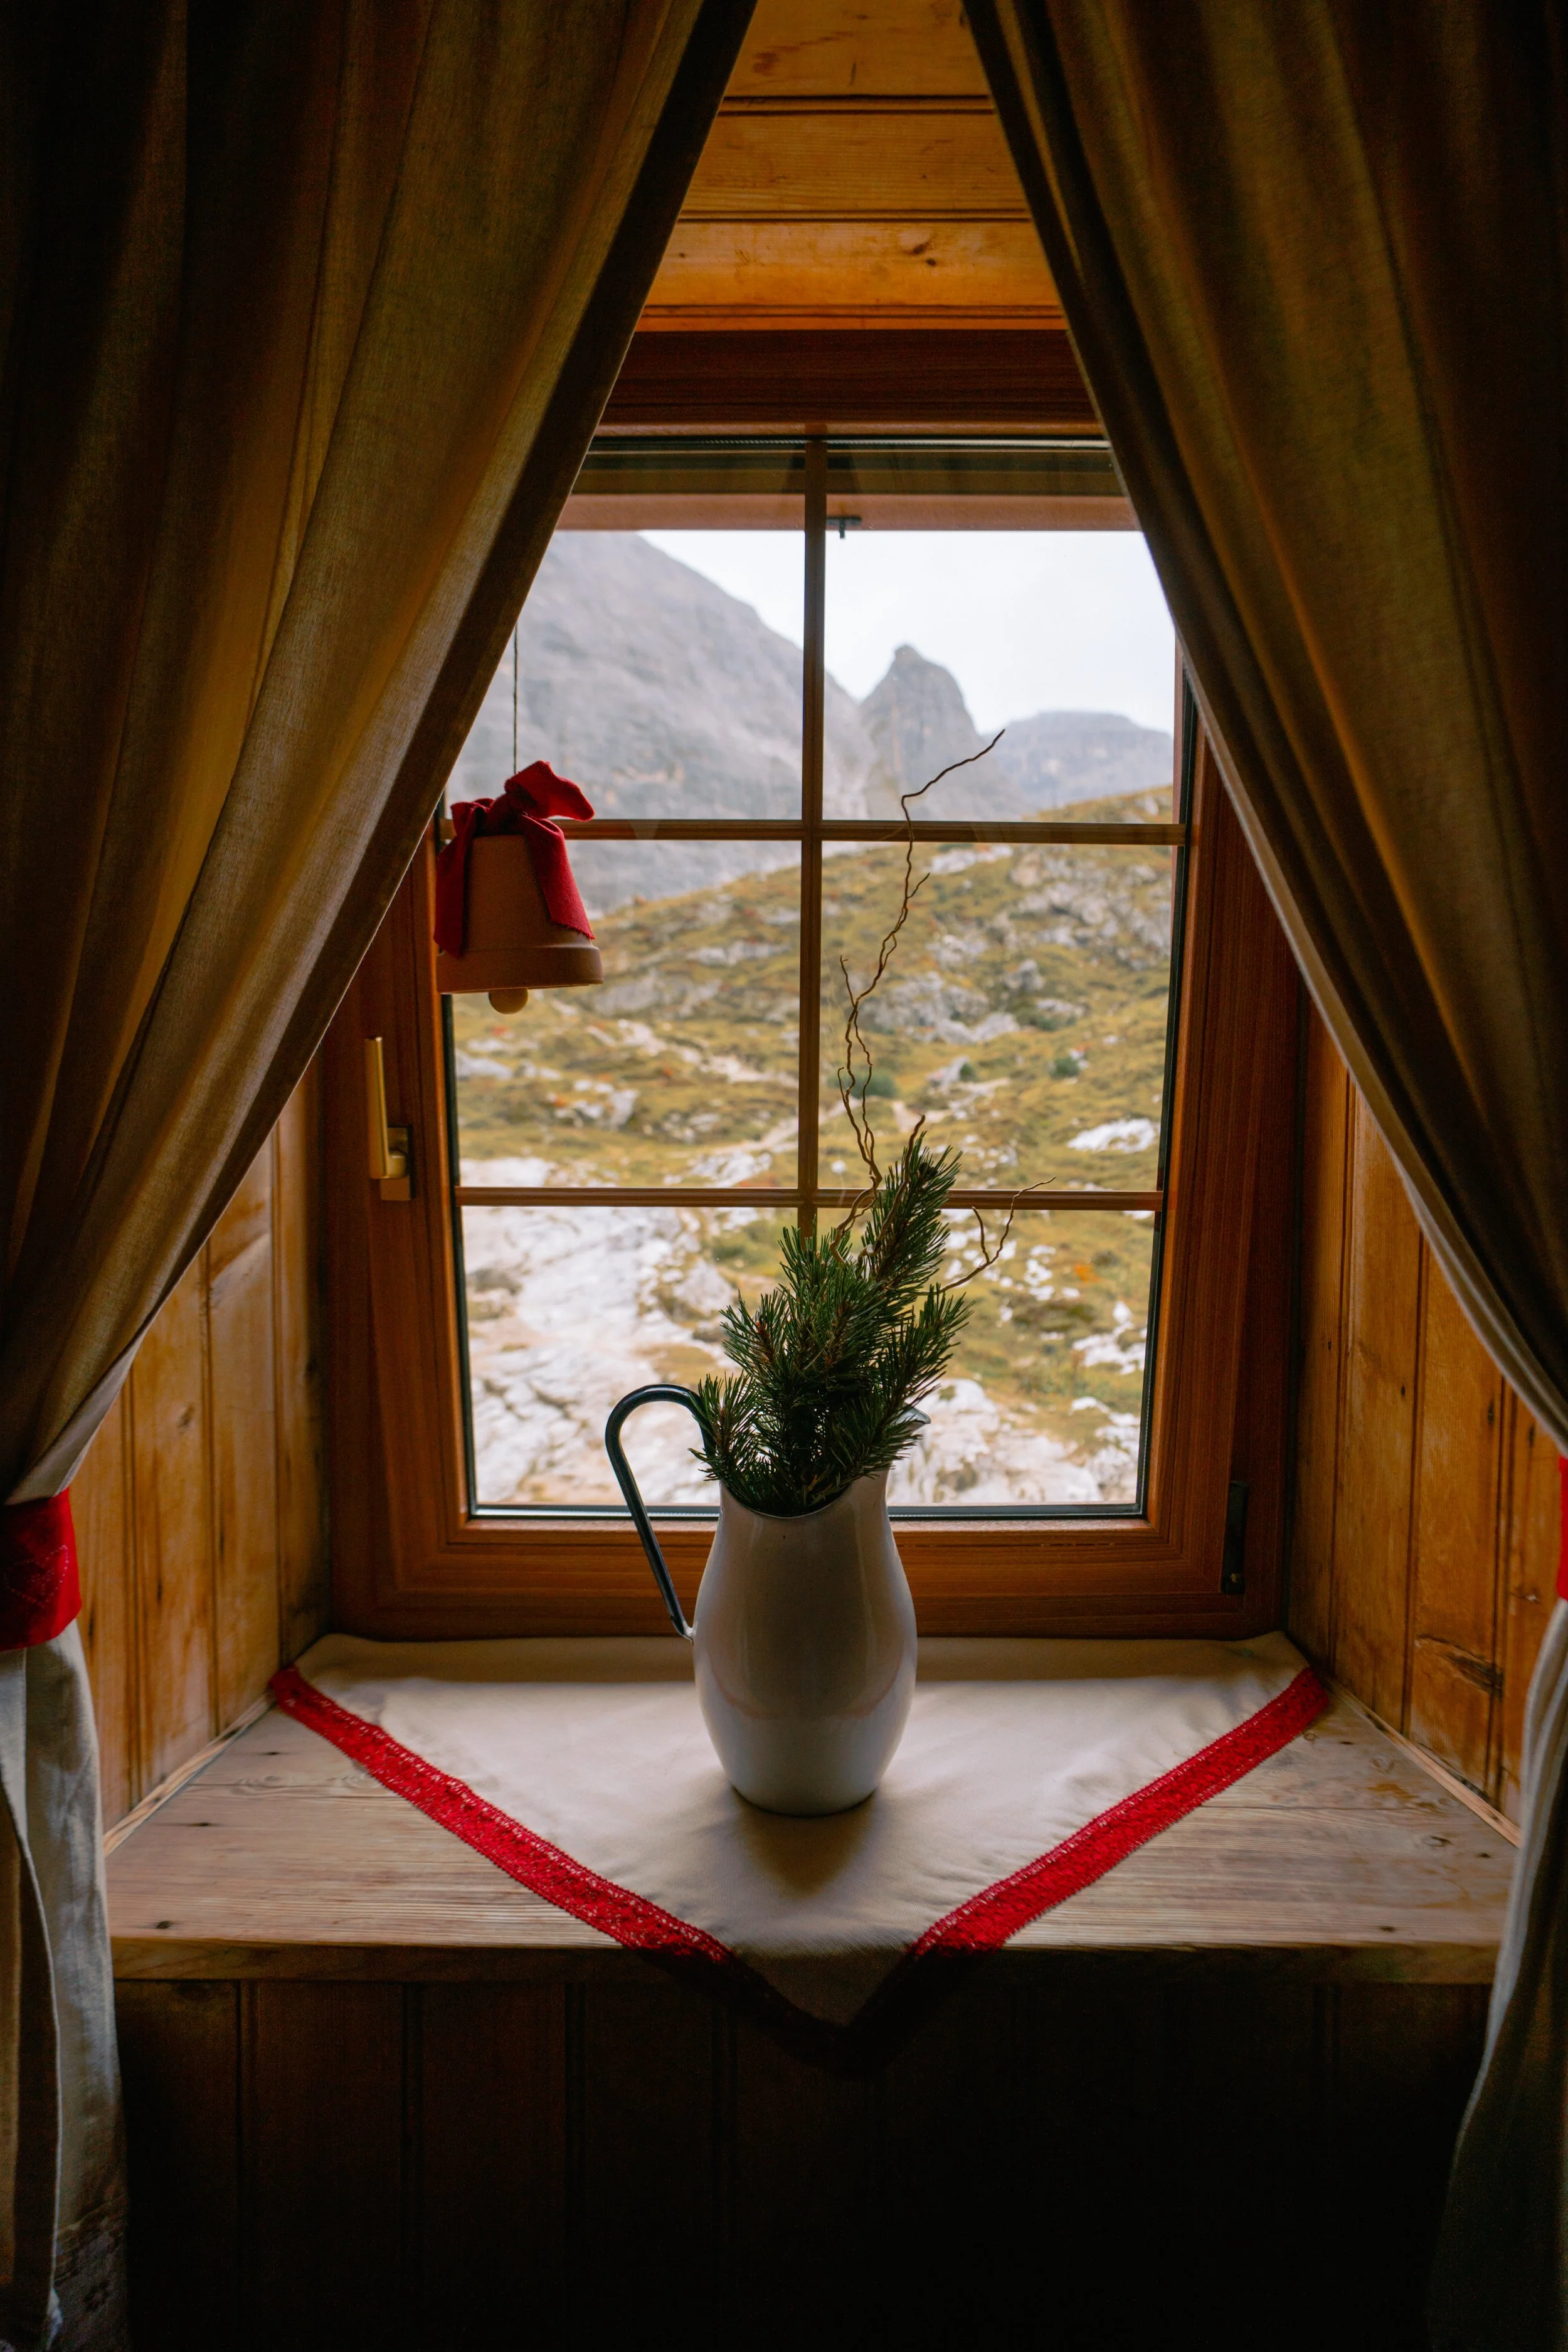
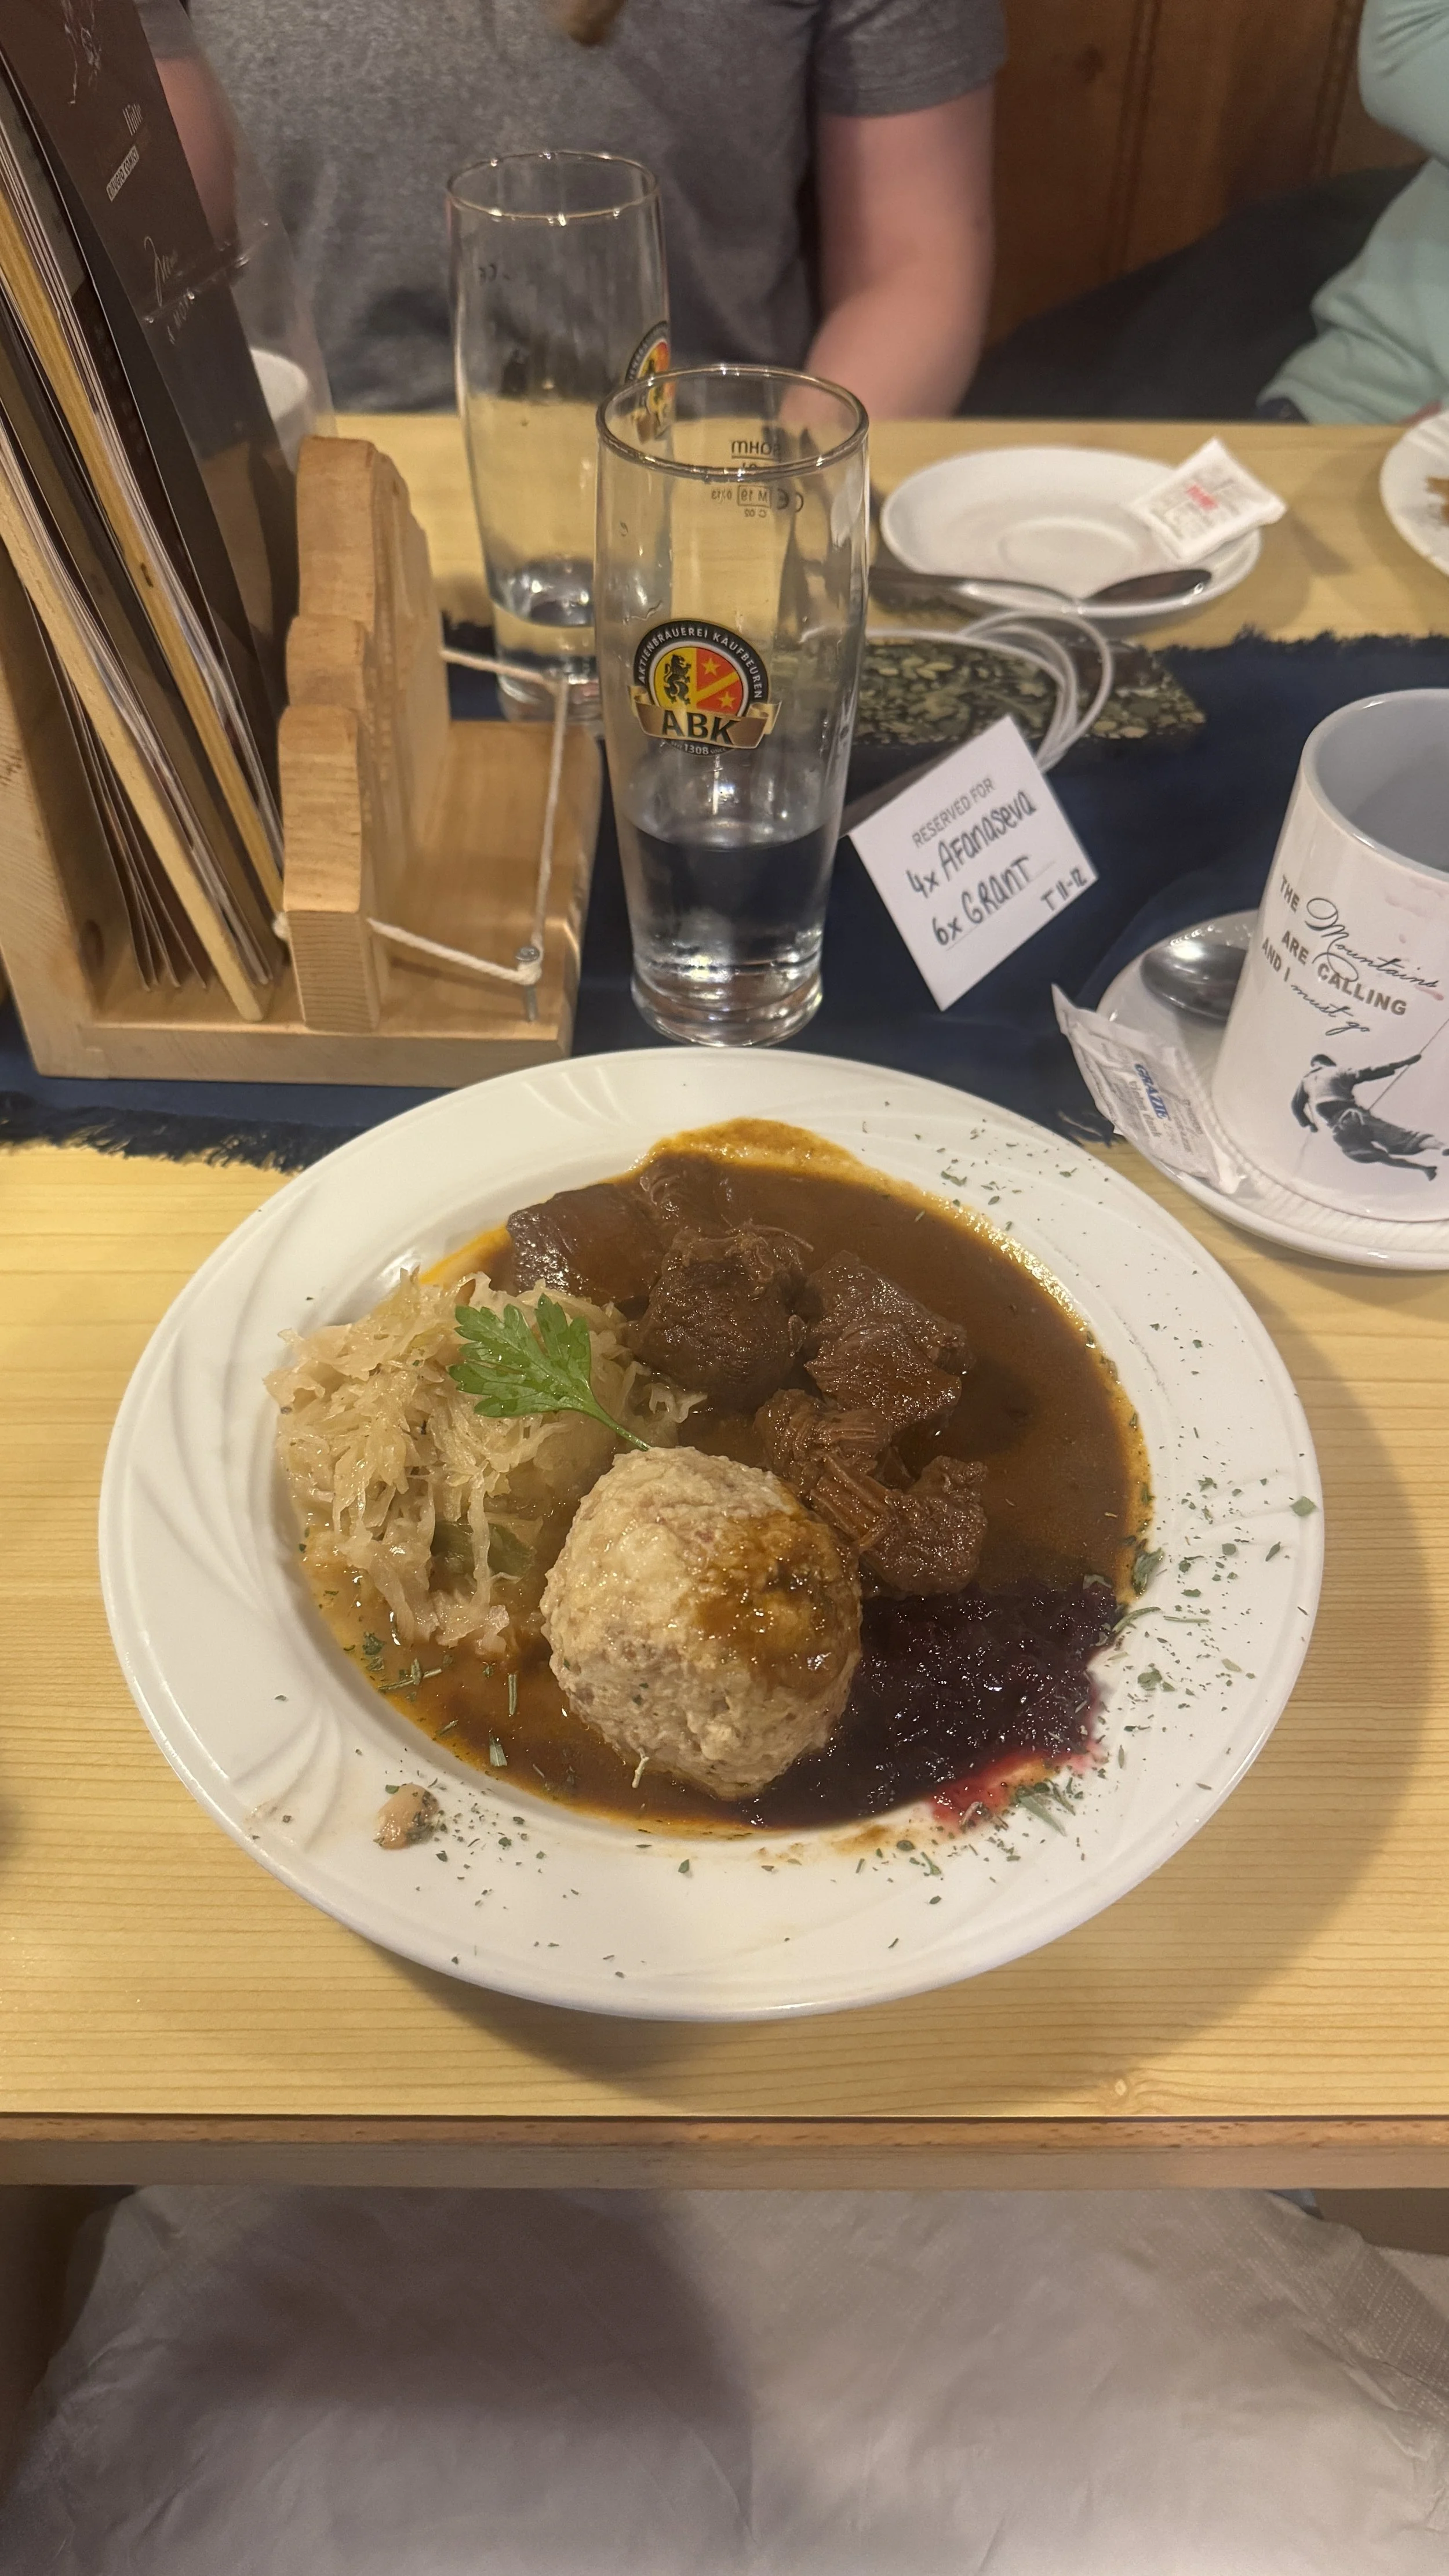
Arriving at the rifugio felt incredibly rewarding. There’s something really special about being up there, surrounded by mountains, with nowhere else to be and to relax in a cozy little room with beautiful views on the outside. We all took naps before dinner after our long hike up and then got ready for dinner.
Dinner was served family-style, and we sat at long tables with other hikers from different countries — simple food, good conversation, and a very early bedtime. This hut did have running water and bathrooms but the hot shower cost extra for a short amount of time so none of us bothered and did a little baby wipe bath instead.
Day 5: Zsigmondy → Rifugio Auronzo
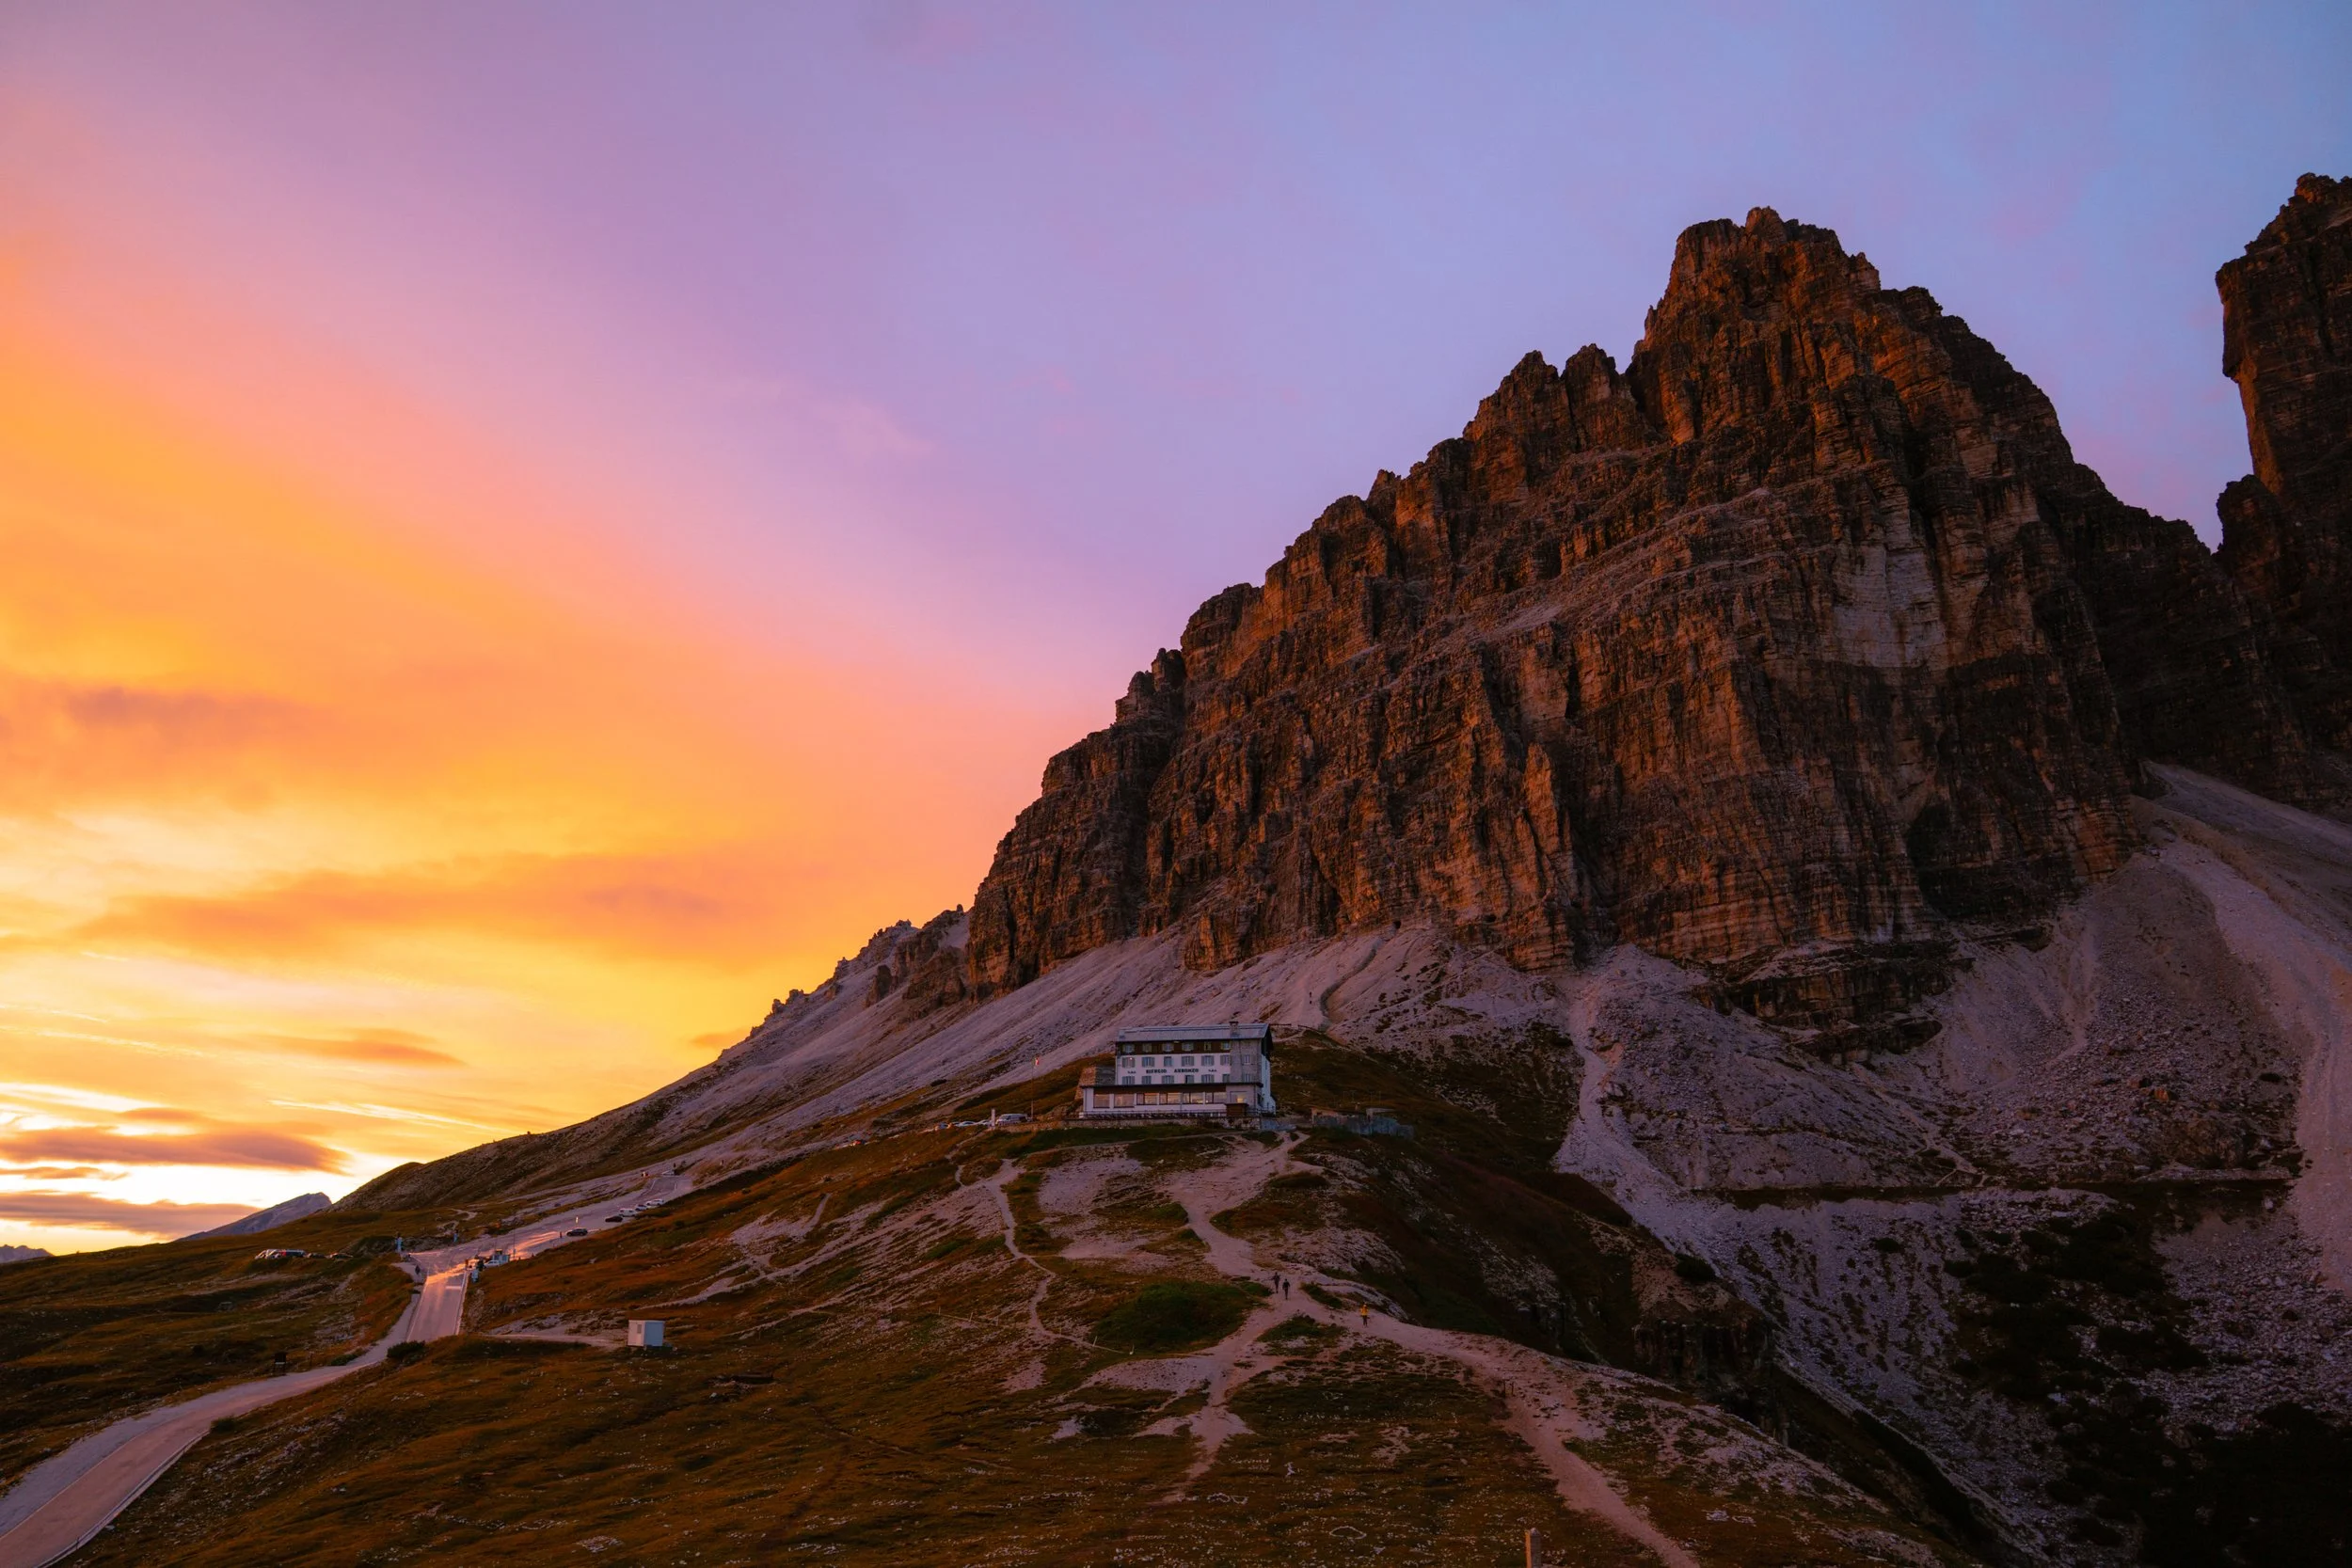
Incredible sunset that night over our little hut!
This day…built character.
We woke up to rain, and it basically didn’t stop. Everything was wet, visibility was low, and it turned into one of those hikes where you’re just focused on putting one foot in front of the other and telling yourself that you’ll get there…eventually.
It wasn’t the most glamorous day, and it was definitely a bit disheartening to get to places where we knew for a fact were supposed to have an epic viewpoint. But that’s just a part of travel, and you can’t control or change the weather so it is what it is!
By the time we reached Rifugio Auronzo, we were cold, damp, and very ready for a warm meal.
And then somehow, just before sunset, the clouds started to lift.
The light broke through just enough to illuminate the peaks, and it turned into one of the most beautiful sunsets I’ve ever seen. The day fully redeemed, we tumbled into bed for a well-deserved rest.
Day 6: Cadini Sunrise + Tre Cime Loop → Back to Sesto
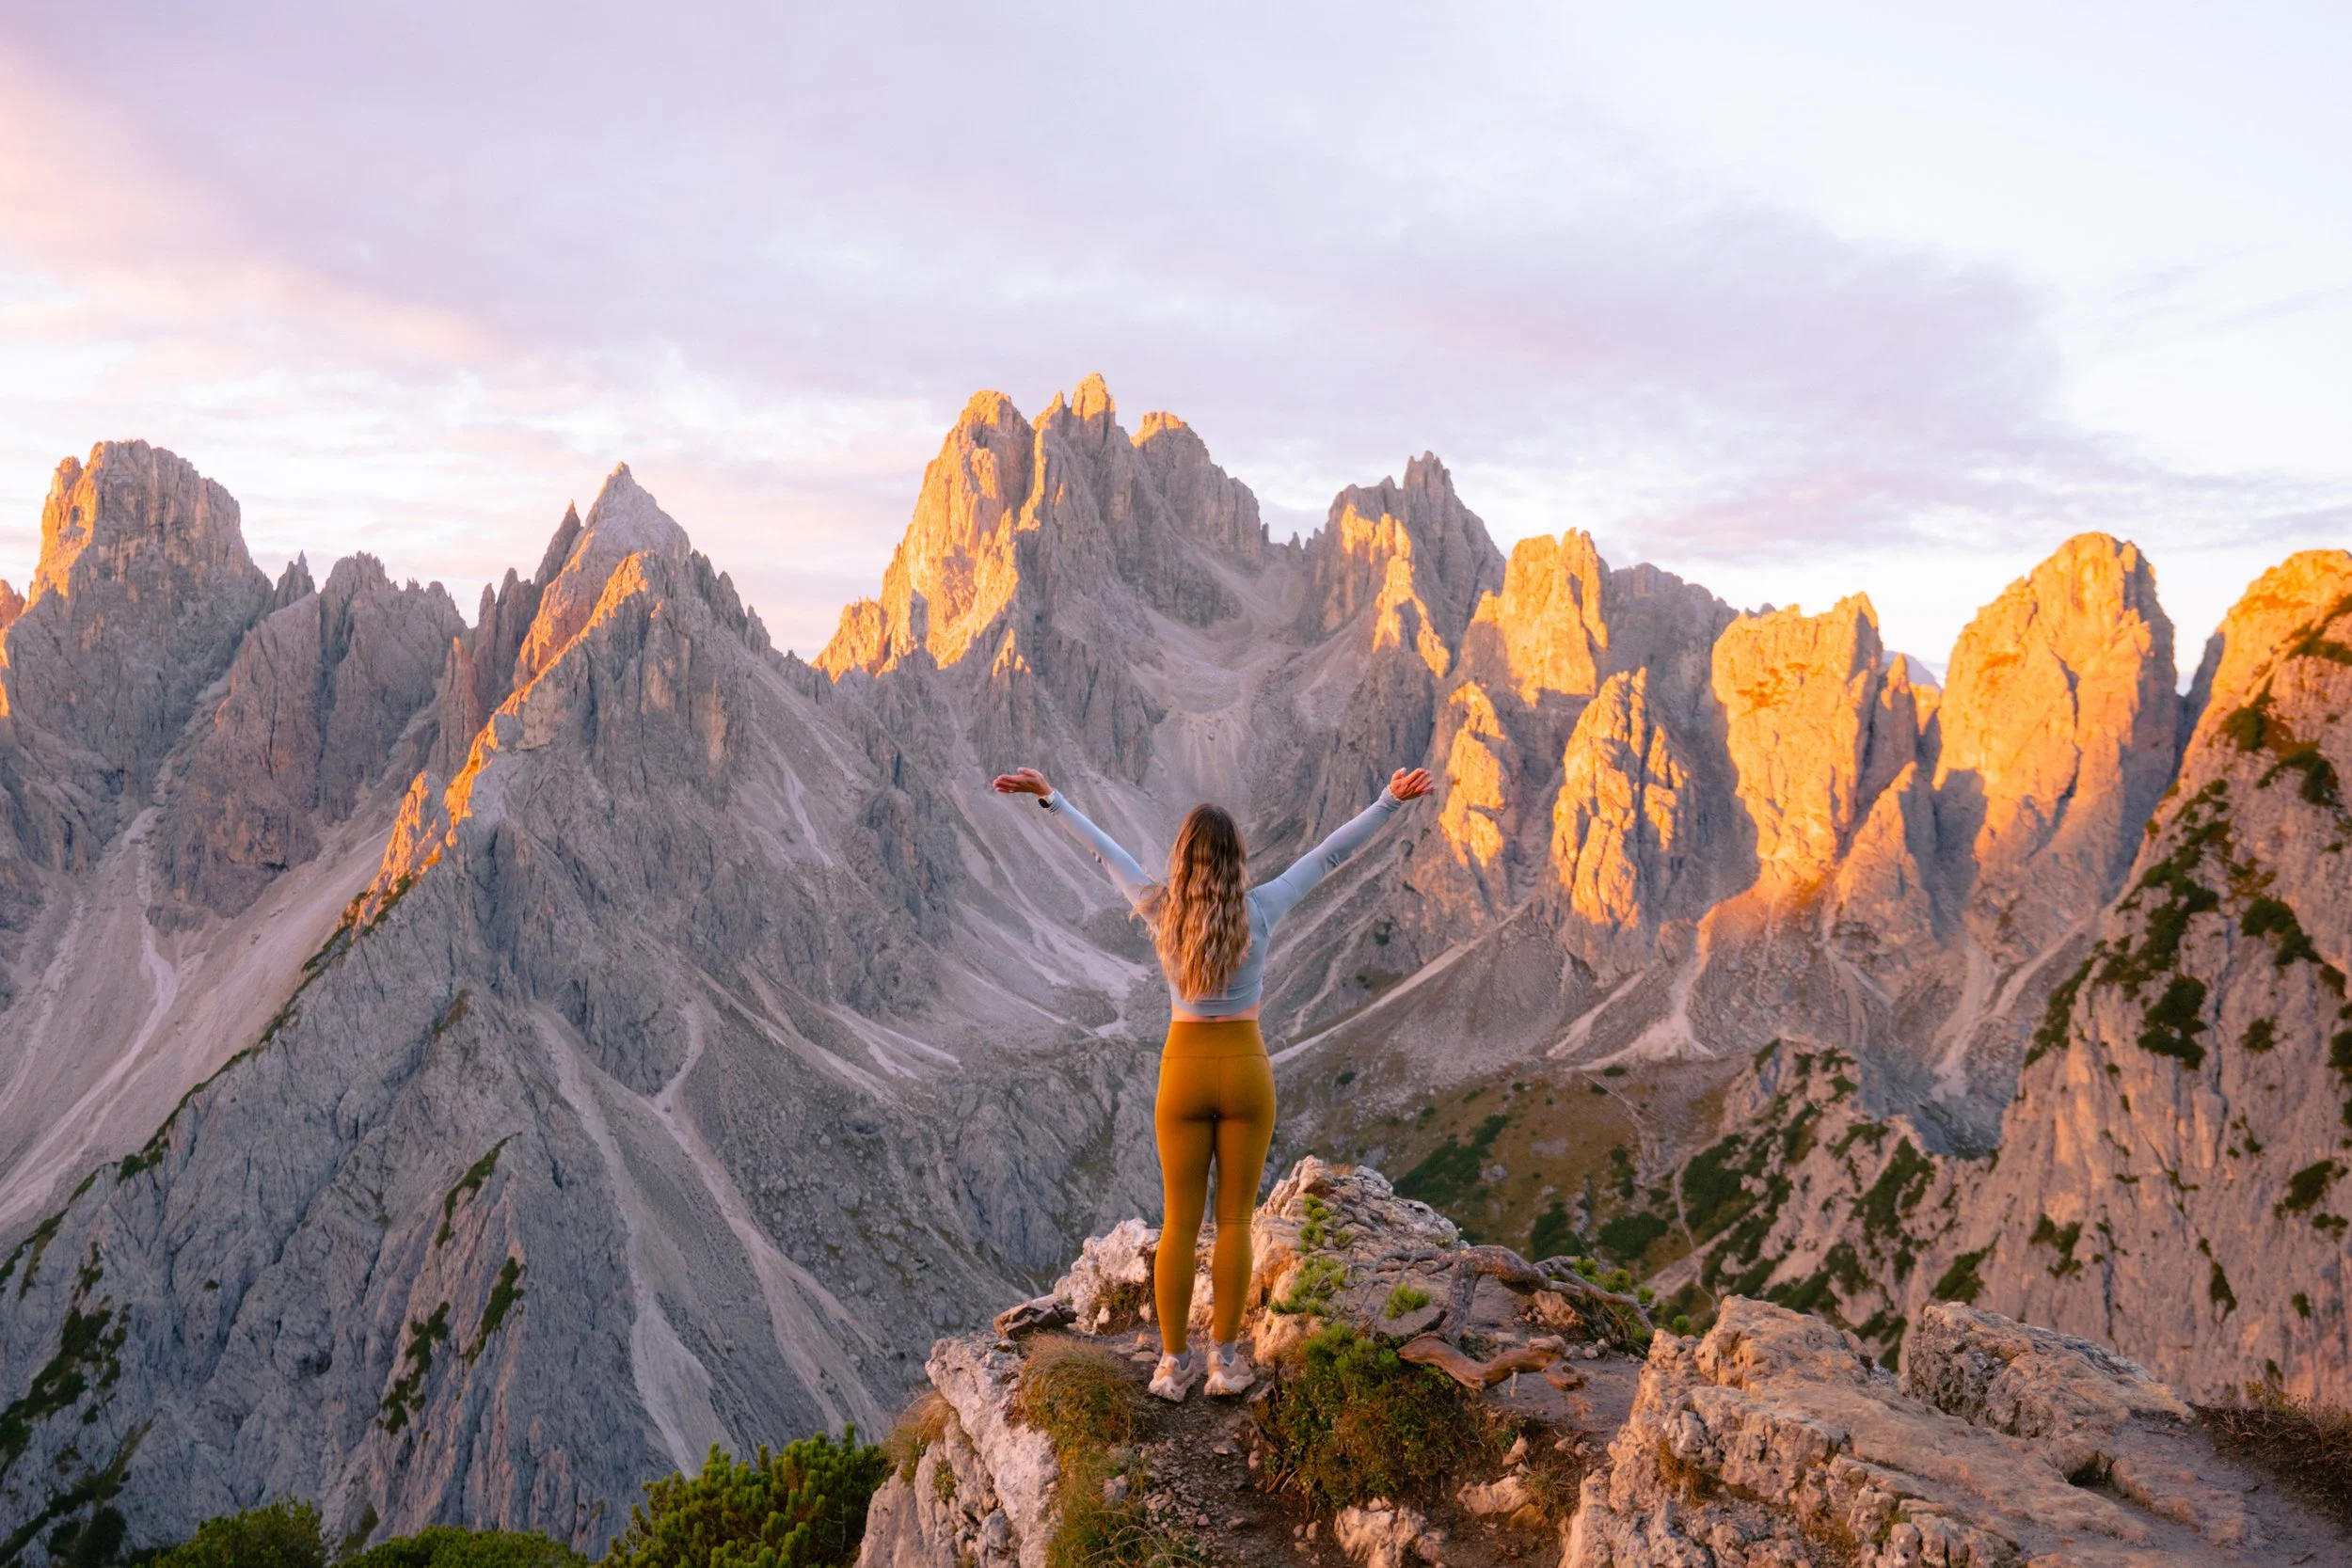
Cadini is that girl
We set alarms for 5:45 AM (which felt aggressive at the time) to catch sunrise at the Cadini di Misurina viewpoint. This is definitely a spot where sunrise is an absolute must given how popular it has gotten, and we did NOT feel like waiting in a huge line for a photo (lesson learned after Lago Sorapi
The hike out to the viewpoint is short (about 2 miles roundtrip), but the payoff is huge. Watching the sun rise over those jagged peaks felt surreal.
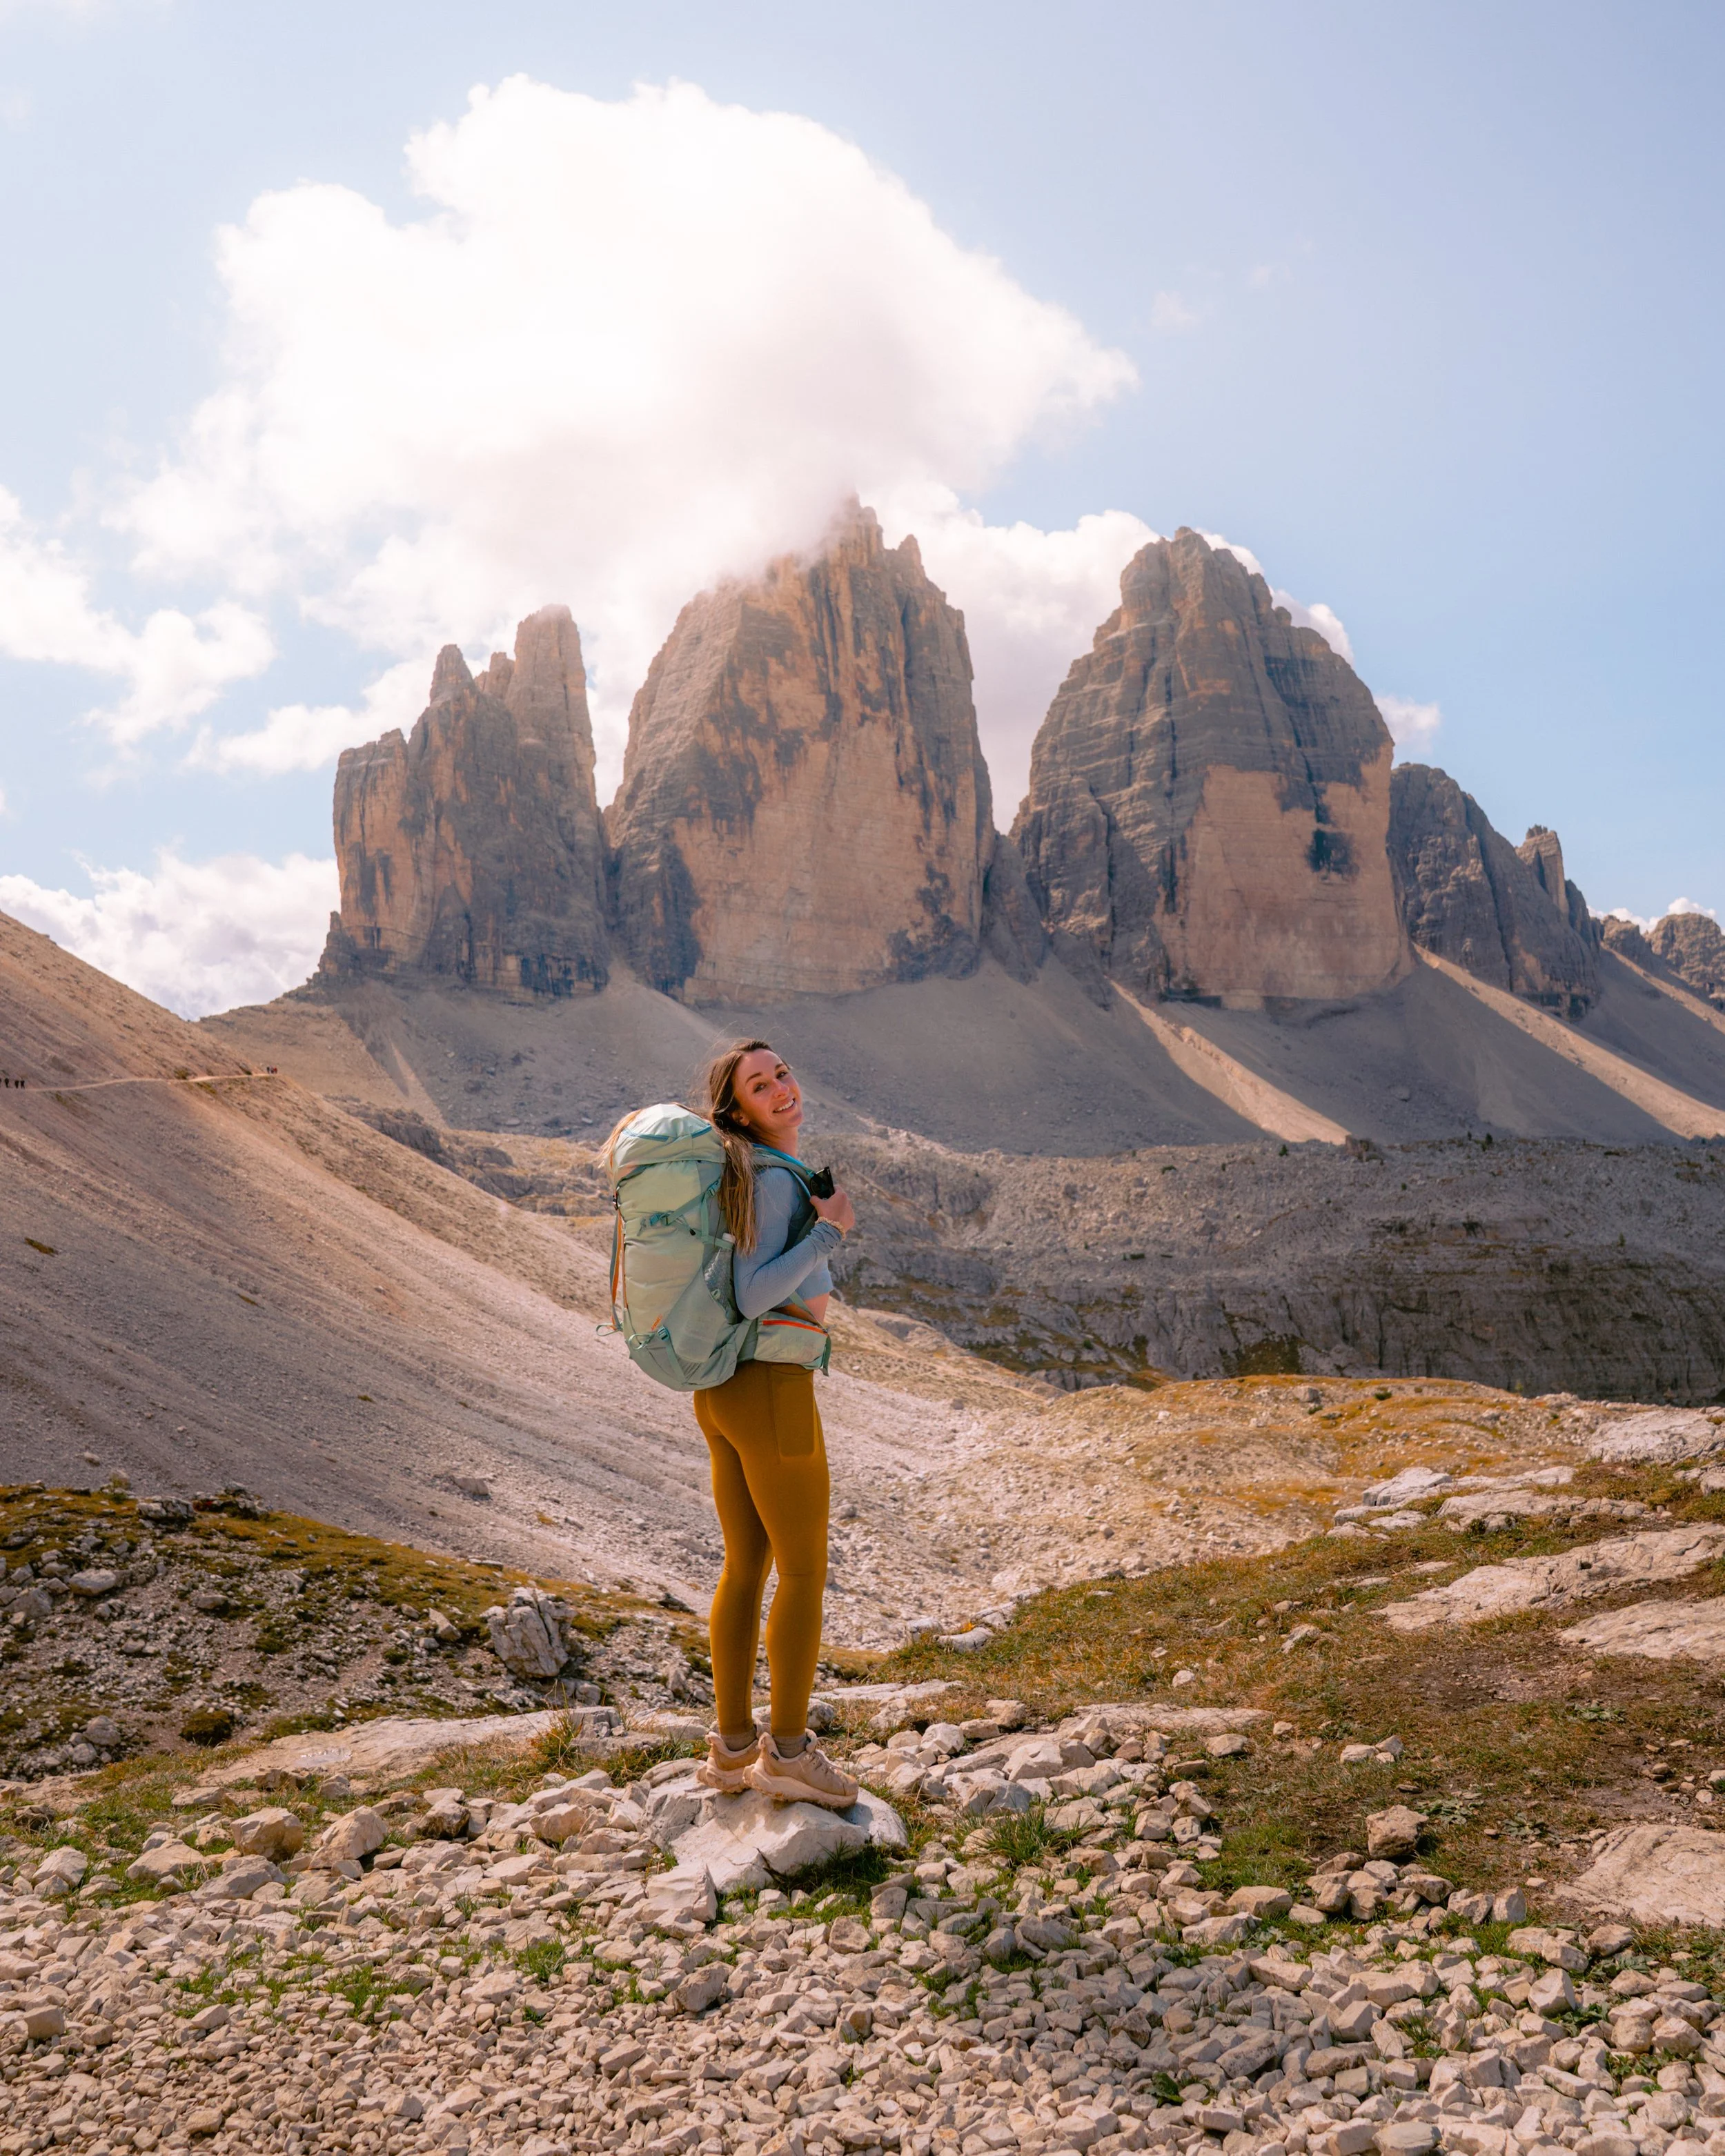
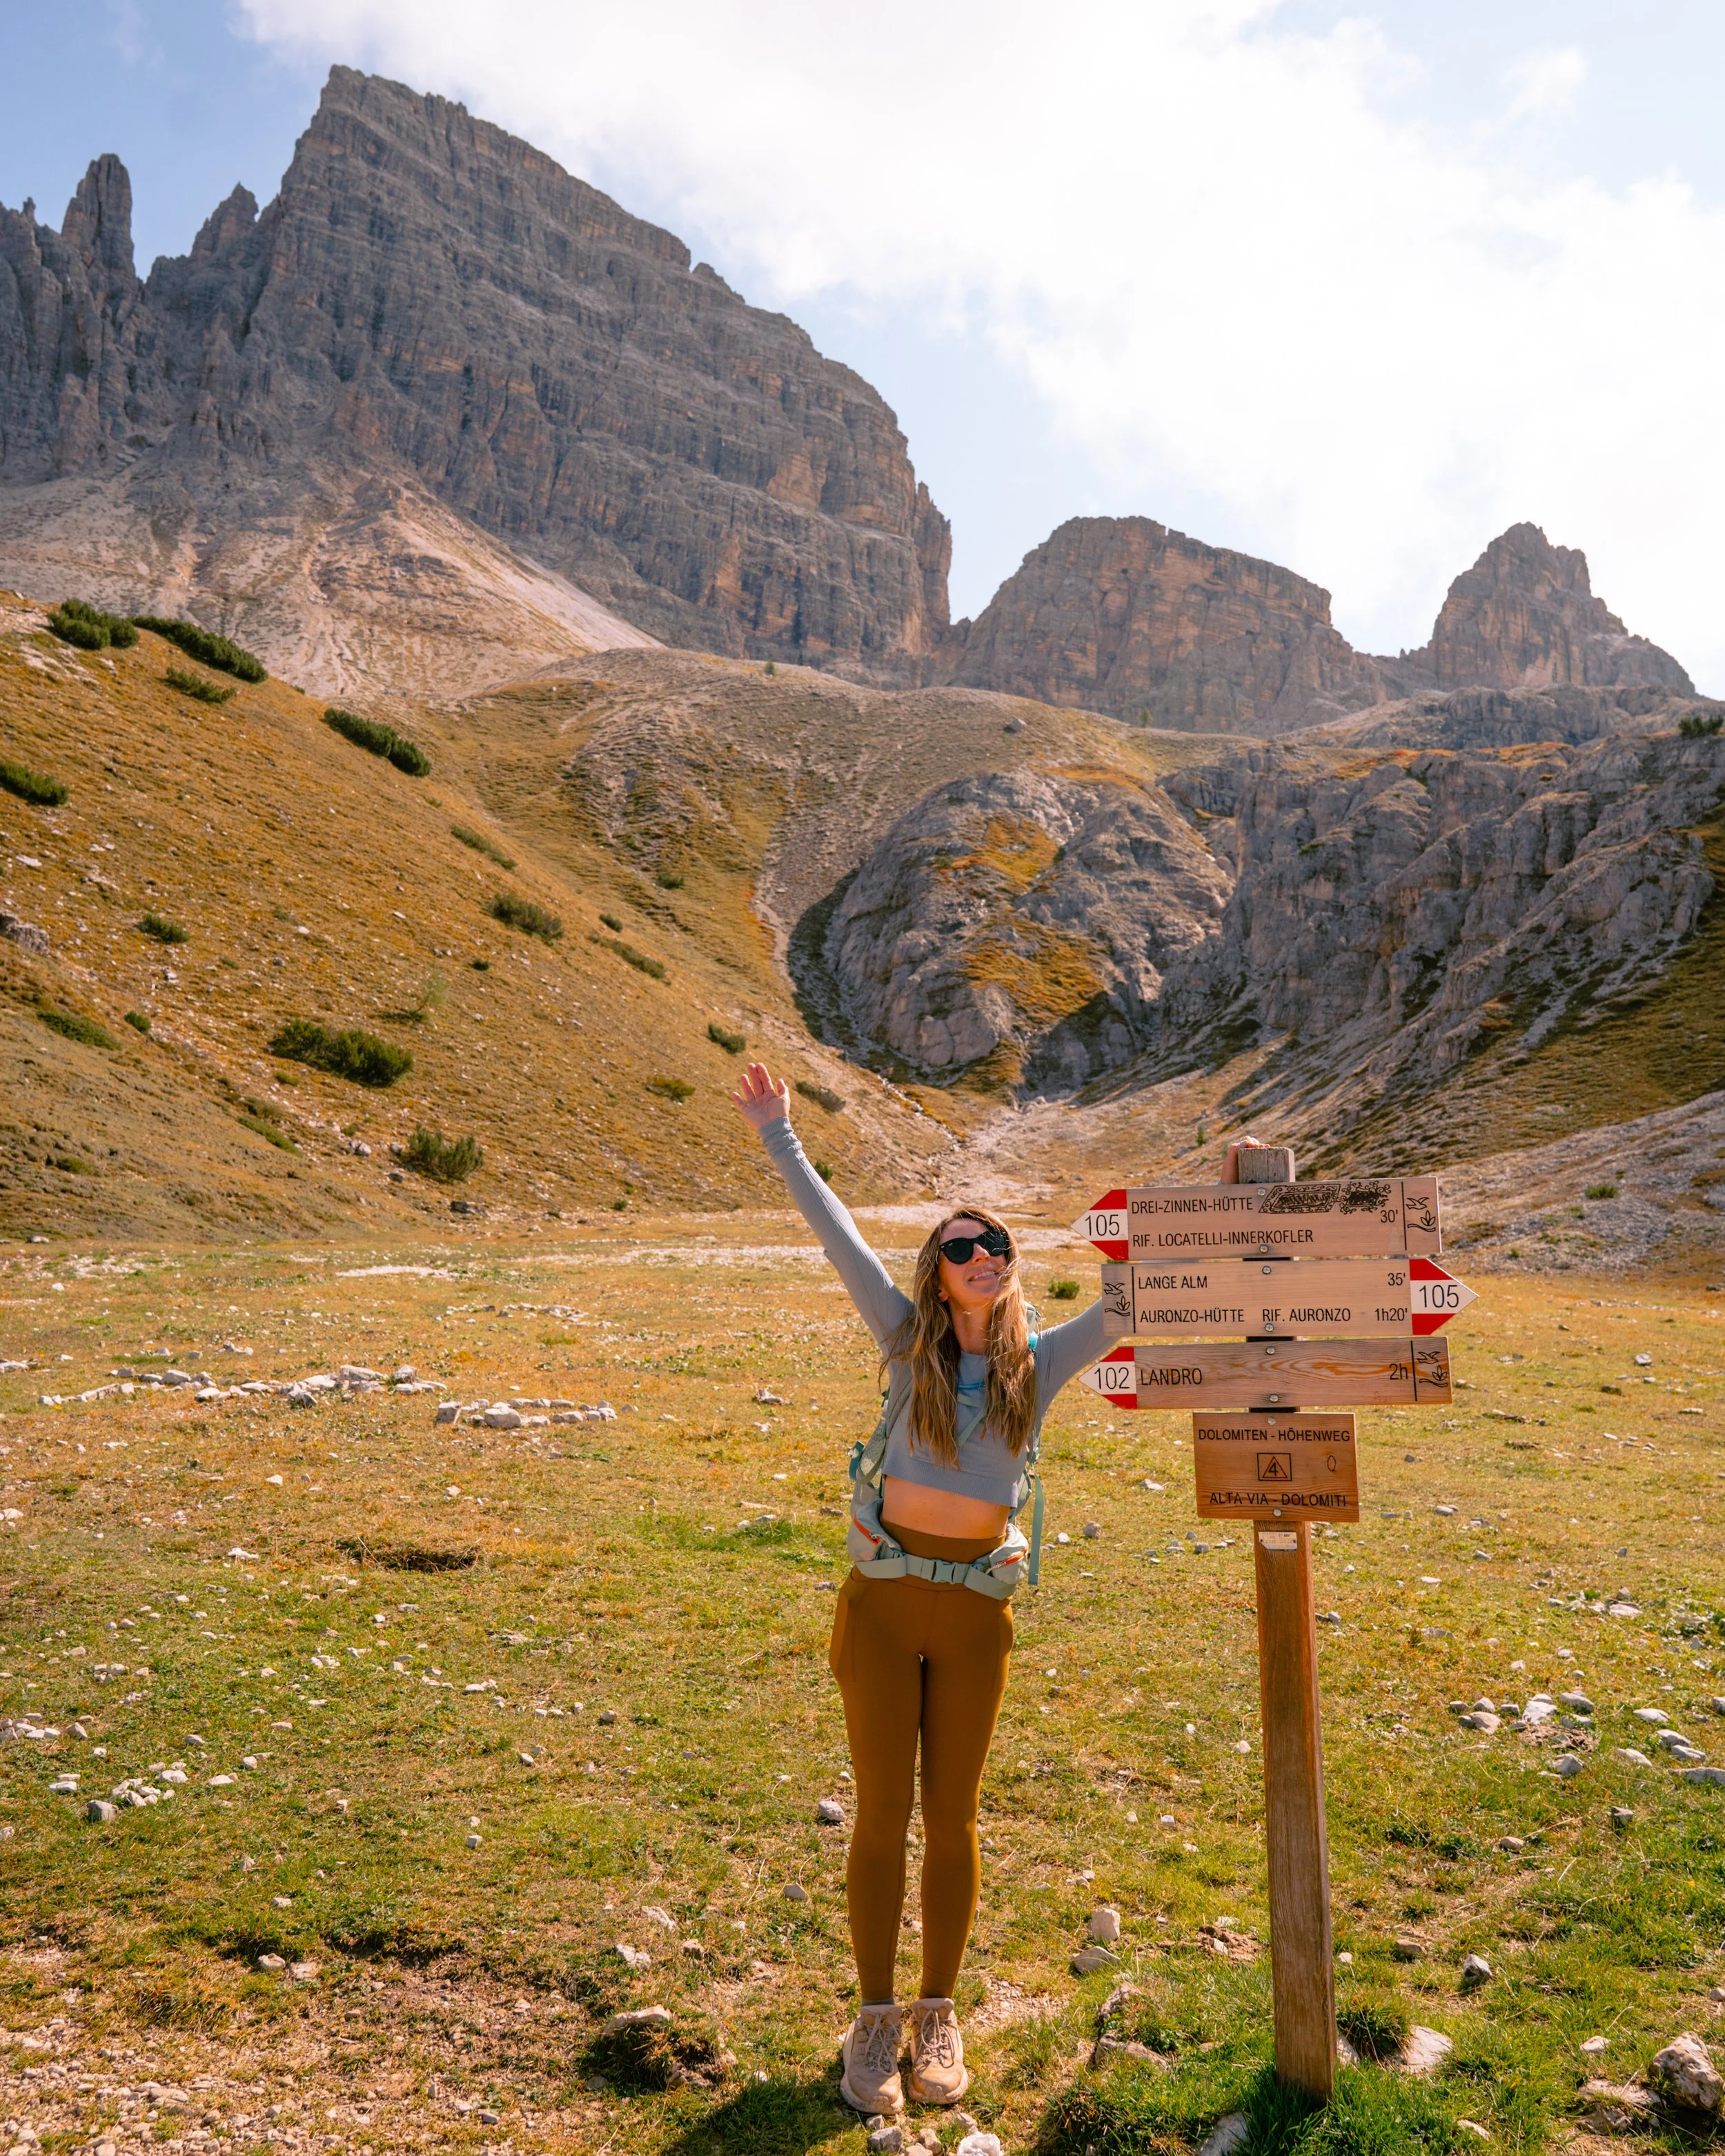
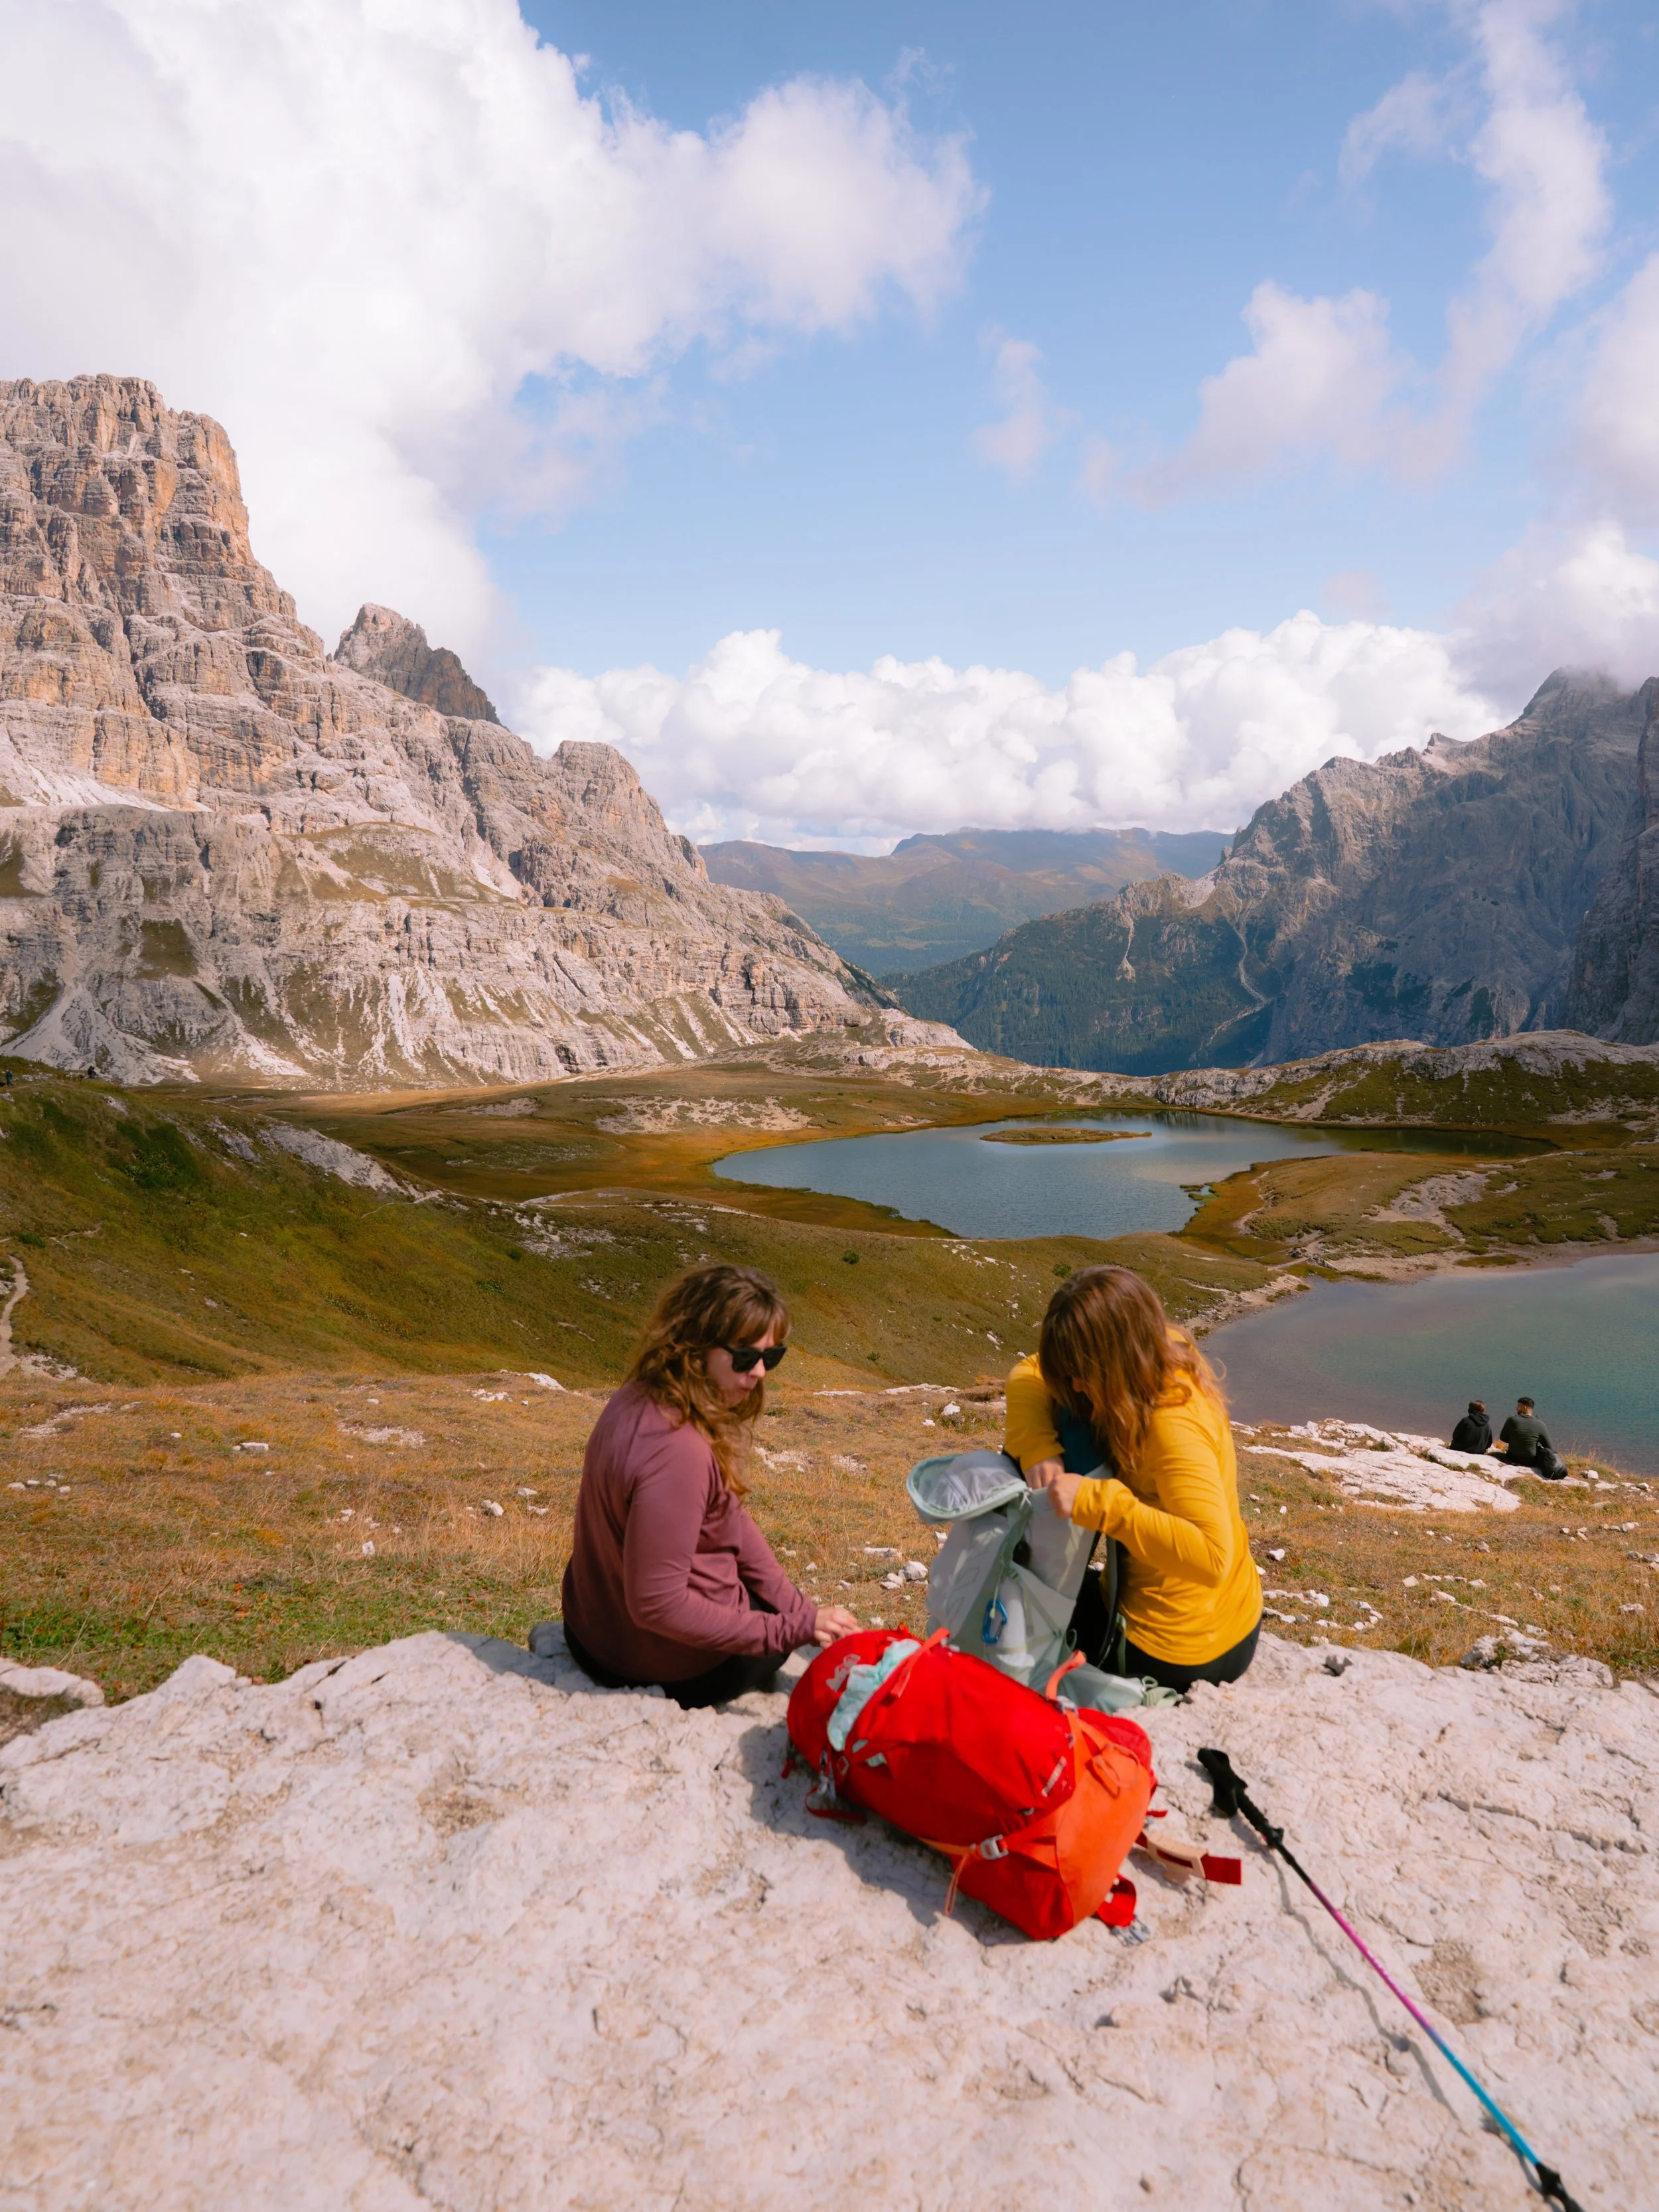
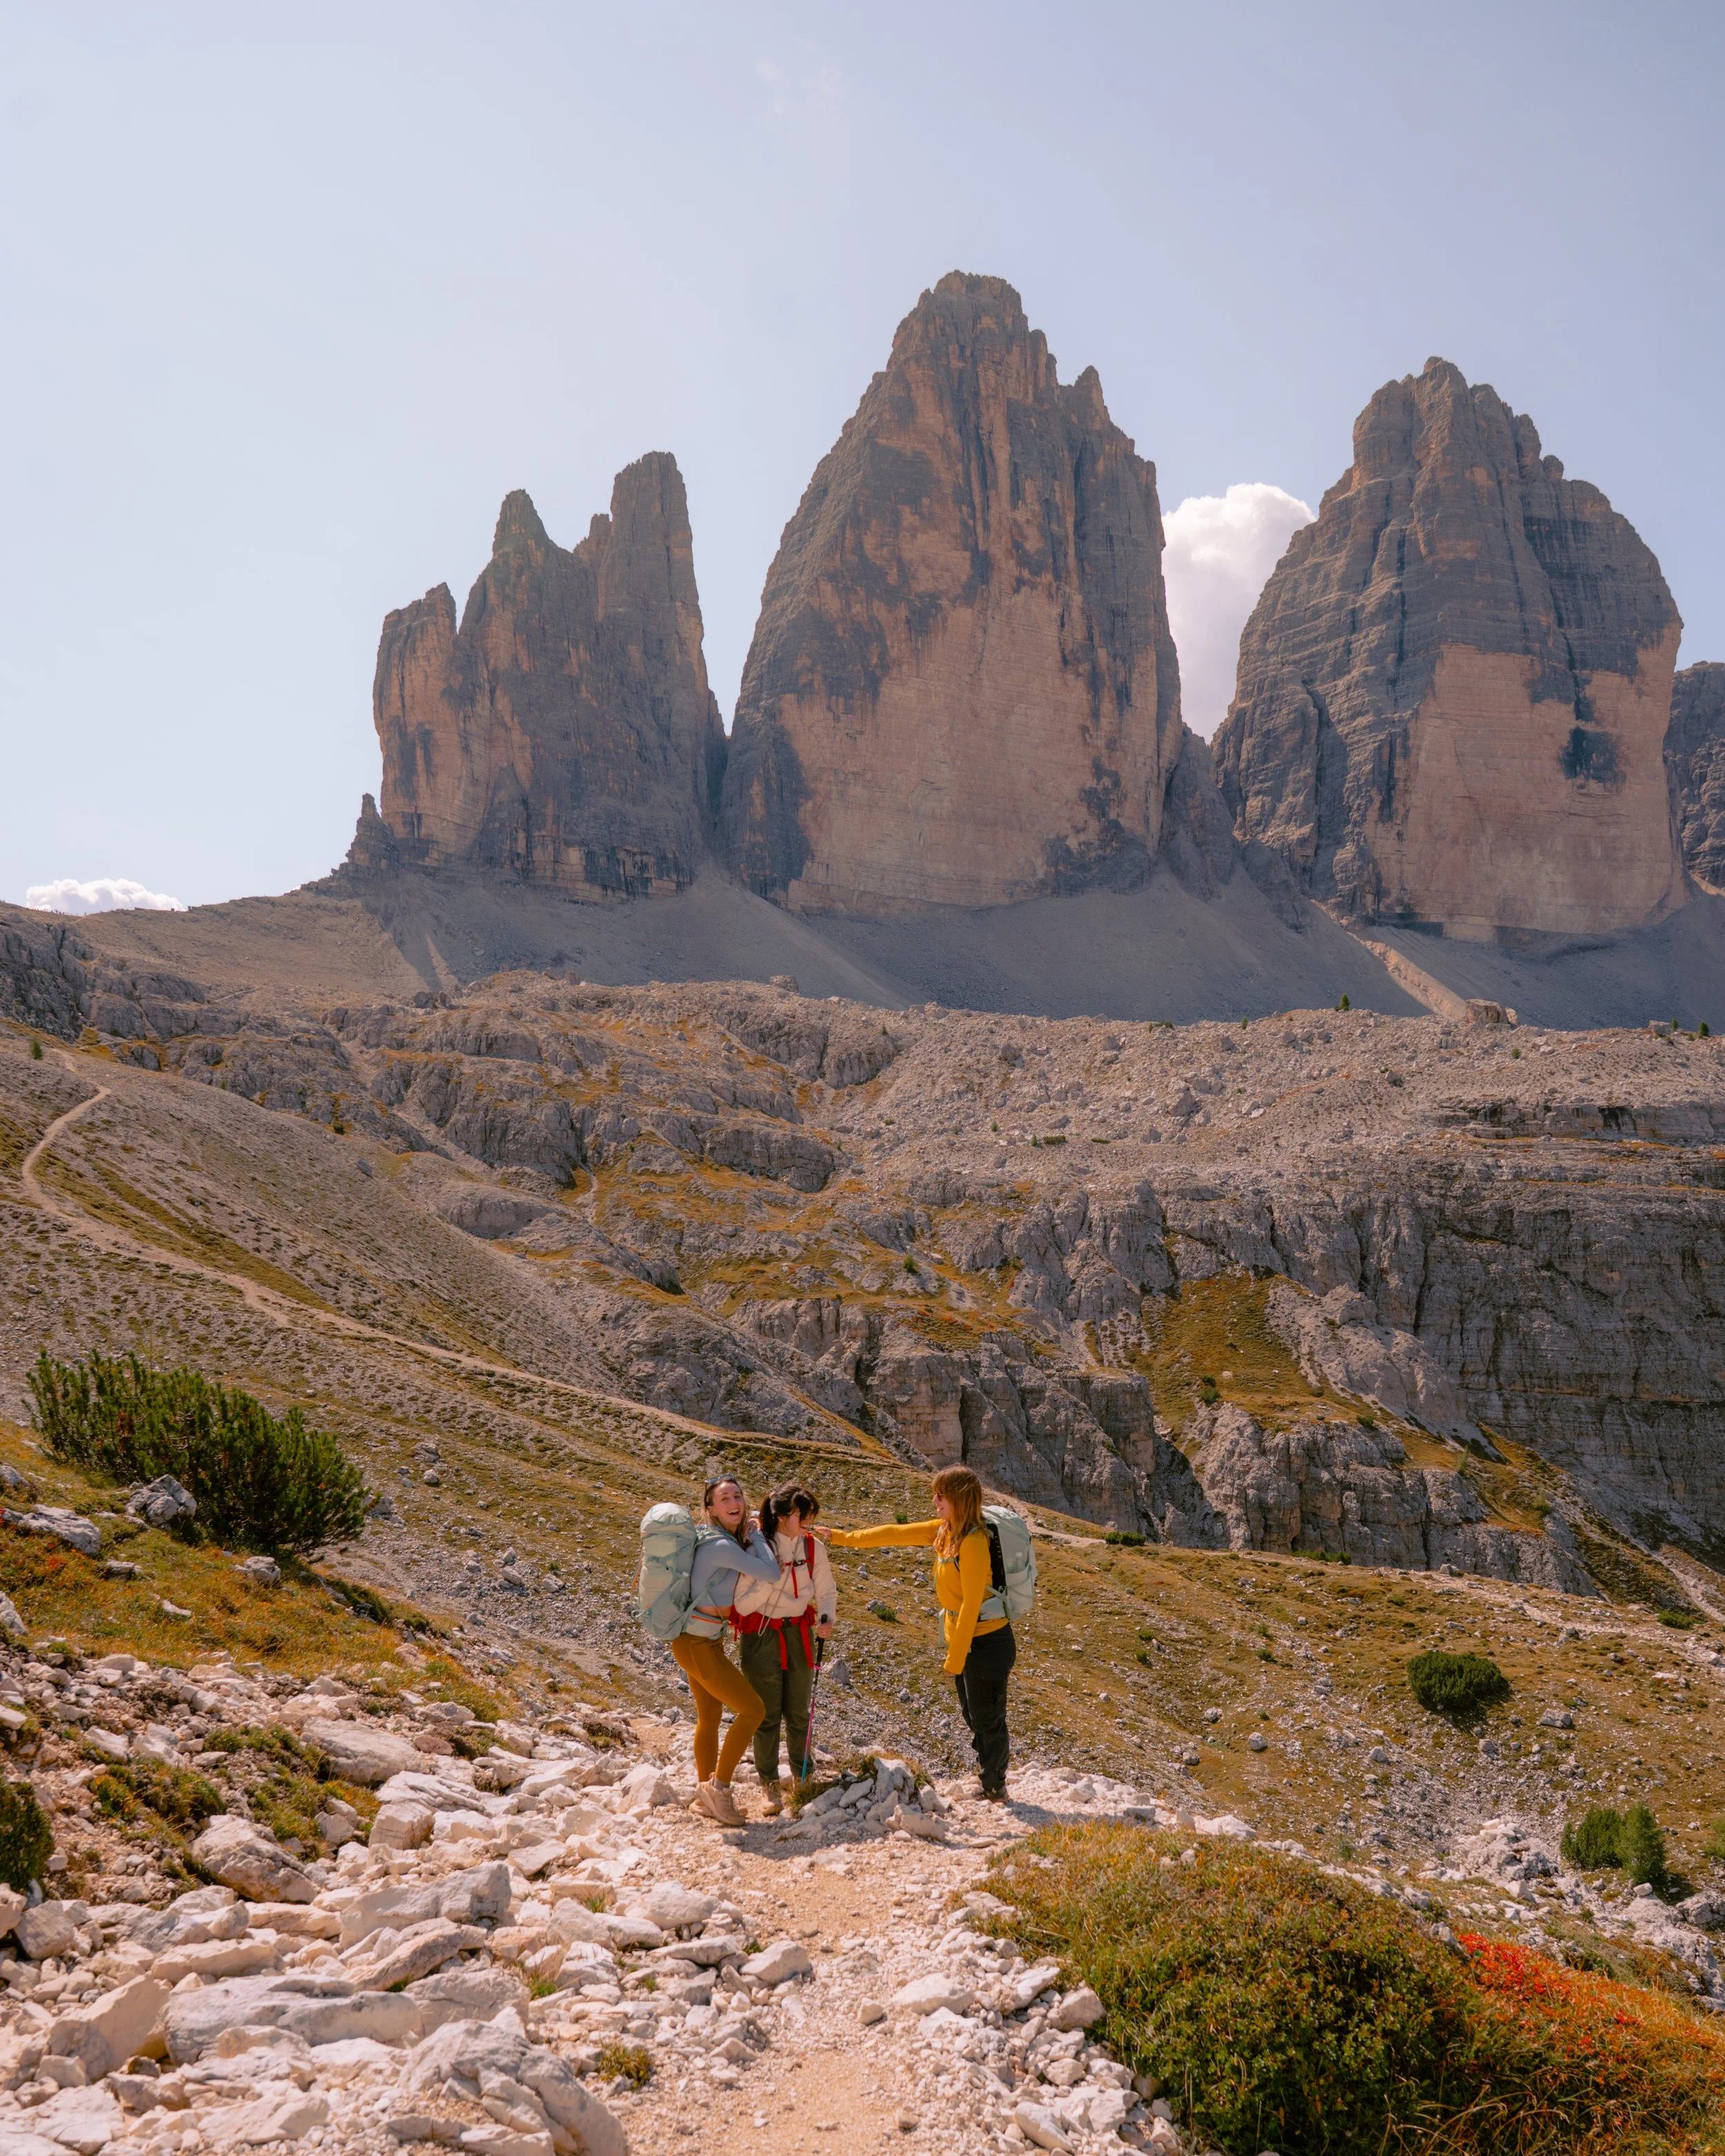
From there, we continued on for a longer hiking day, making our way past Tre Cime di Lavaredo — one of the most iconic formations in the Dolomites.
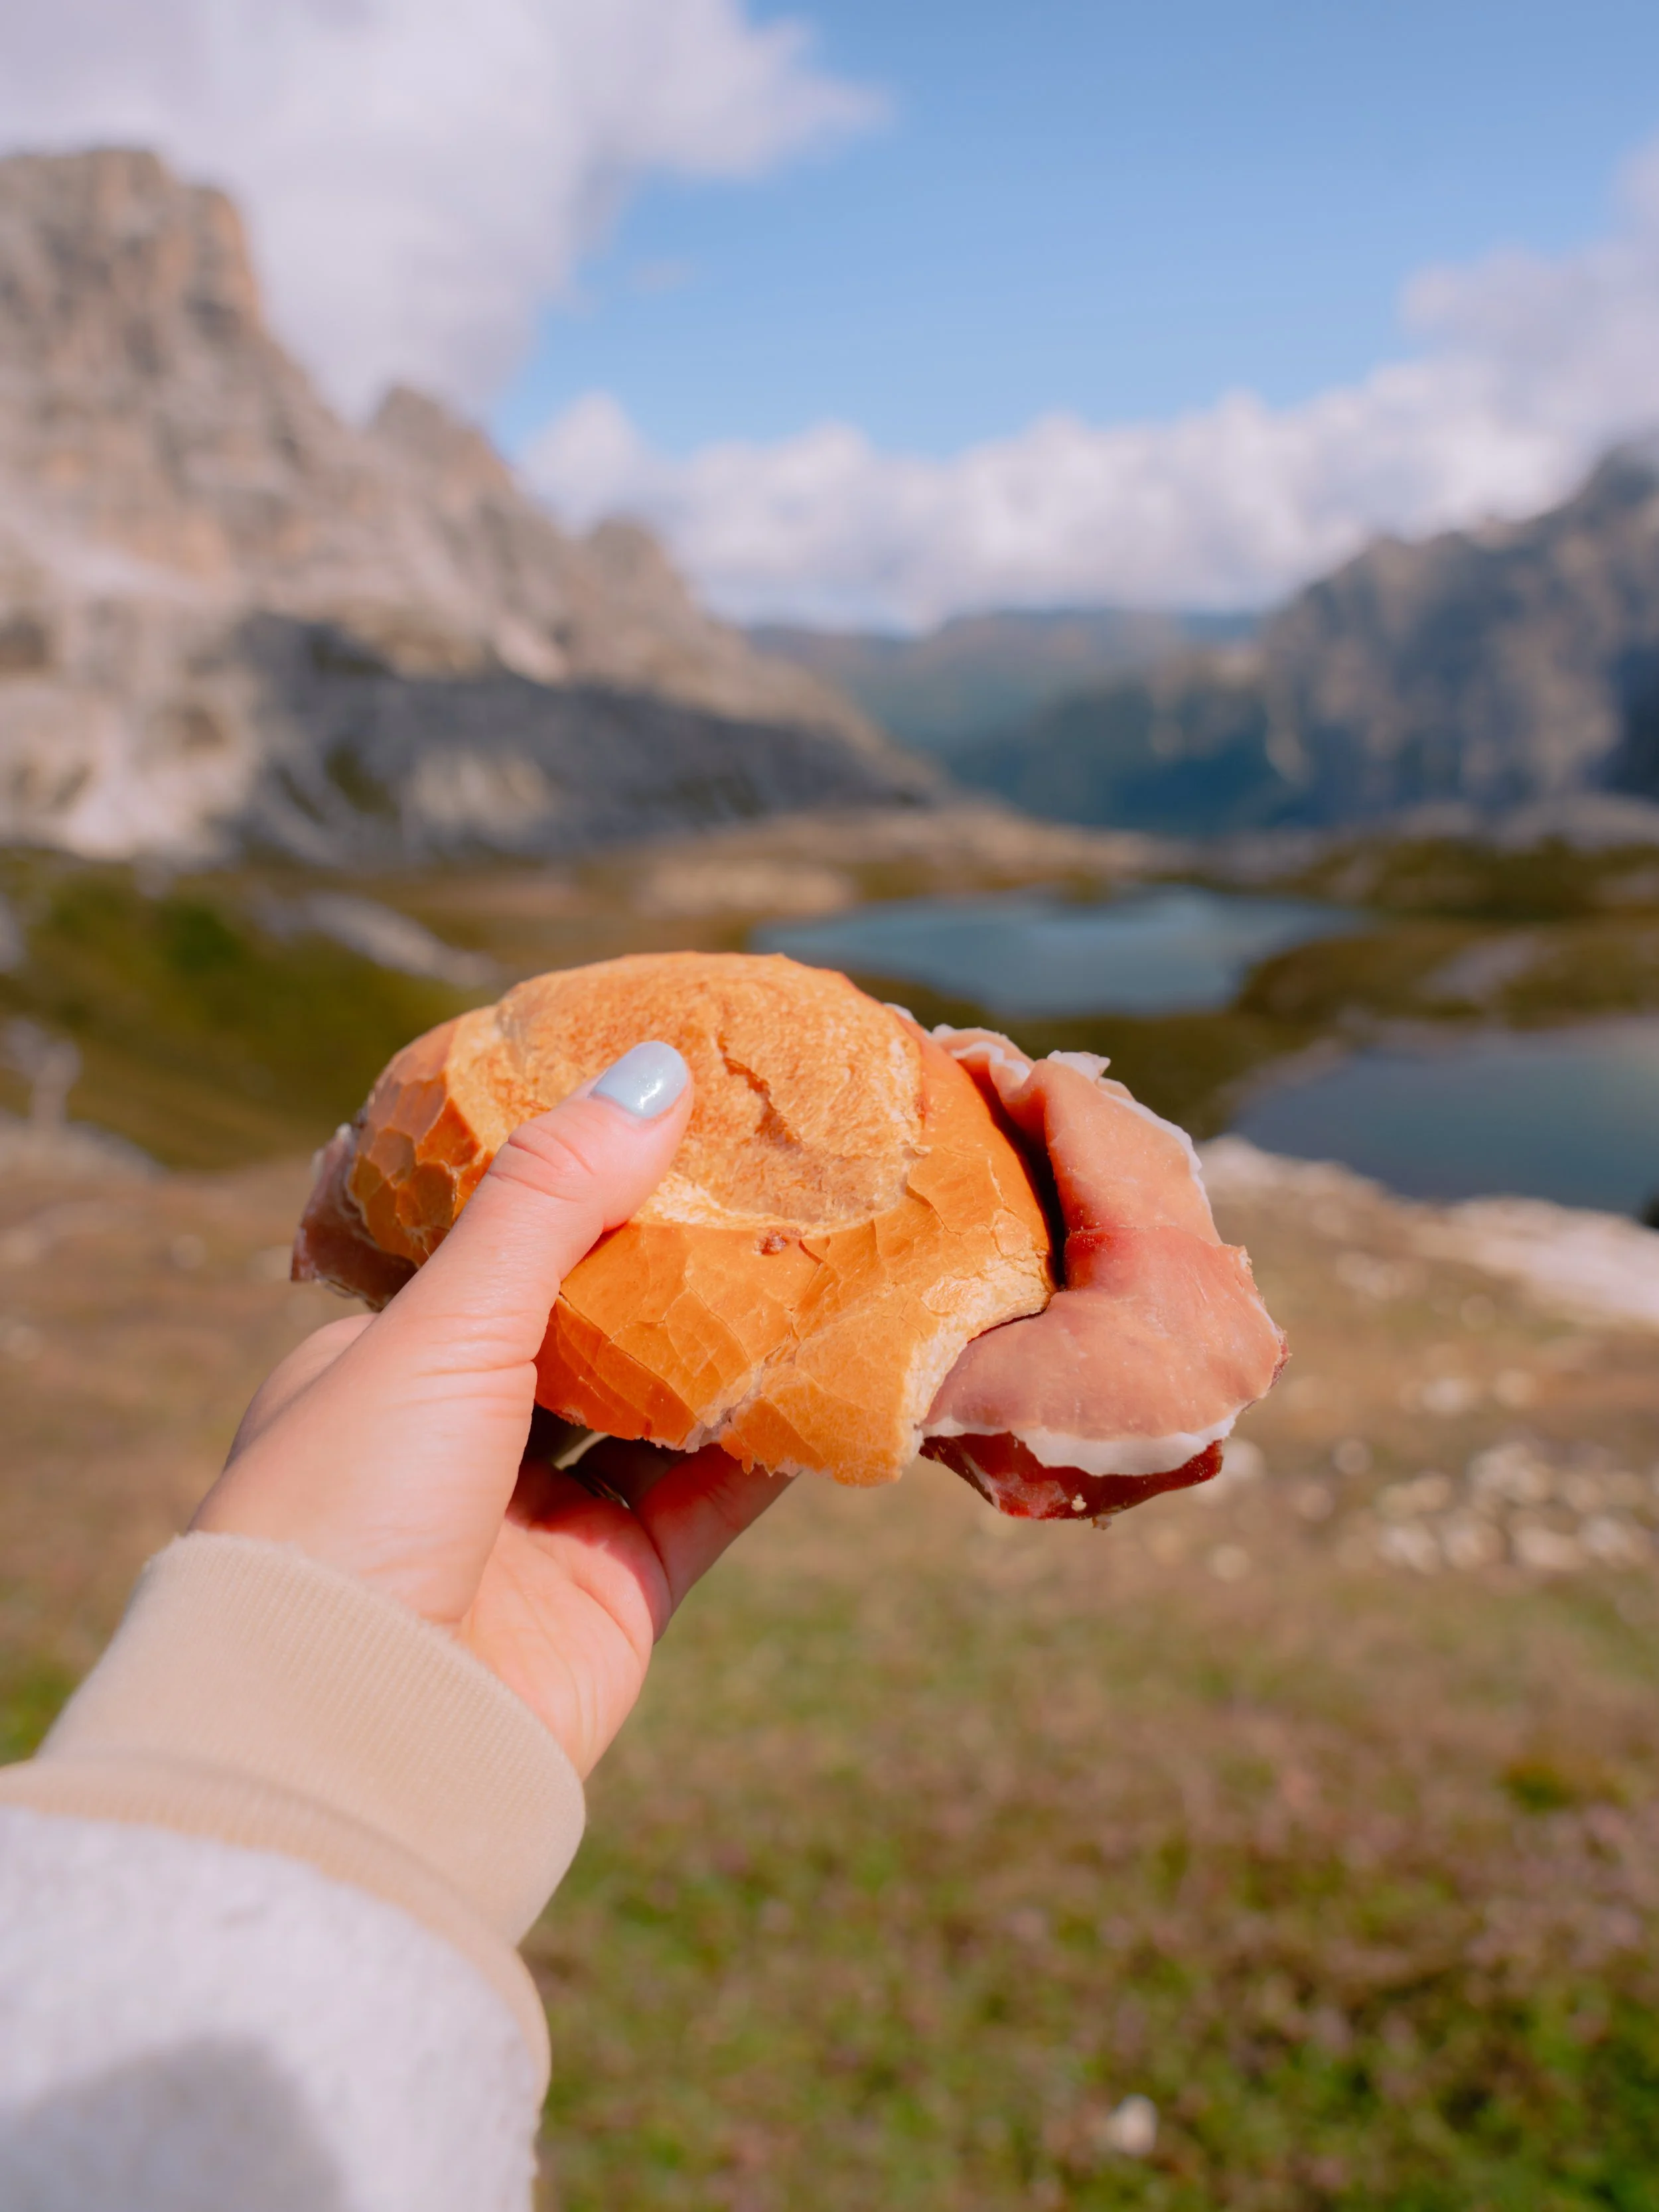
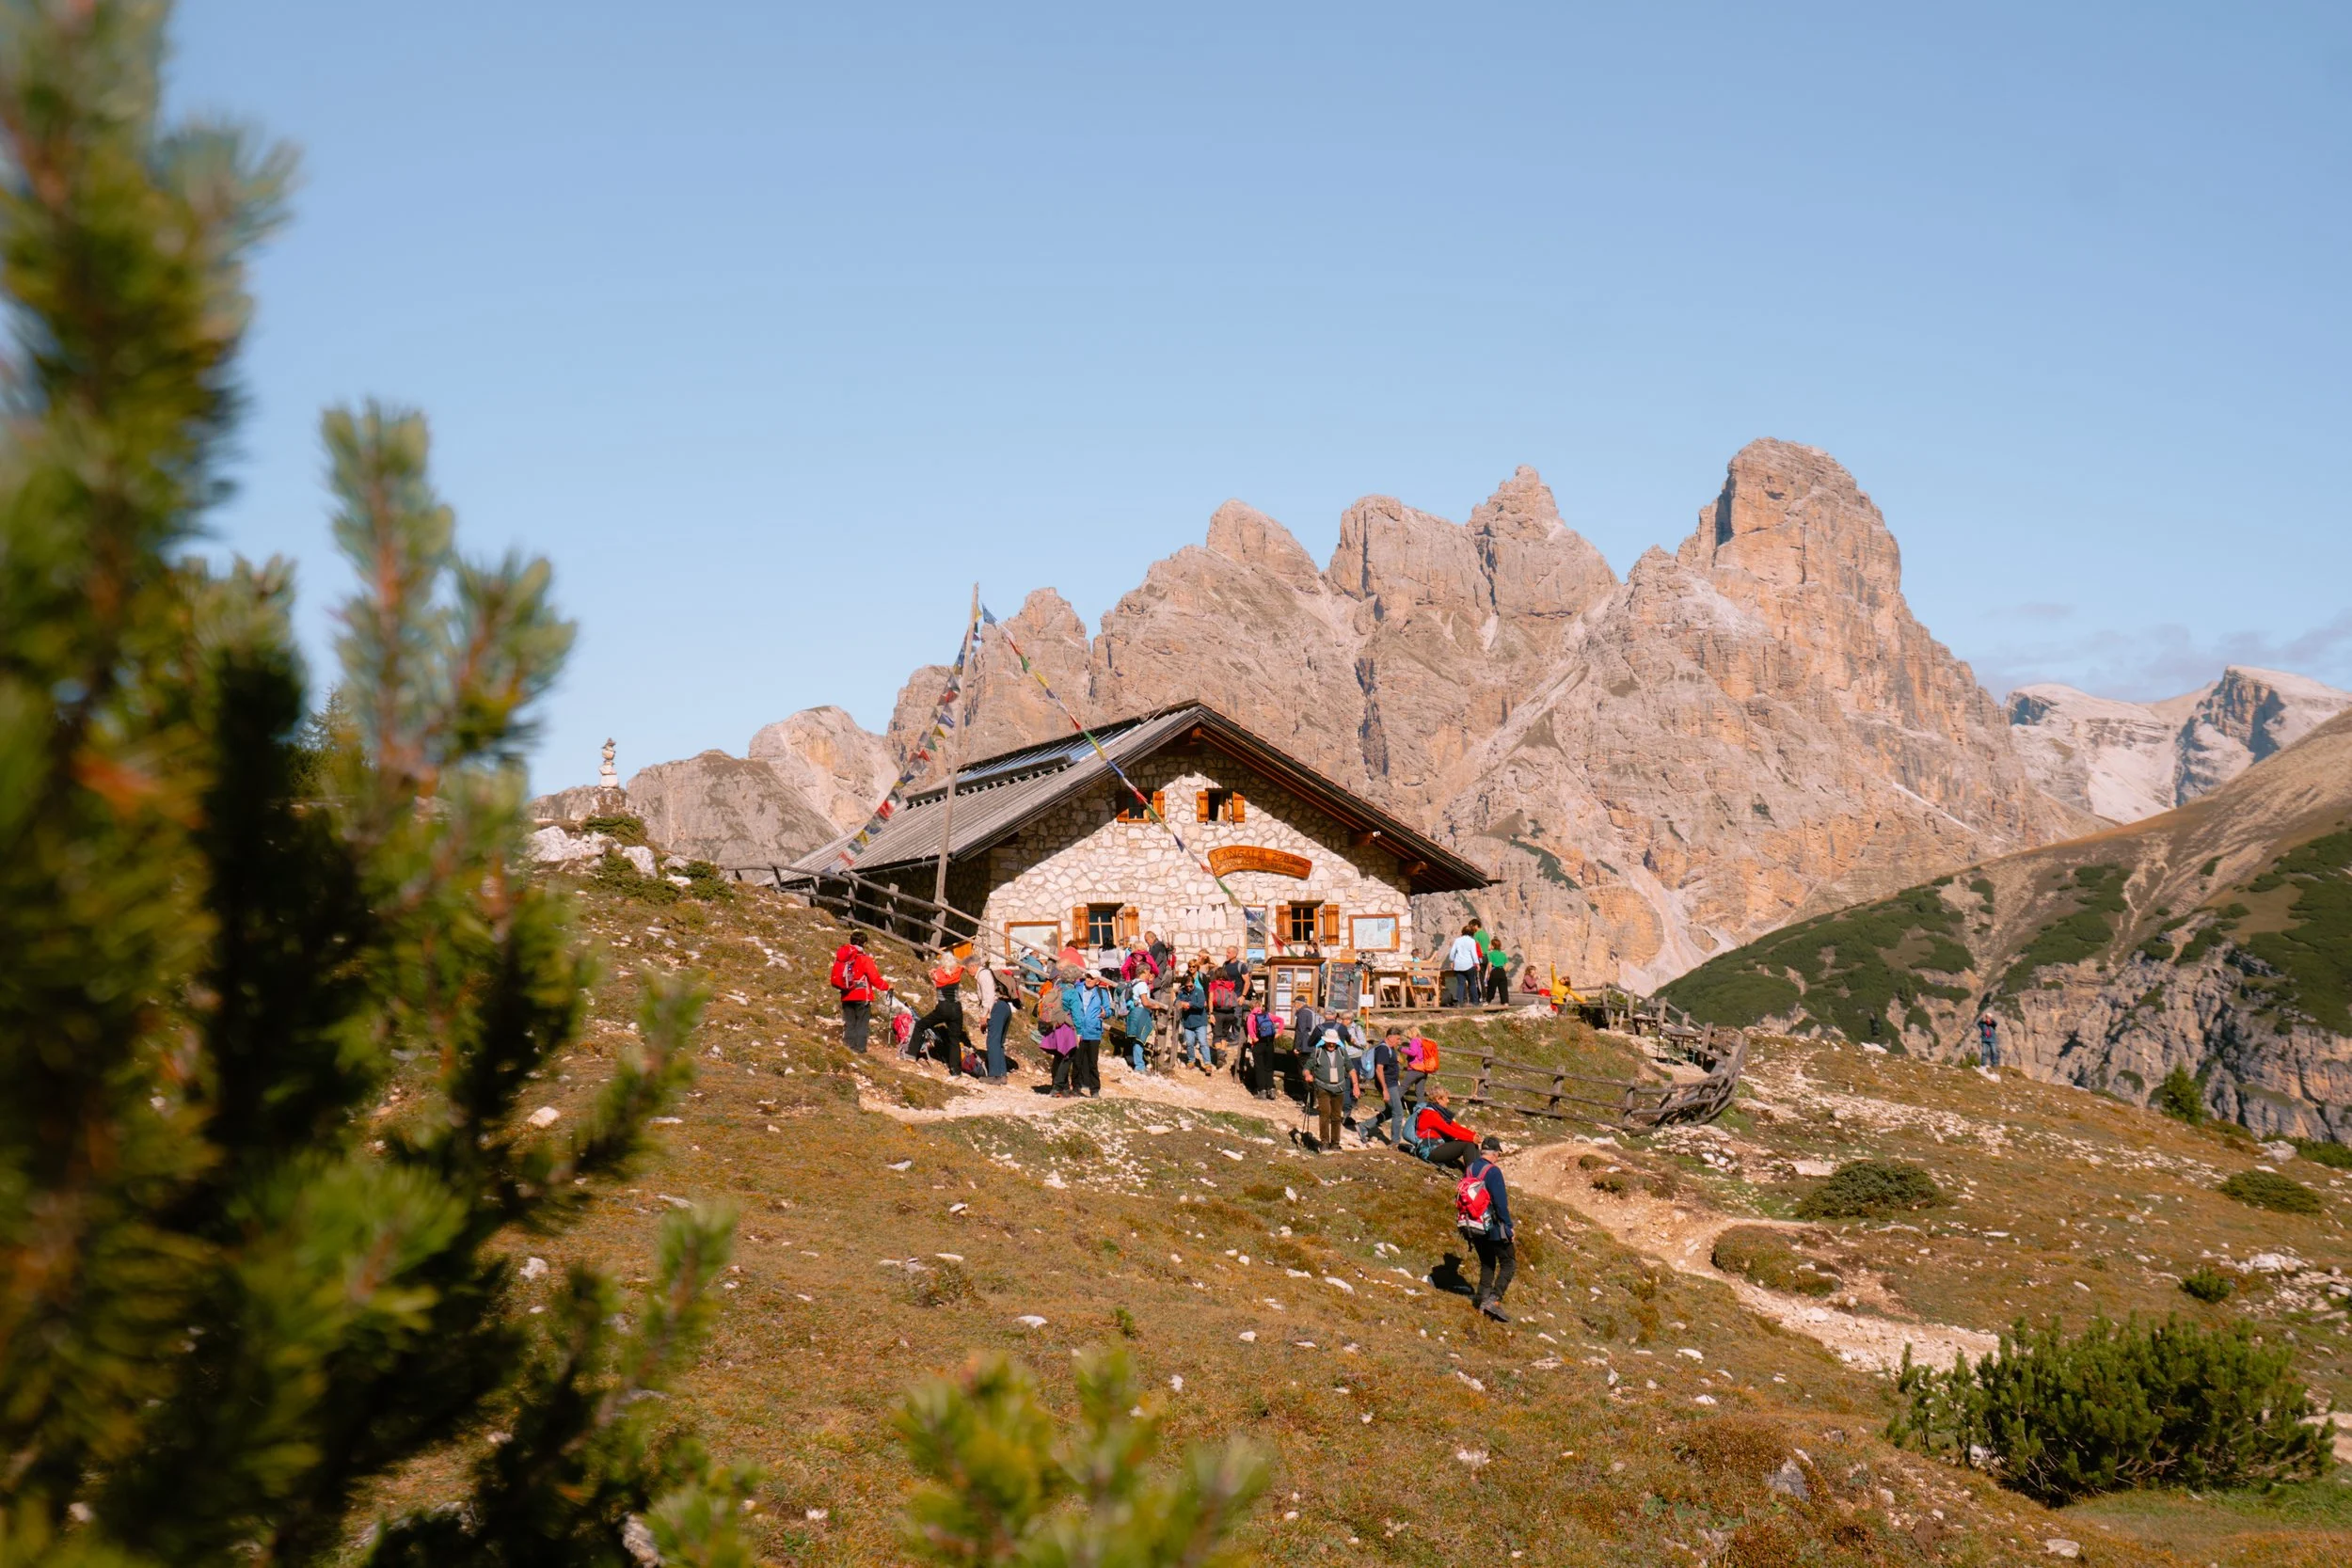
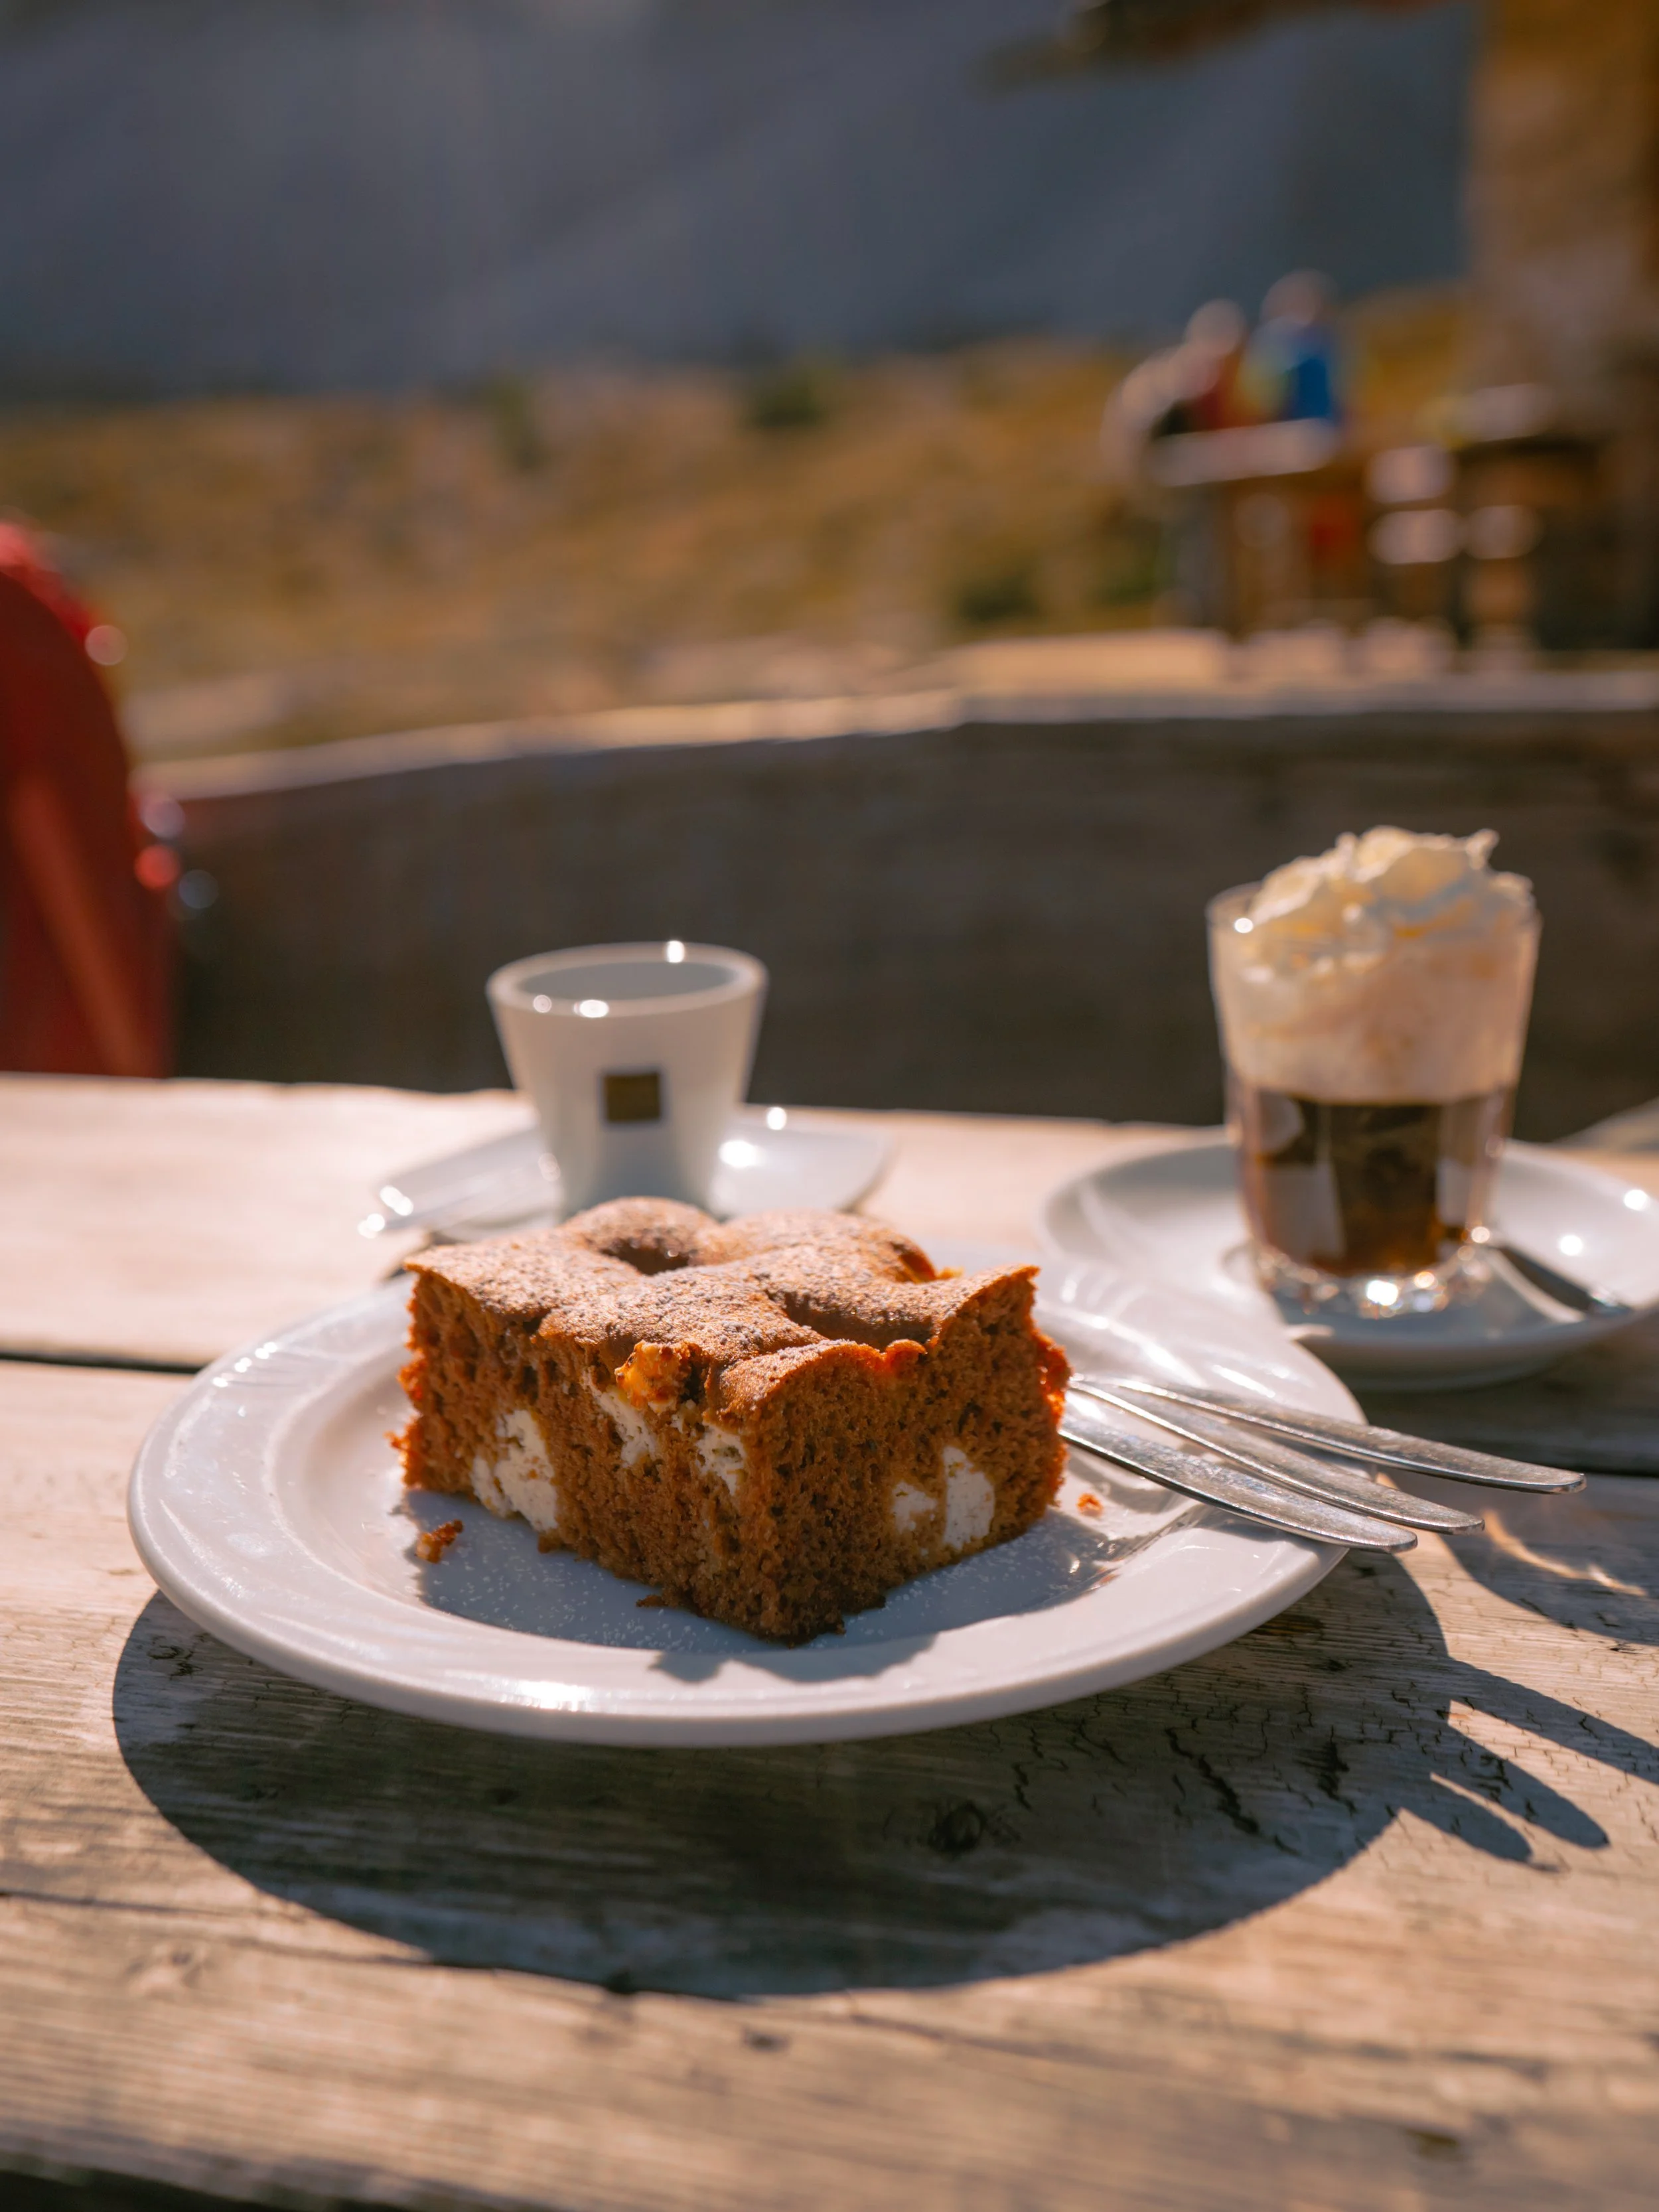
The full day ended up being around 12 miles, and by the end, we were definitely feeling it. We made a much-needed stop at Langalm hut for coffee, which might have been the best coffee of my life purely based on timing.
Eventually, we made our way back down to Sesto, where a real bed and hot shower felt like absolute luxury.
Day 7: Sesto → Val di Funes
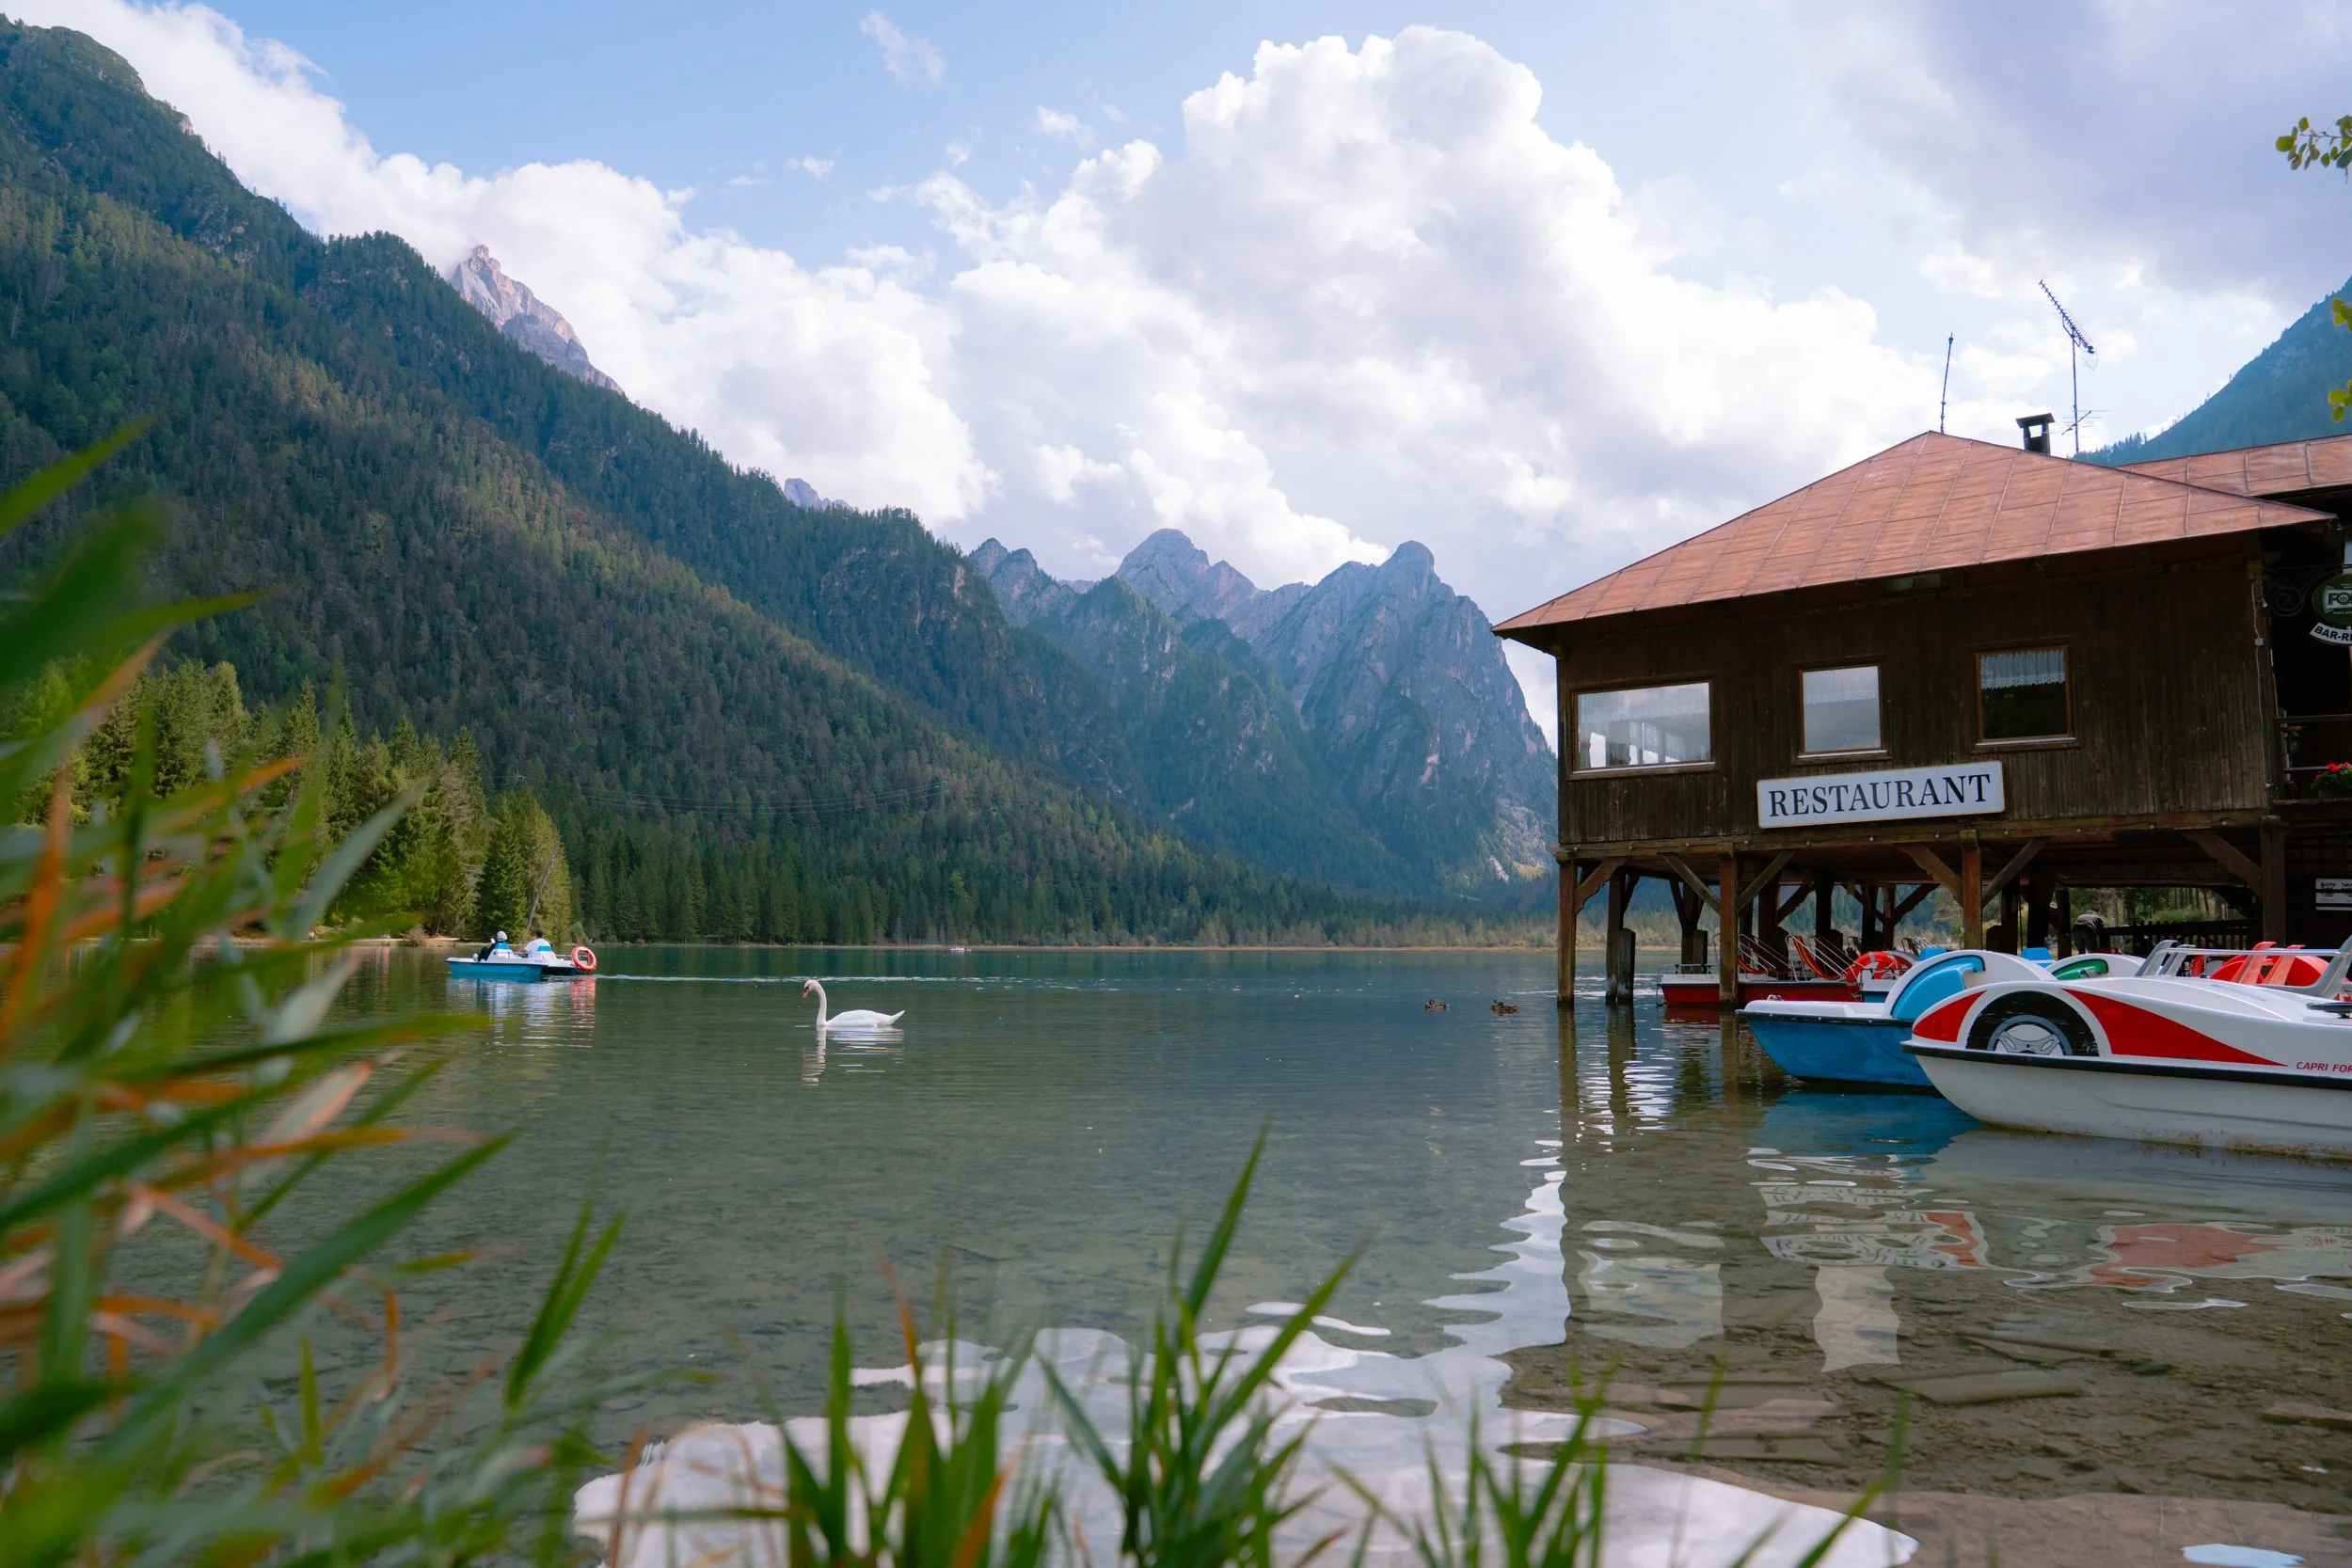
Lago di Dobbiaco
After a few physically demanding days, this was a much-needed reset.
We made the drive to Val di Funes, which took about 1.5 hours with a couple scenic stops along the way. We stopped in San Candido and at Lago di Dobbiaco — both worth quick stops if you have the time.
Val di Funes immediately felt different. Softer, quieter, more pastoral. Instead of jagged peaks towering directly overhead, you get these rolling green hills with dramatic mountain backdrops.
We checked into our Airbnb near Santa Maddalena and then headed to dinner at Pitzock, which was so good we went back again the next night. I highly recommend making a reservation for dinner here, it will blow your mind (try the mushroom soup if they still have it!)
Day 8: Val di Funes + Seceda
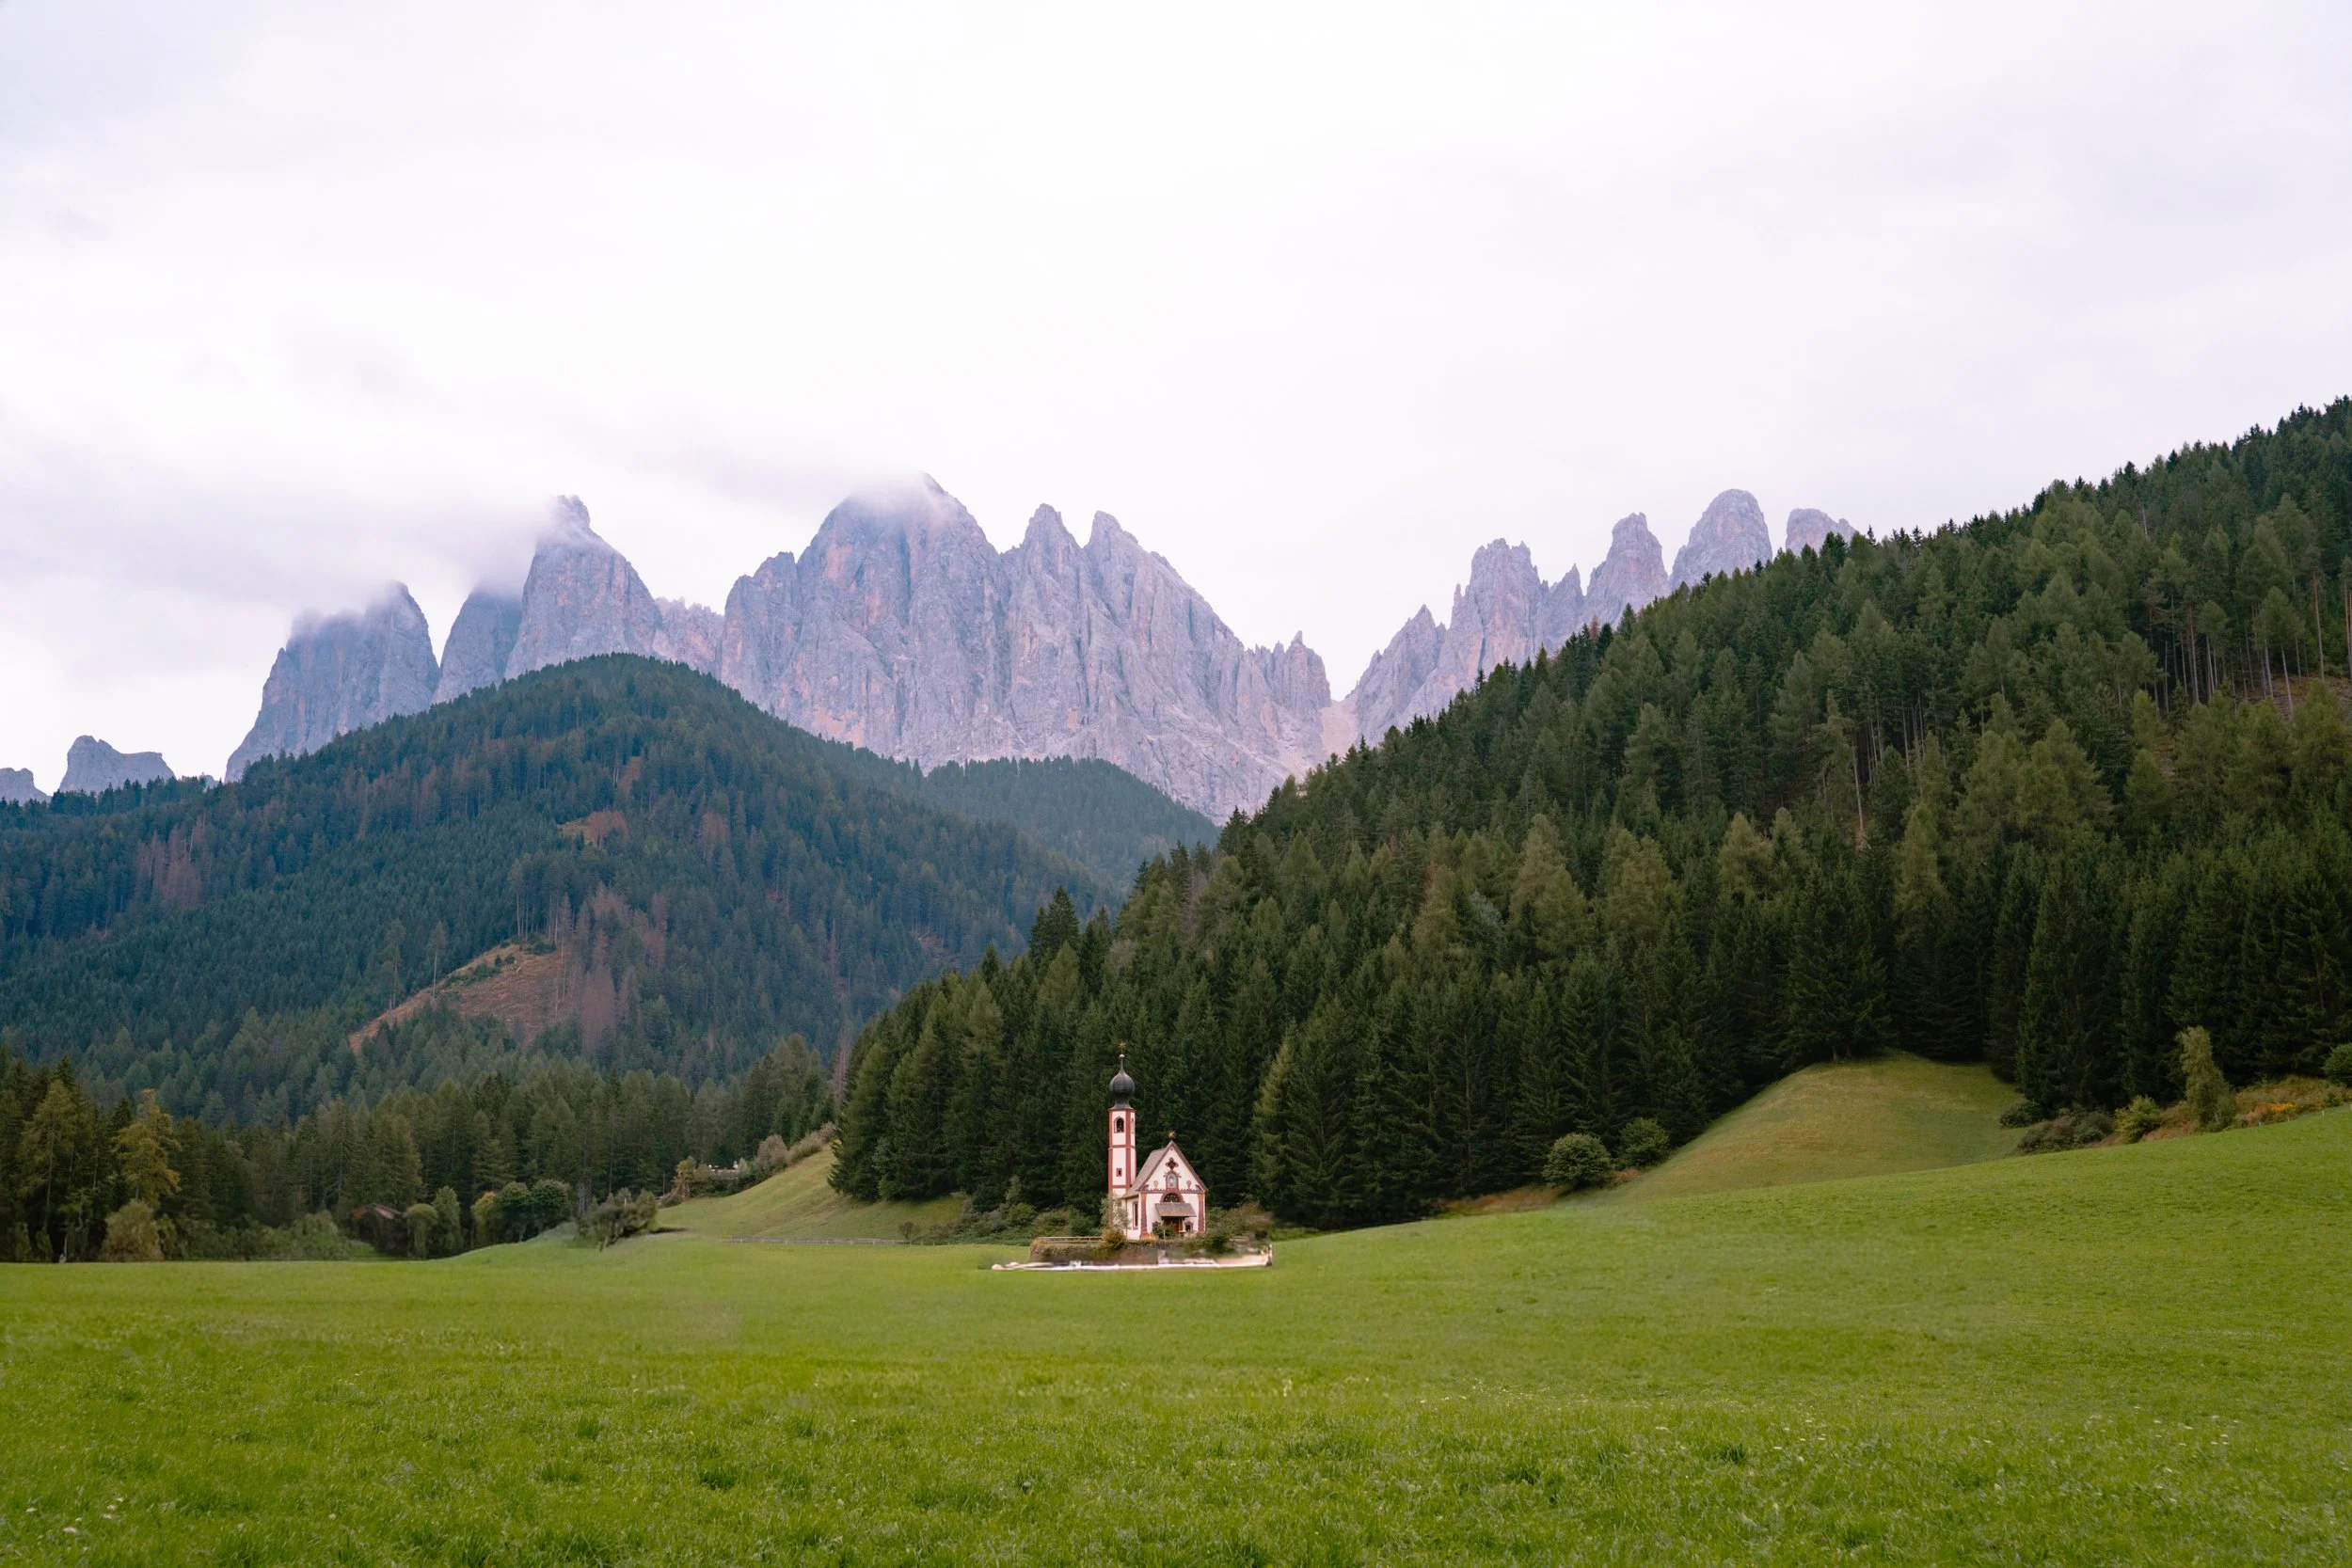
St. Johann Church
We started at sunrise at St. Johann Church, one of the most photographed spots in the Dolomites. You’ll need to pay a small fee to walk up to the church itself, or there are a few marked photography viewpoints where you can get an iconic shot of the church with the mountain backdrop.
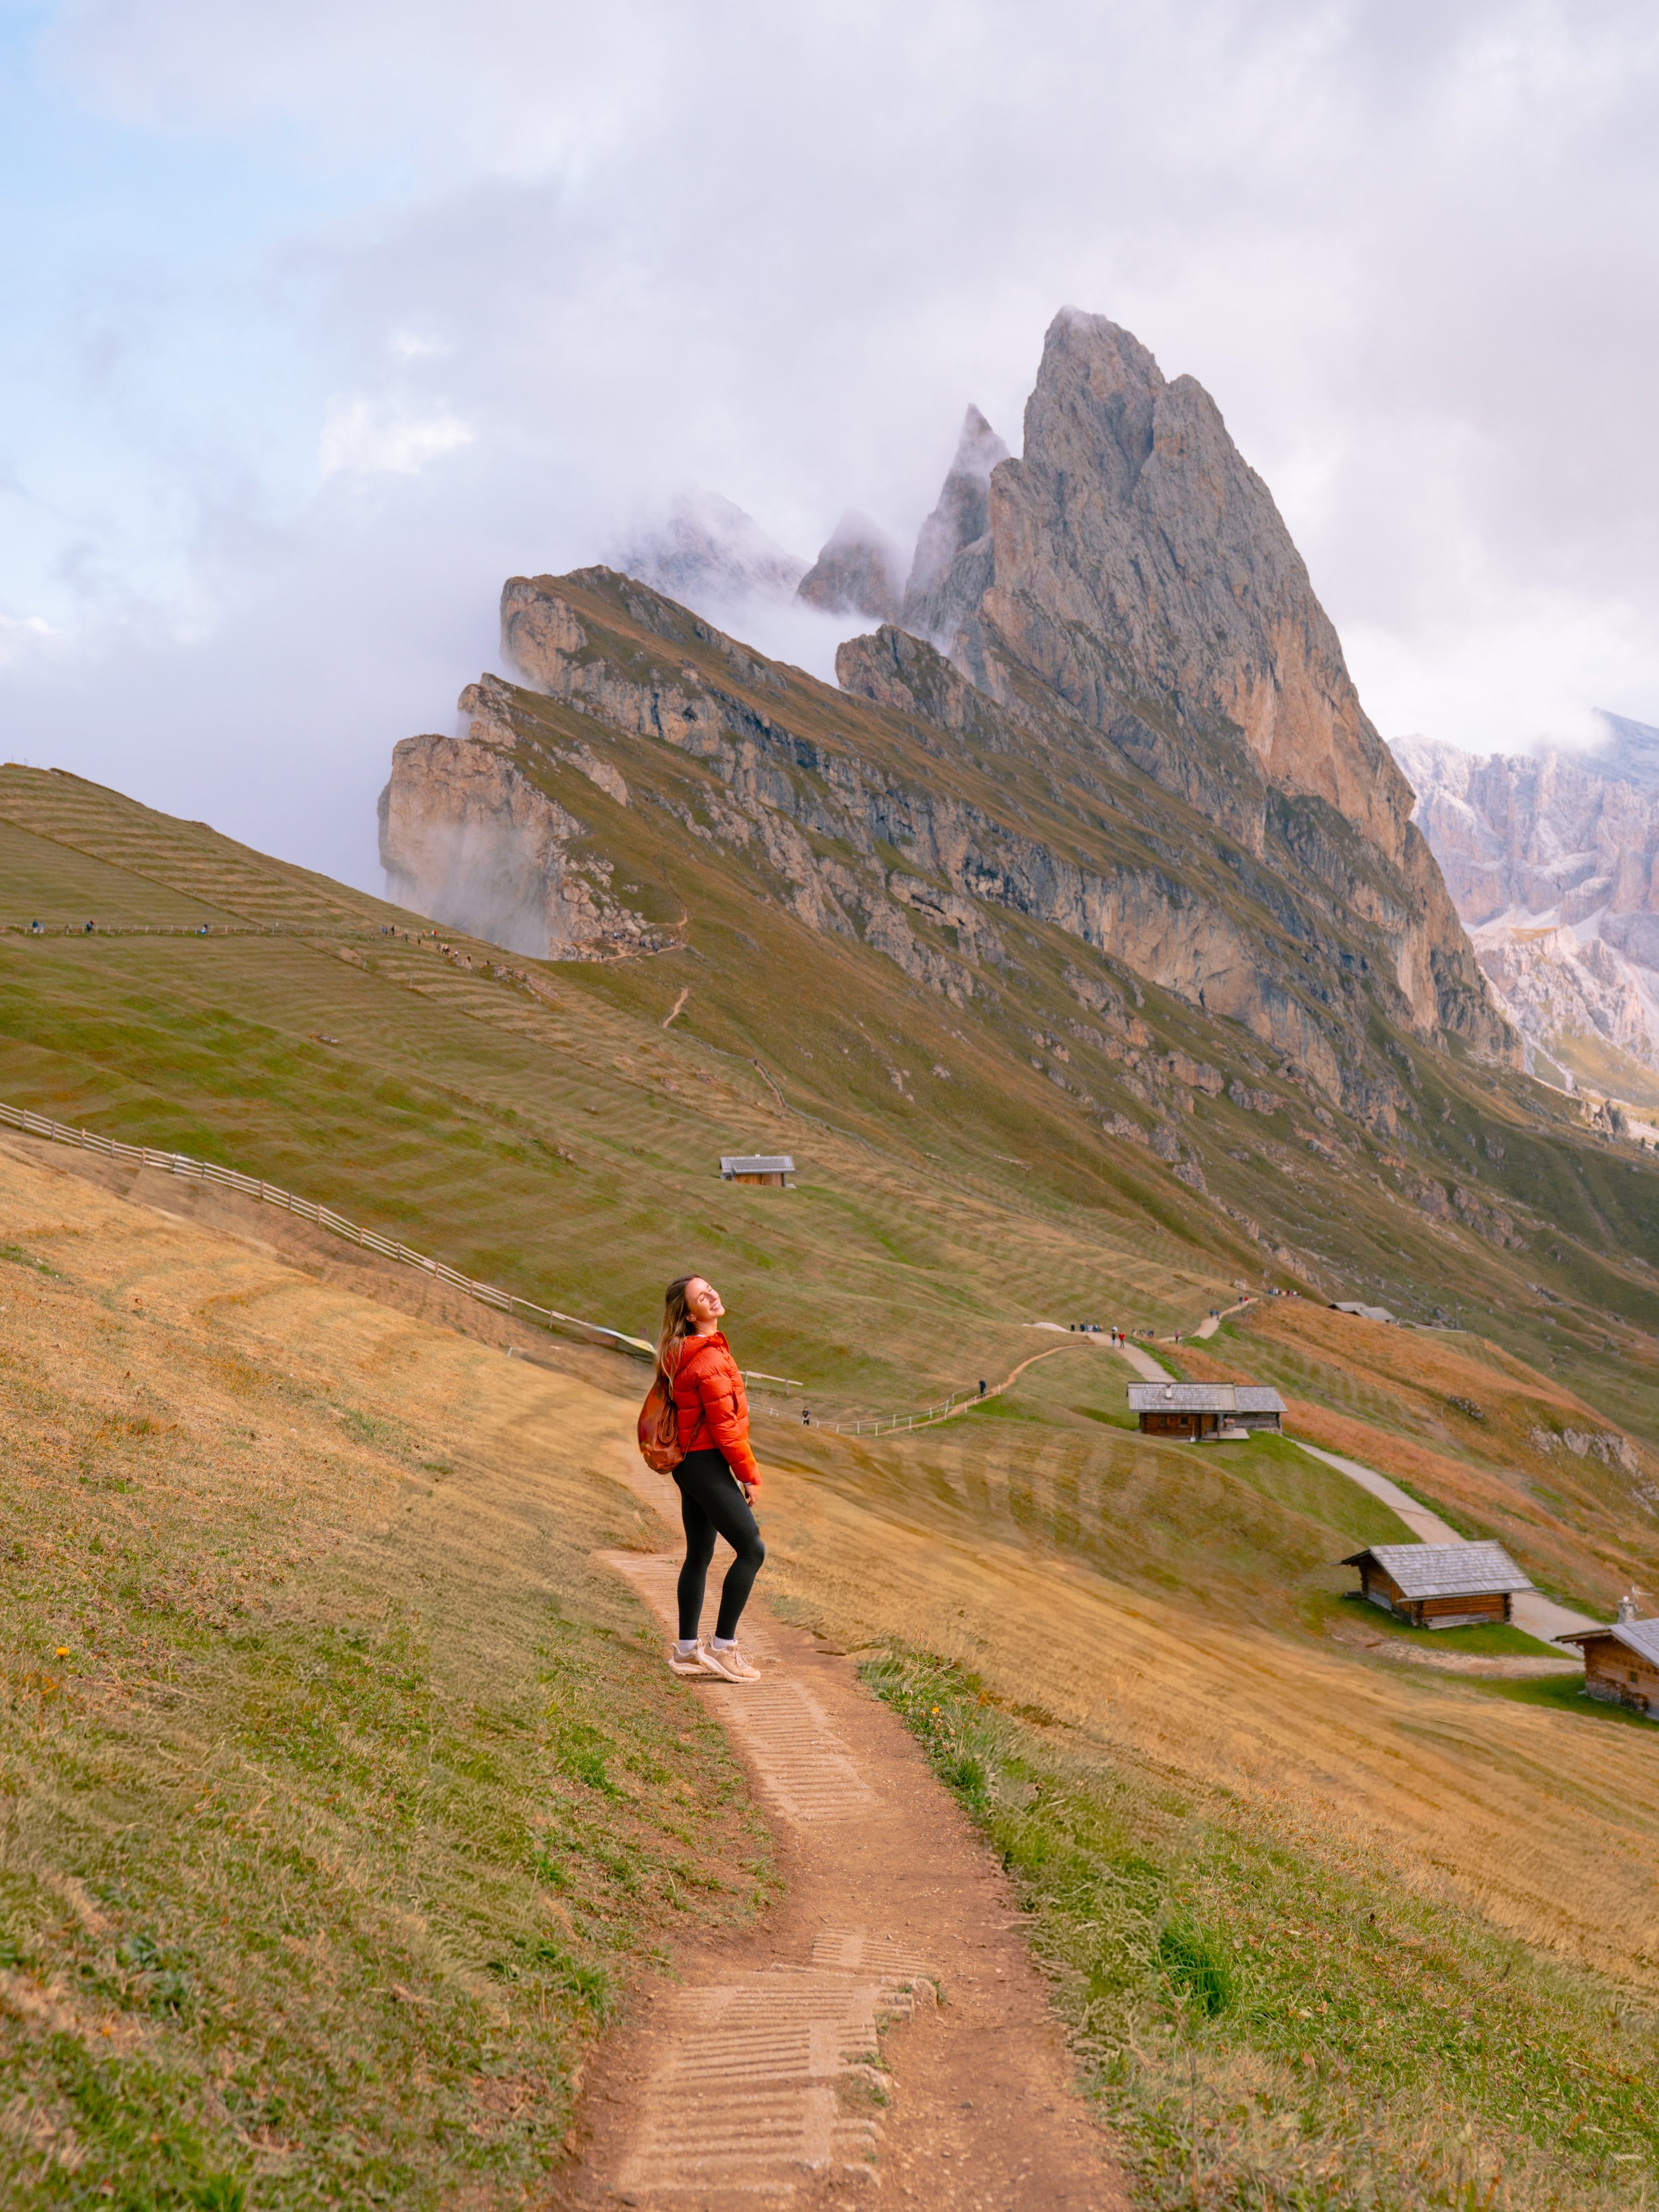
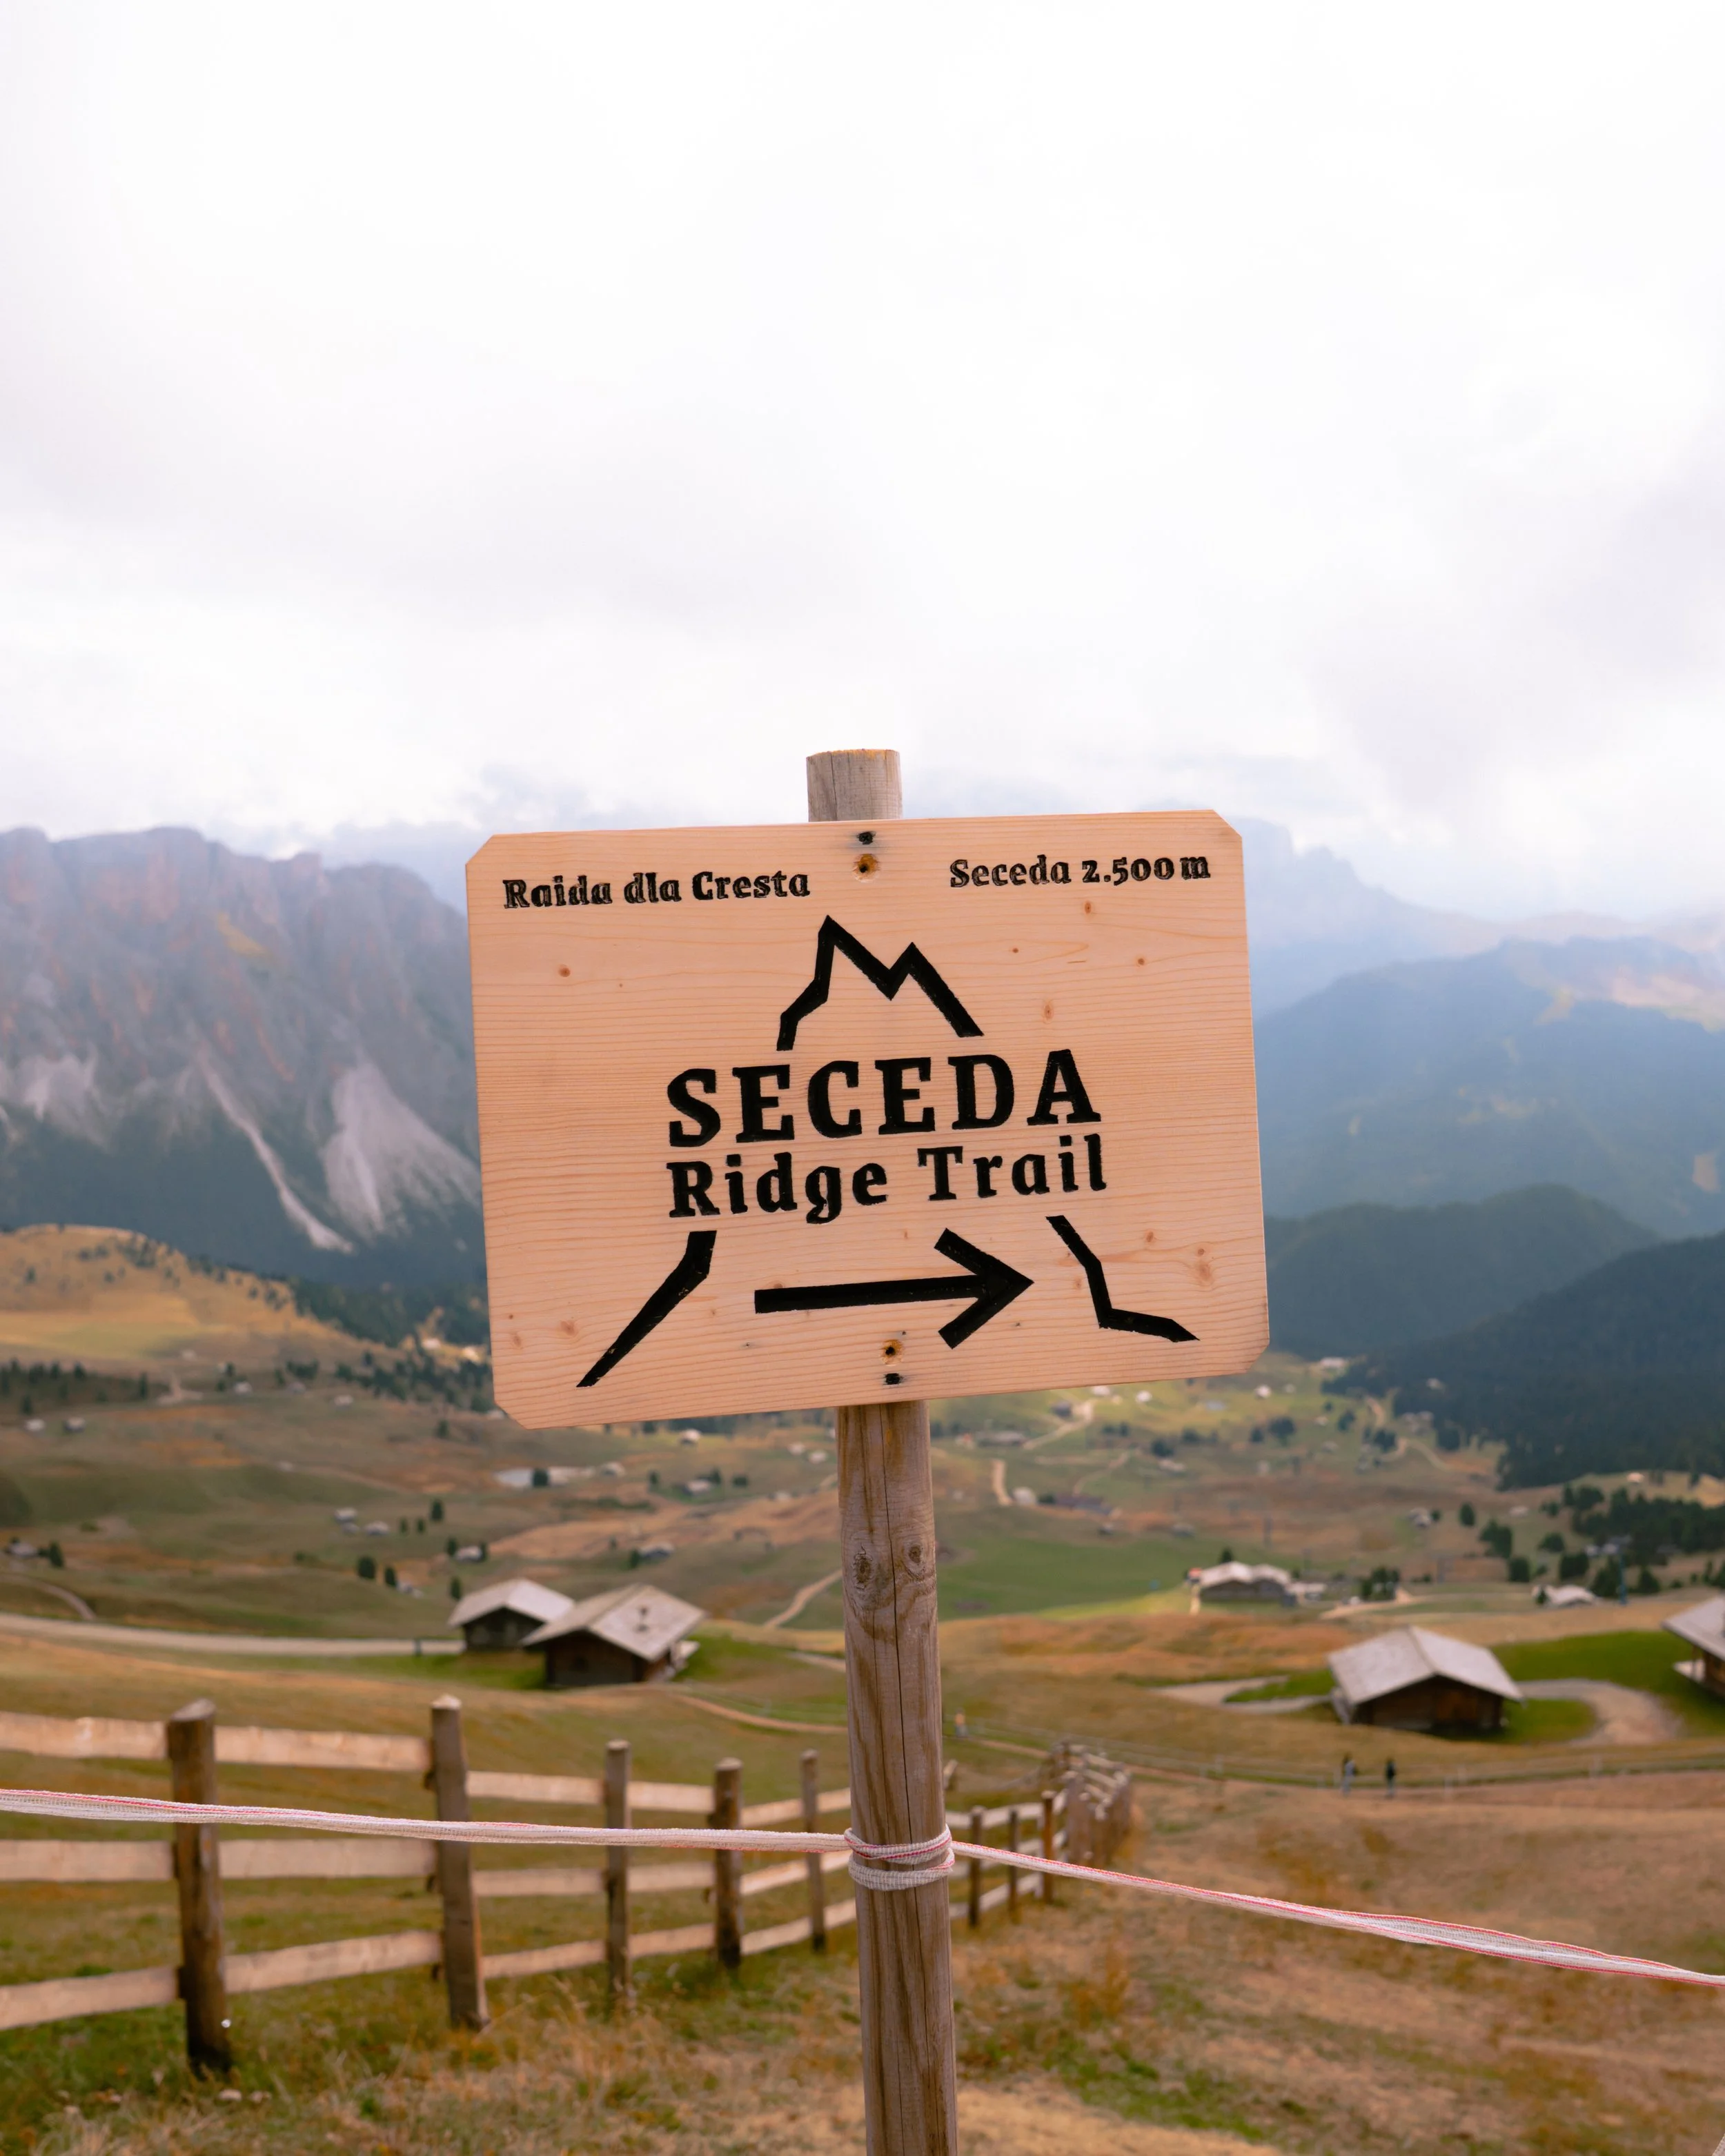
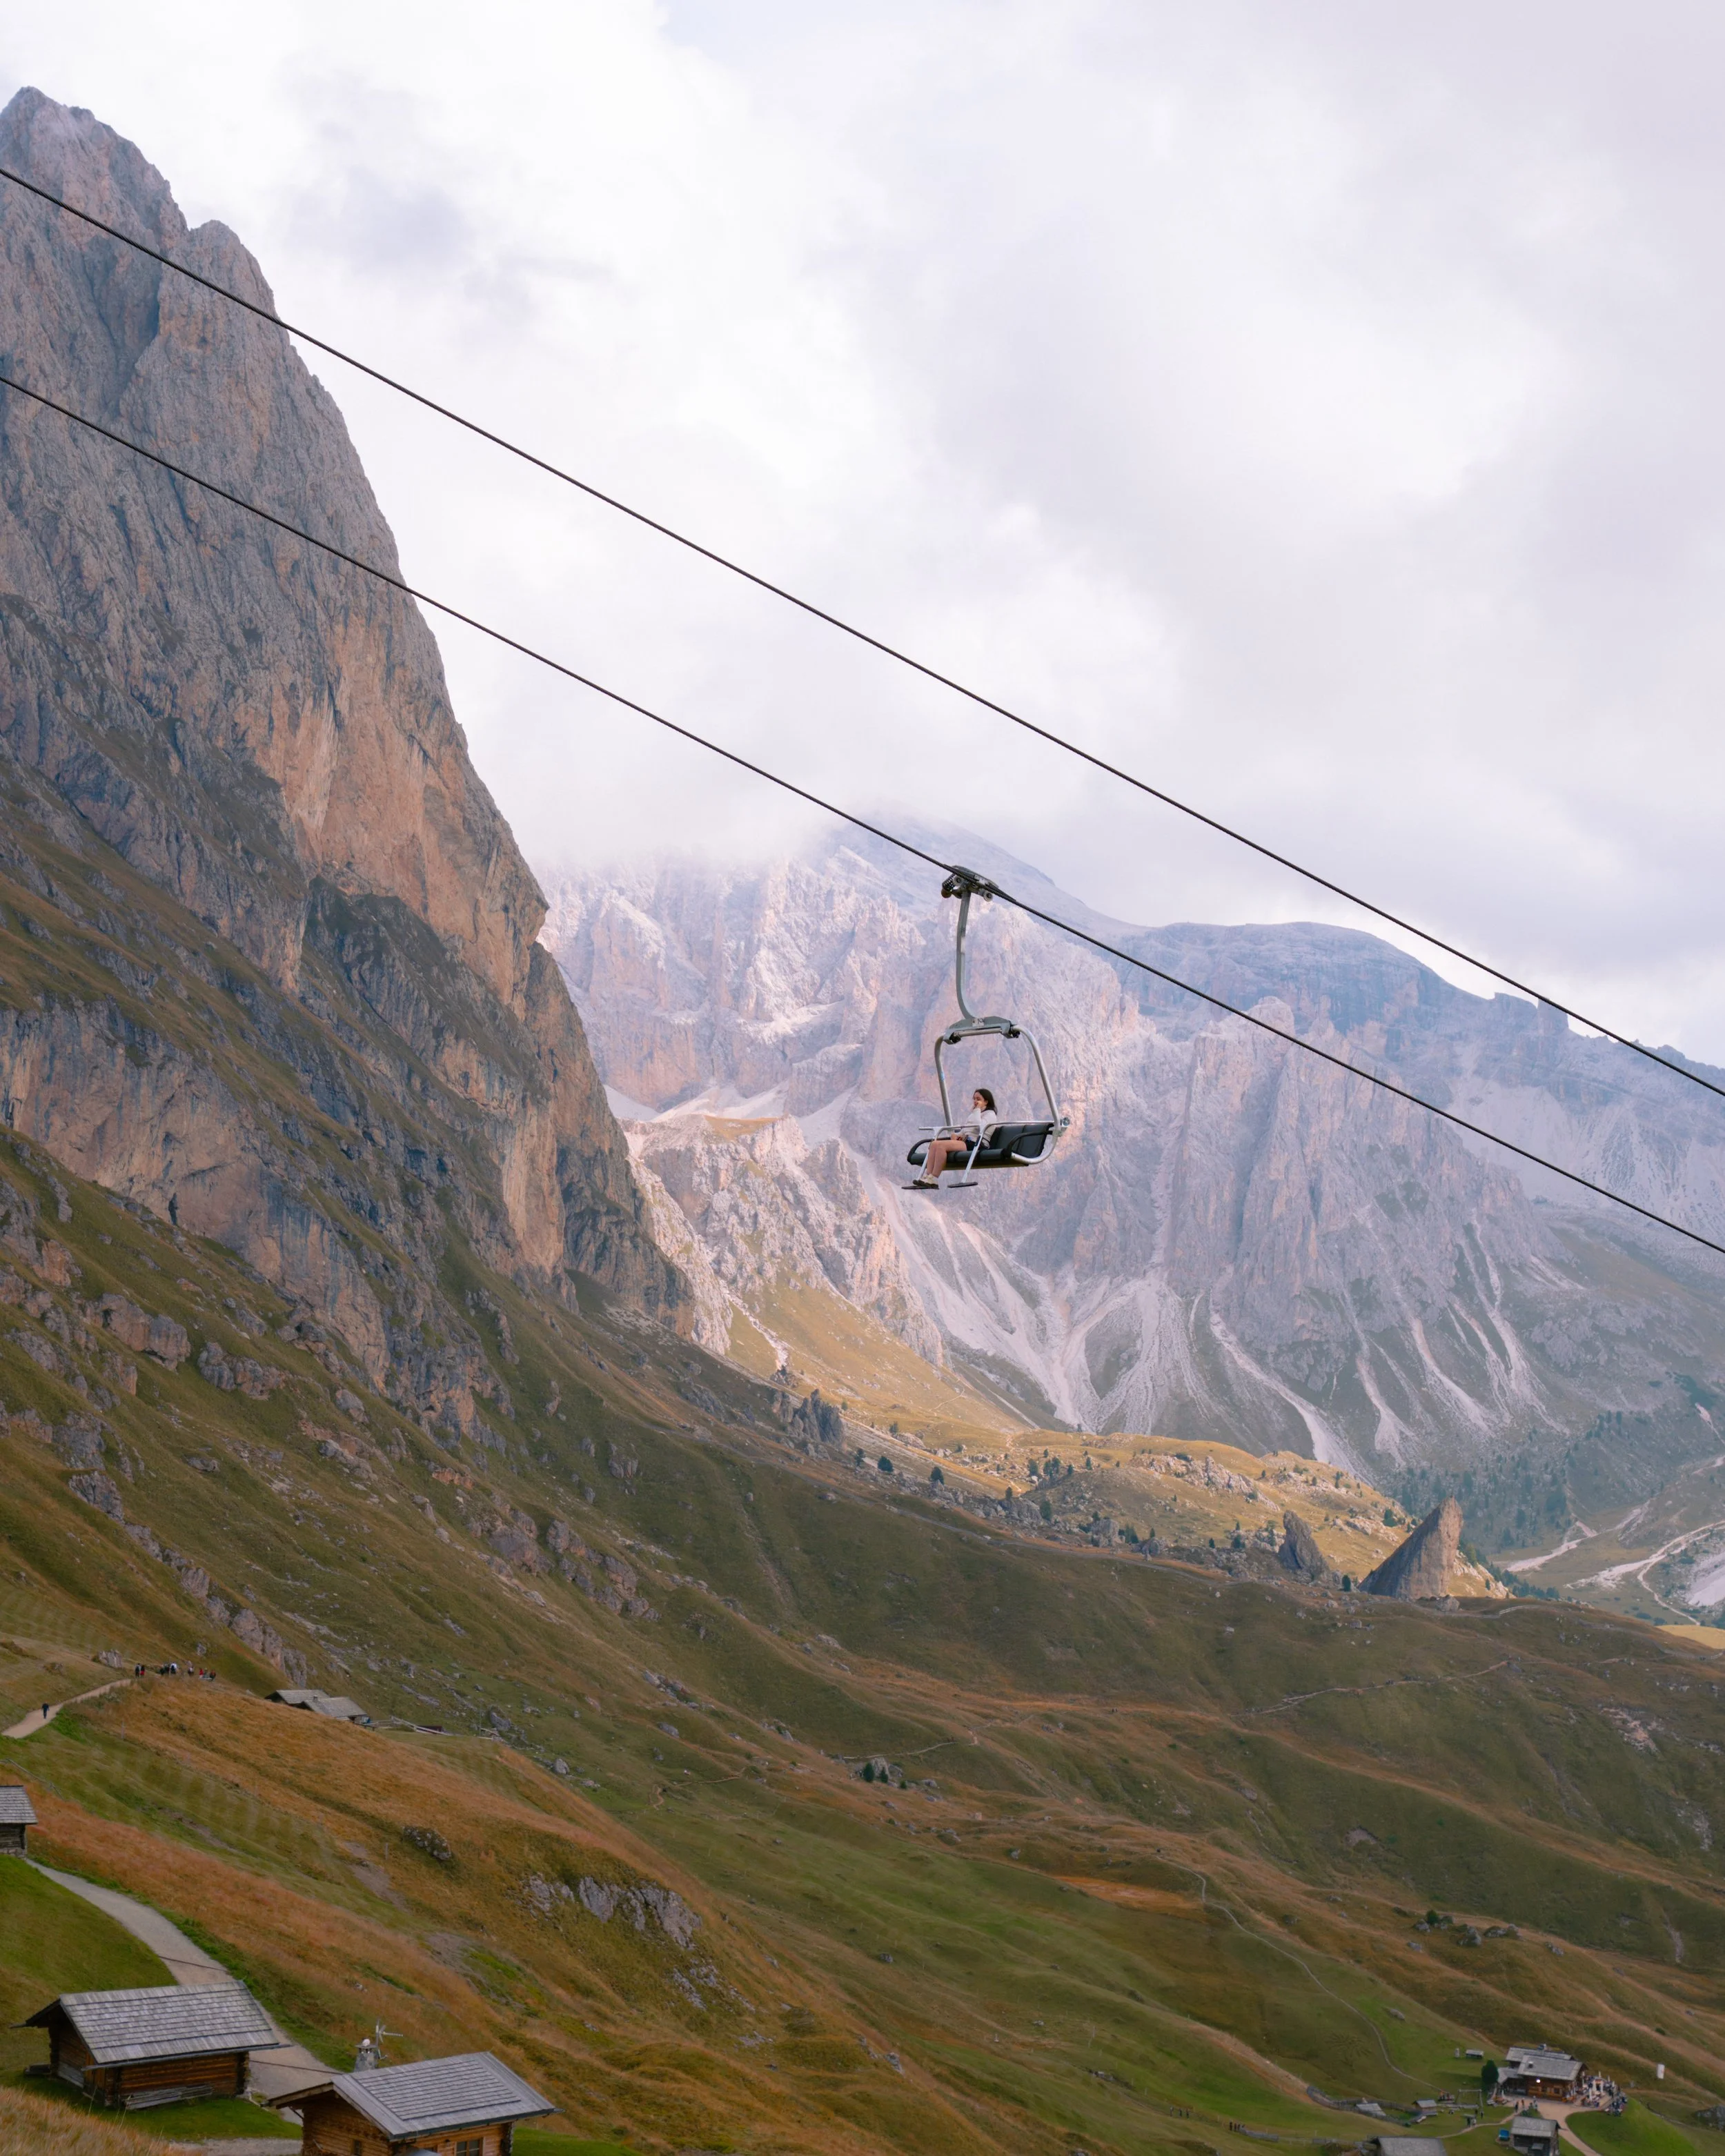
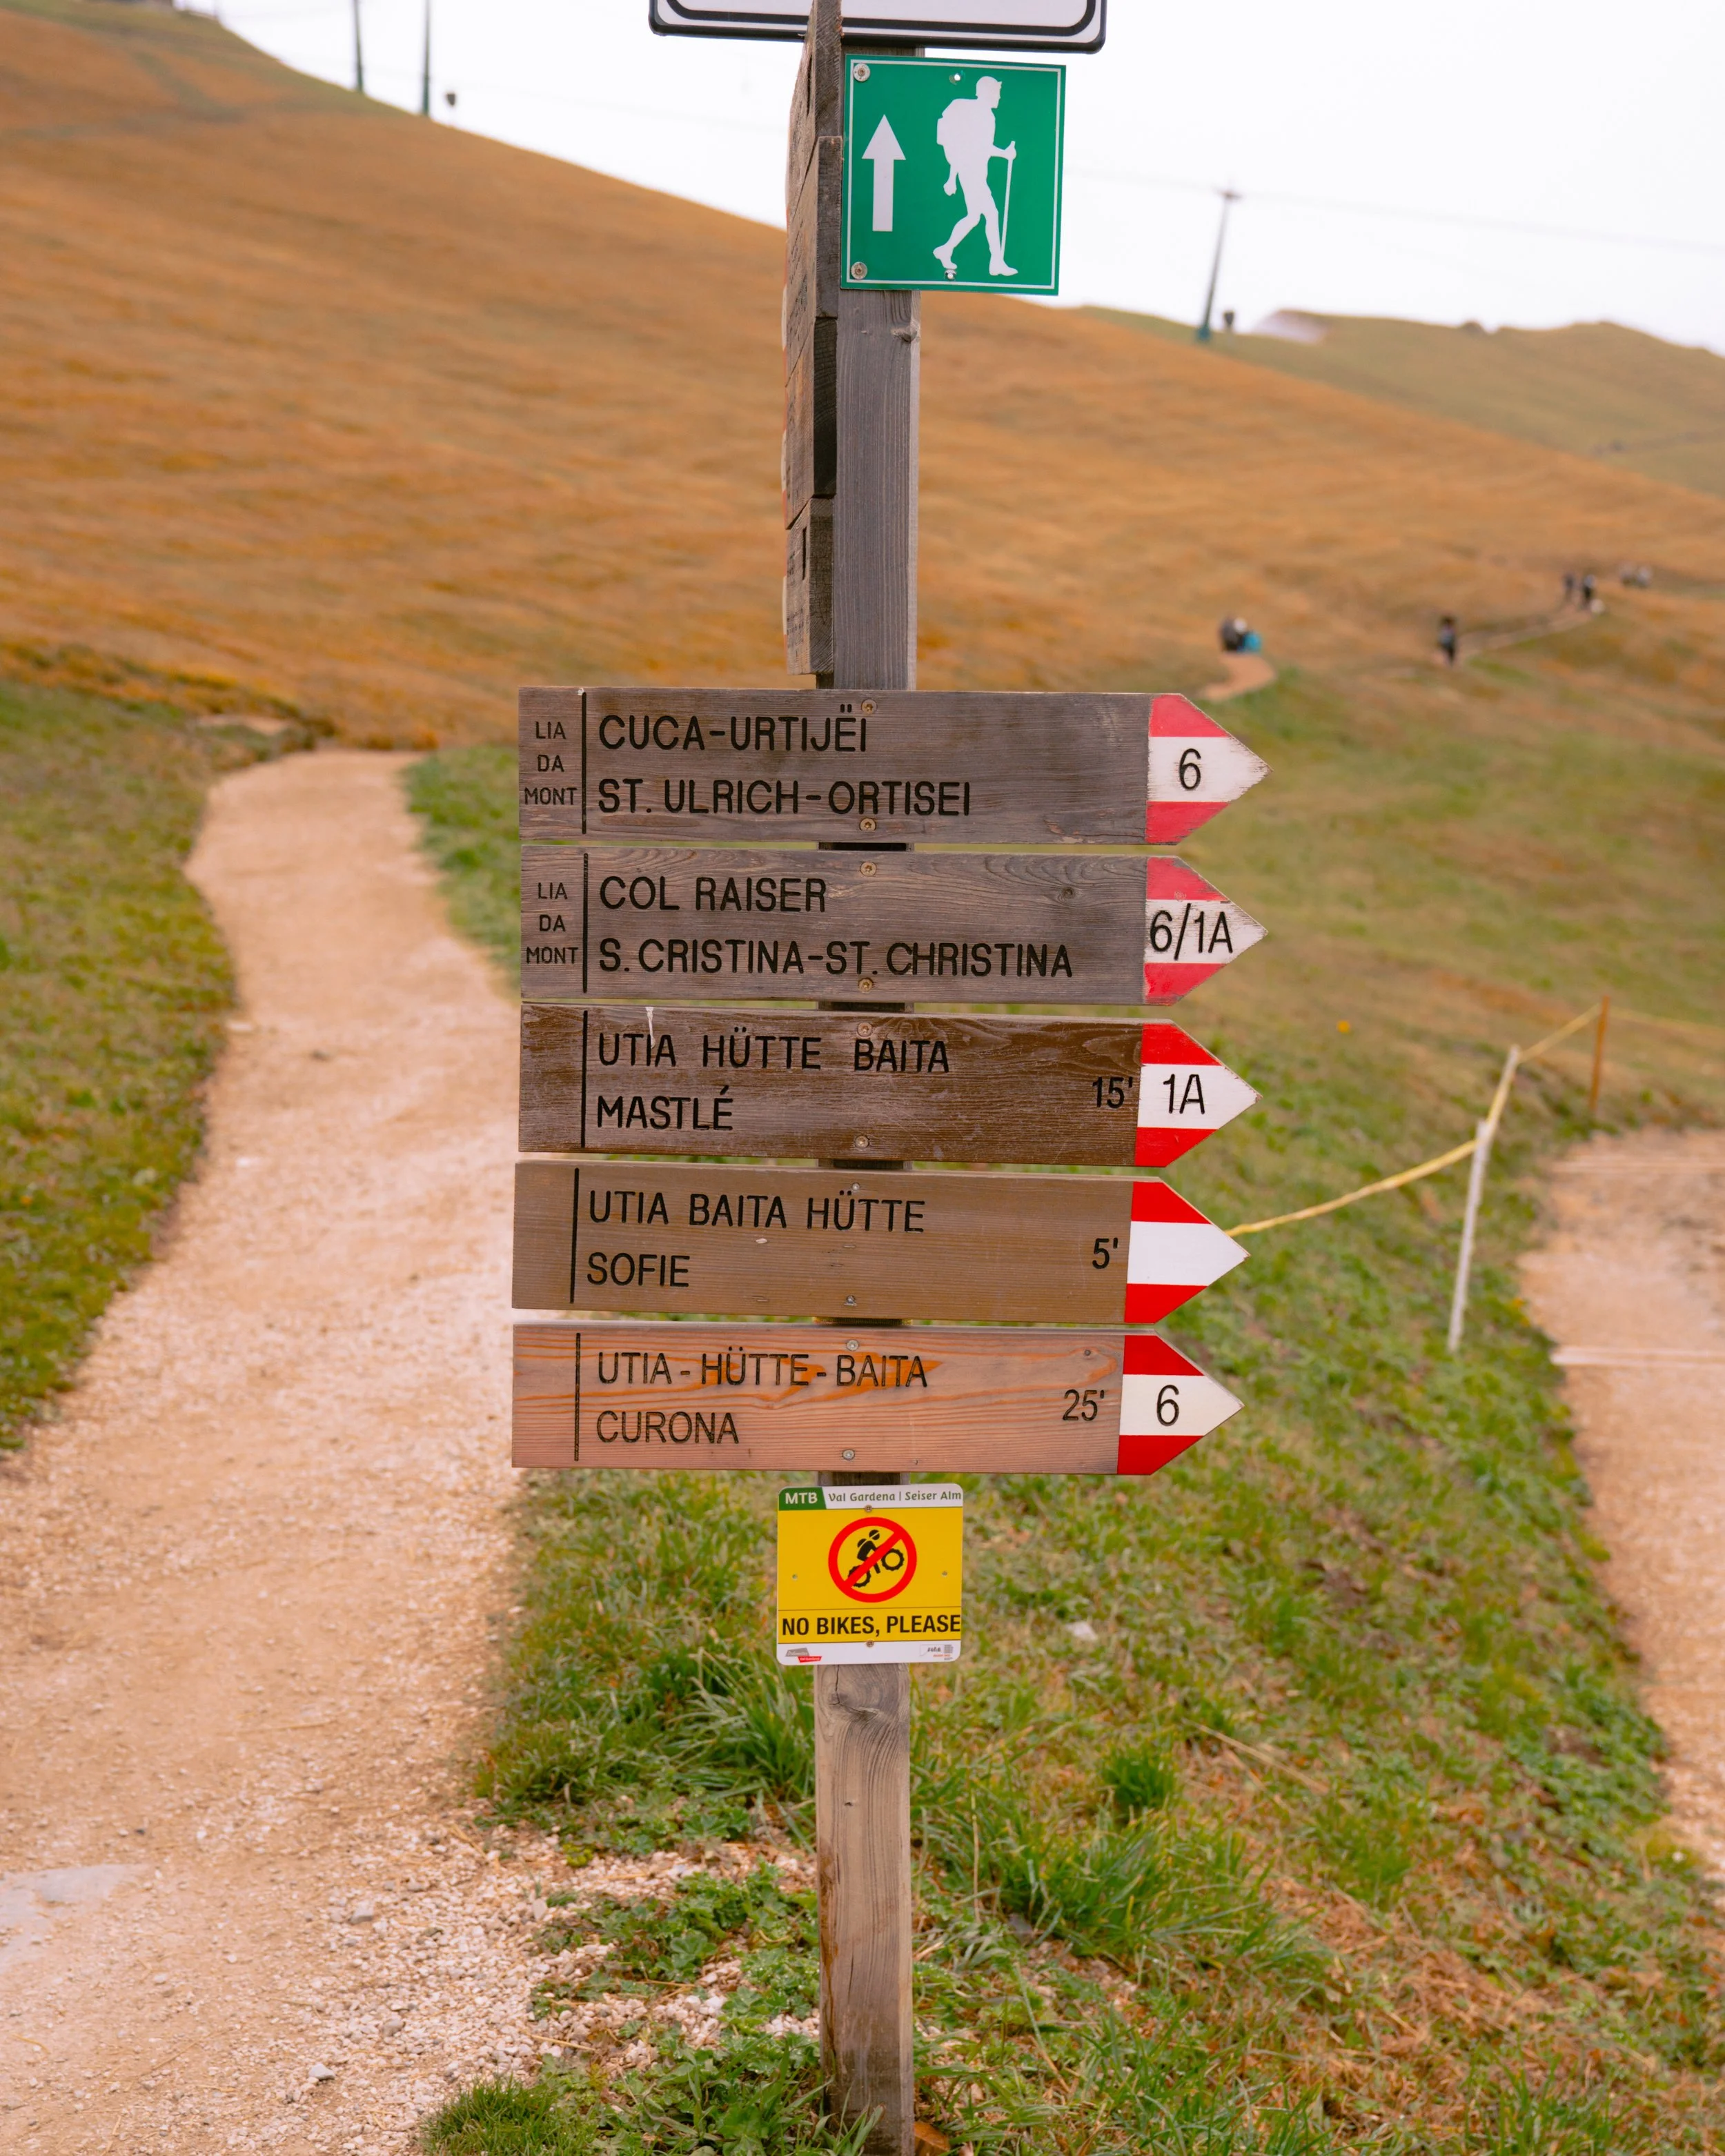
Later in the morning, we headed to Seceda and took the cable car up to the ridgeline. From the top, you can walk along these dramatic, jagged formations that feel almost otherworldly. There are several hikes you can do in the area if you’re feeling up for it, or you can simply walk along a semi-flat path to the ridgeline viewpoint and pop into one of the rifugios for lunch.
We wrapped up the day back in Val di Funes at the Santa Maddalena Church during golden hour, which might be one of the most photogenic places I’ve ever been. I was a tad bummed that the mountain peaks behind the church were partially hidden, but again…it is what it is when you’re traveling, and everyone is bound to get a different perspective.
Today was full of those places where no matter how many photos you’ve seen of them, it still doesn’t fully prepare you for what they look like in person.
Day 9: Venice + Fly Home
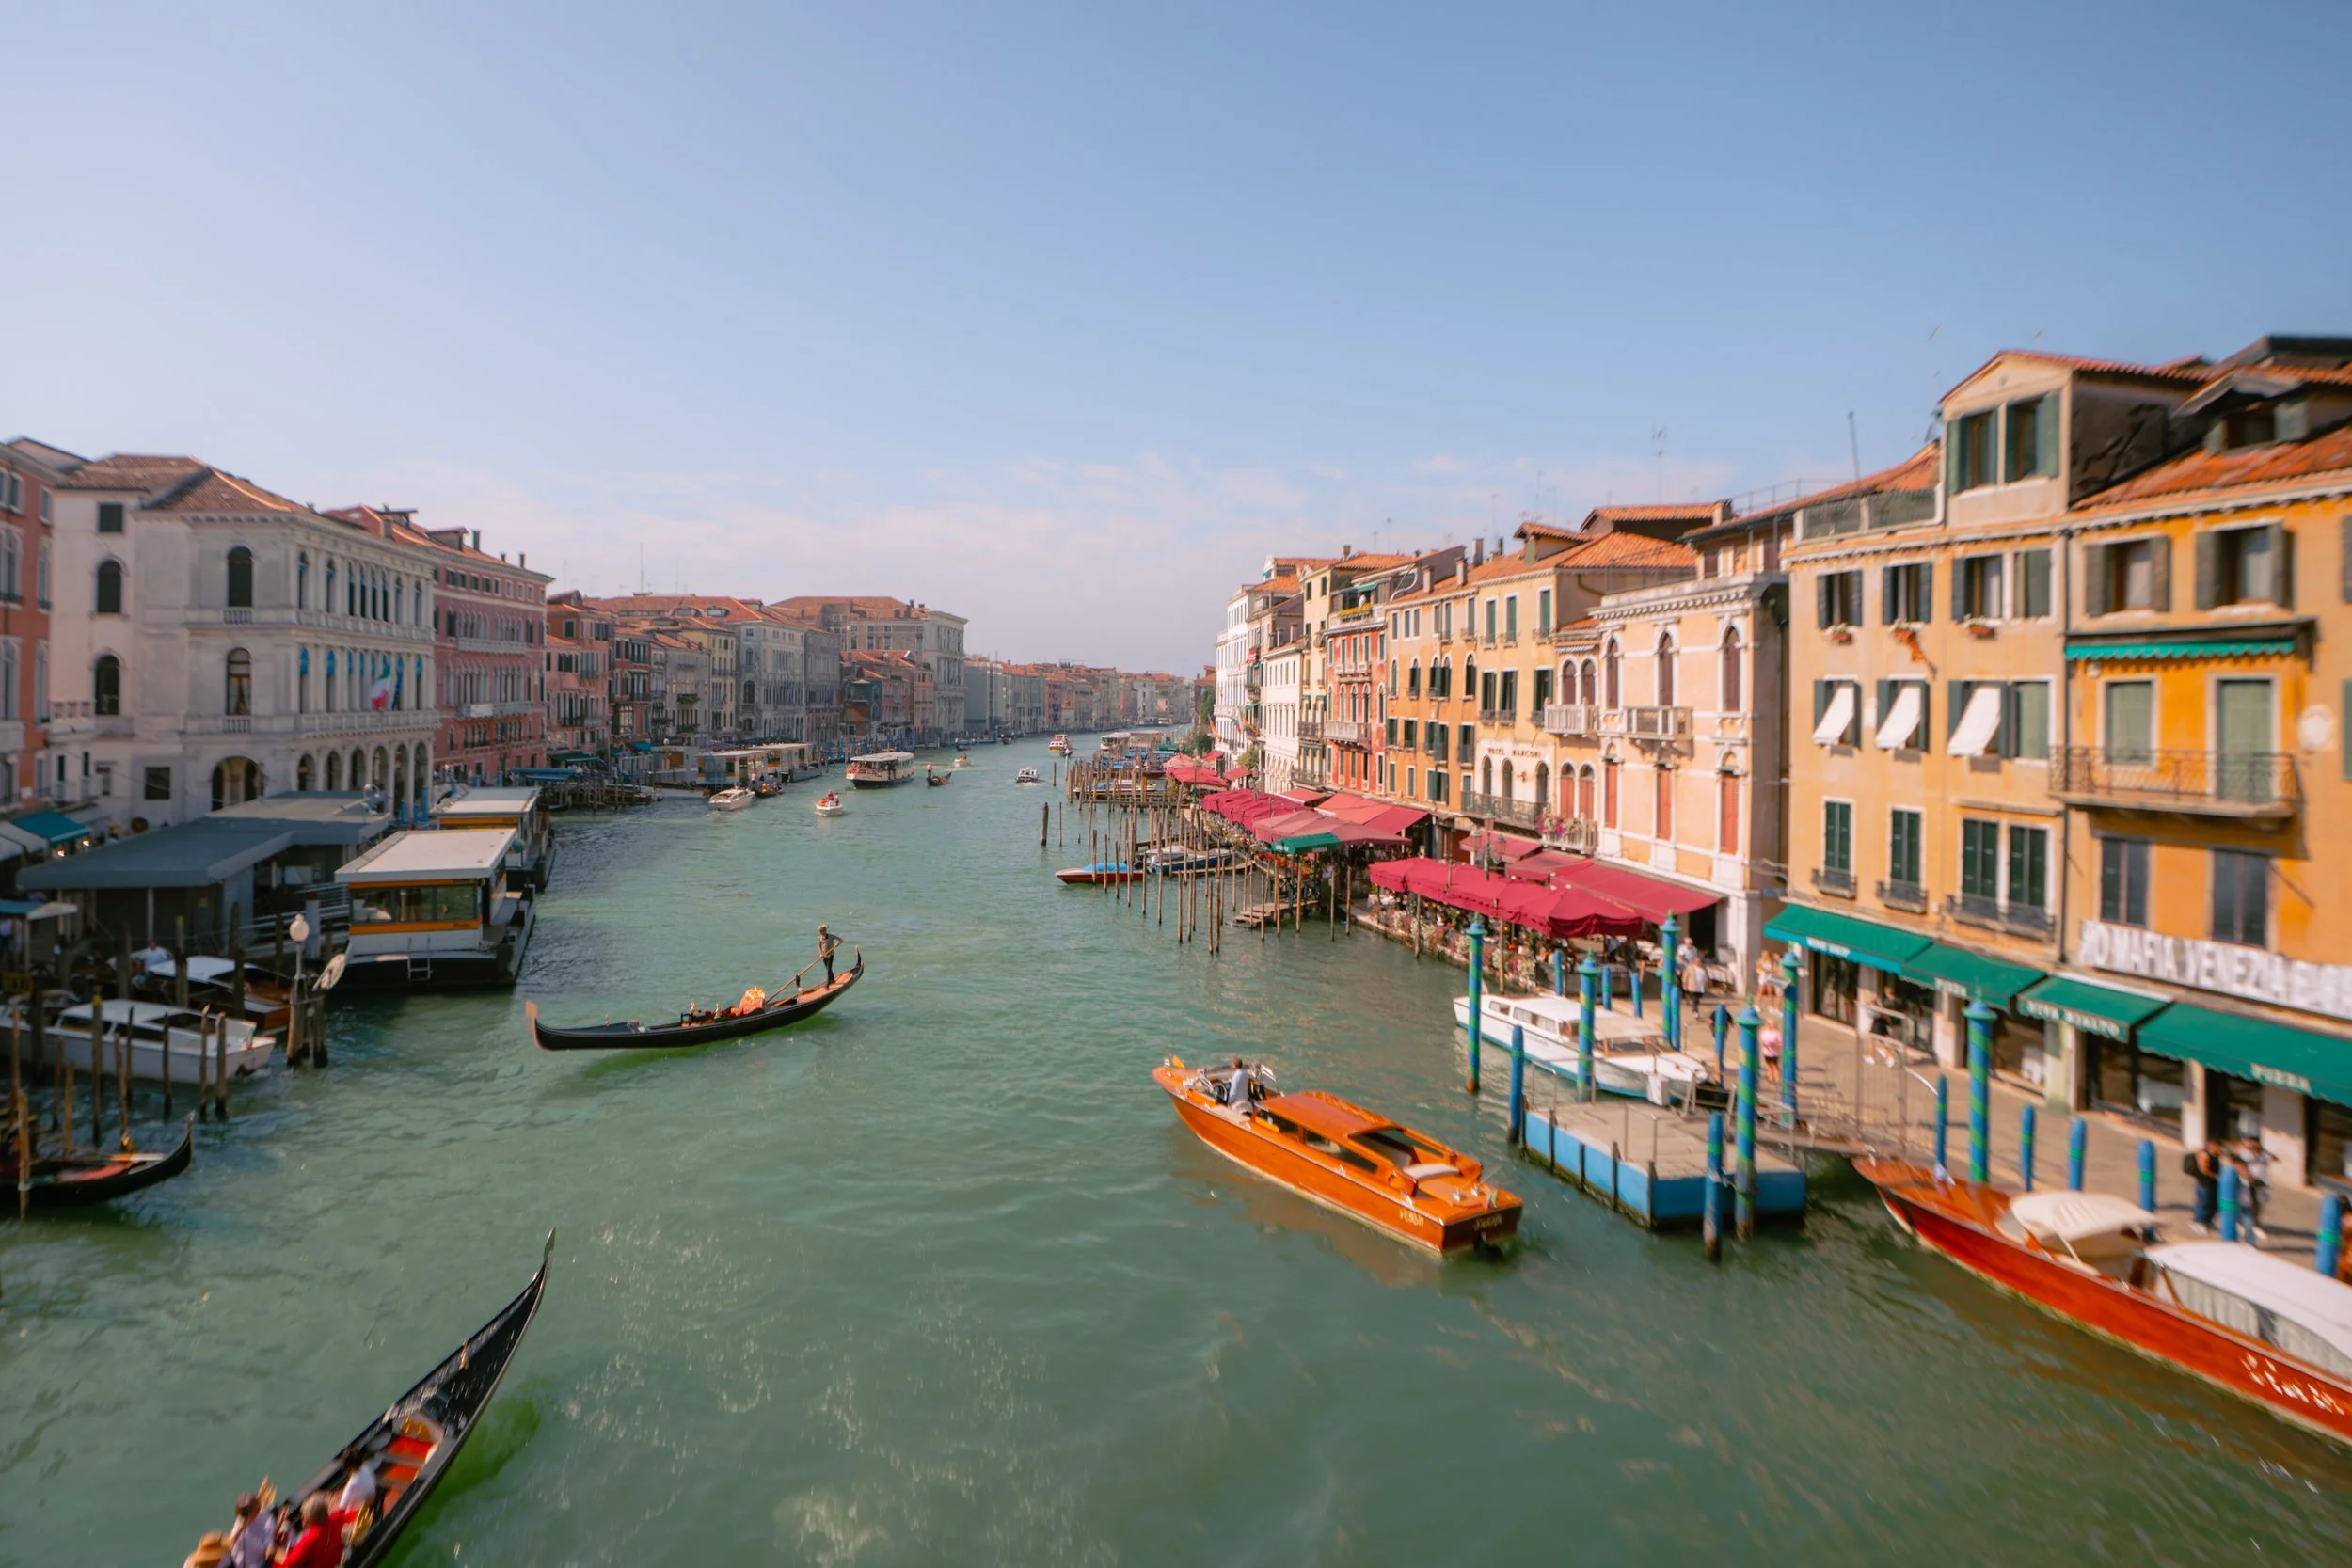
We made the drive back to Venice, dropped off our rental car, and had just enough time to wander around the city a bit before heading to the airport.
It was a bit of a chaotic transition from quiet mountain towns to busy canals and crowds, but Venice is a beautiful city and if you have even just a few hours here, I would recommend:
And then…back home, already thinking about when we could come back.
My 10 Tips for Traveling to the Dolomites
Book your rifugios months in advance.
If you’re visiting between July and September, start booking huts around five to six months ahead. Many rifugios require you to reserve directly through their website or by email, and the most popular ones fill quickly.Build your route around hut availability.
Instead of planning the perfect itinerary and then hoping every rifugio is available, identify a few huts with openings and map a realistic route between them. Google Maps is surprisingly useful for marking potential huts and visualizing distances.Add buffer days before your hut trek.
Flight delays happen, but rifugio reservations are basically impossible to move. Give yourself at least a day or two before the trek so one delayed flight doesn’t derail your entire route.Rent a car if you want to explore multiple regions.
Having a rental car made it much easier for us to travel between Cortina d’Ampezzo, Sesto, Val di Funes, lakes, trailheads, etc. Just stay alert in smaller towns, where roads can get narrow and busy, but otherwise don’t feel intimidated to drive out there.Start the iconic hikes much earlier than you think.
Popular places like Lago di Sorapis, Lago di Braies, Cadini di Misurina, and Tre Cime are becoming increasingly overcrowded. Arriving around 8:45 a.m. at Lago di Sorapis was already far too late. For the biggest locations, sunrise is worth it.Reserve parking and check road restrictions ahead of time.
Some popular destinations have seasonal traffic restrictions or require advance parking reservations. Lago di Braies, for example, limits vehicle access during peak daytime hours unless you already have a parking, hotel, or restaurant reservation.Prepare for four seasons in one day.
Even in early September, we experienced warm sunshine, cold mornings, rain, wind, and puffy-jacket weather. Bring lightweight layers you can add and remove throughout the day: a fleece, packable puffer, and reliable rain jacket are essential.Waterproof everything.
A rain cover alone may not protect everything inside your backpack. Waterproof your outerwear before the trip and use dry bags or waterproof liners for extra clothing, electronics, and camera equipment.Bring cash and choose half board at the huts.
Not every rifugio accepts credit cards, so carry enough euros to cover meals, drinks, and remaining balances. When available, book half board, which typically includes dinner and breakfast. Trust me, you WANT that dinner and breakfast.Don’t plan the entire trip around Instagram locations.
The famous viewpoints are beautiful, but the Dolomites are filled with incredible scenery far beyond the same handful of photographed locations. Choose a route that fits your ability, leave room for unexpected stops, and don’t cram so much into the itinerary that you forget to enjoy where you are. I promise you, beauty is ALL around in the Dolomites…discover some of it for yourself versus chasing the same photos as everybody else <3
I hope you found this itinerary helpful! Leave a comment and share your thoughts or connect with me on Instagram @dashaslens if you have questions. Happy adventuring!